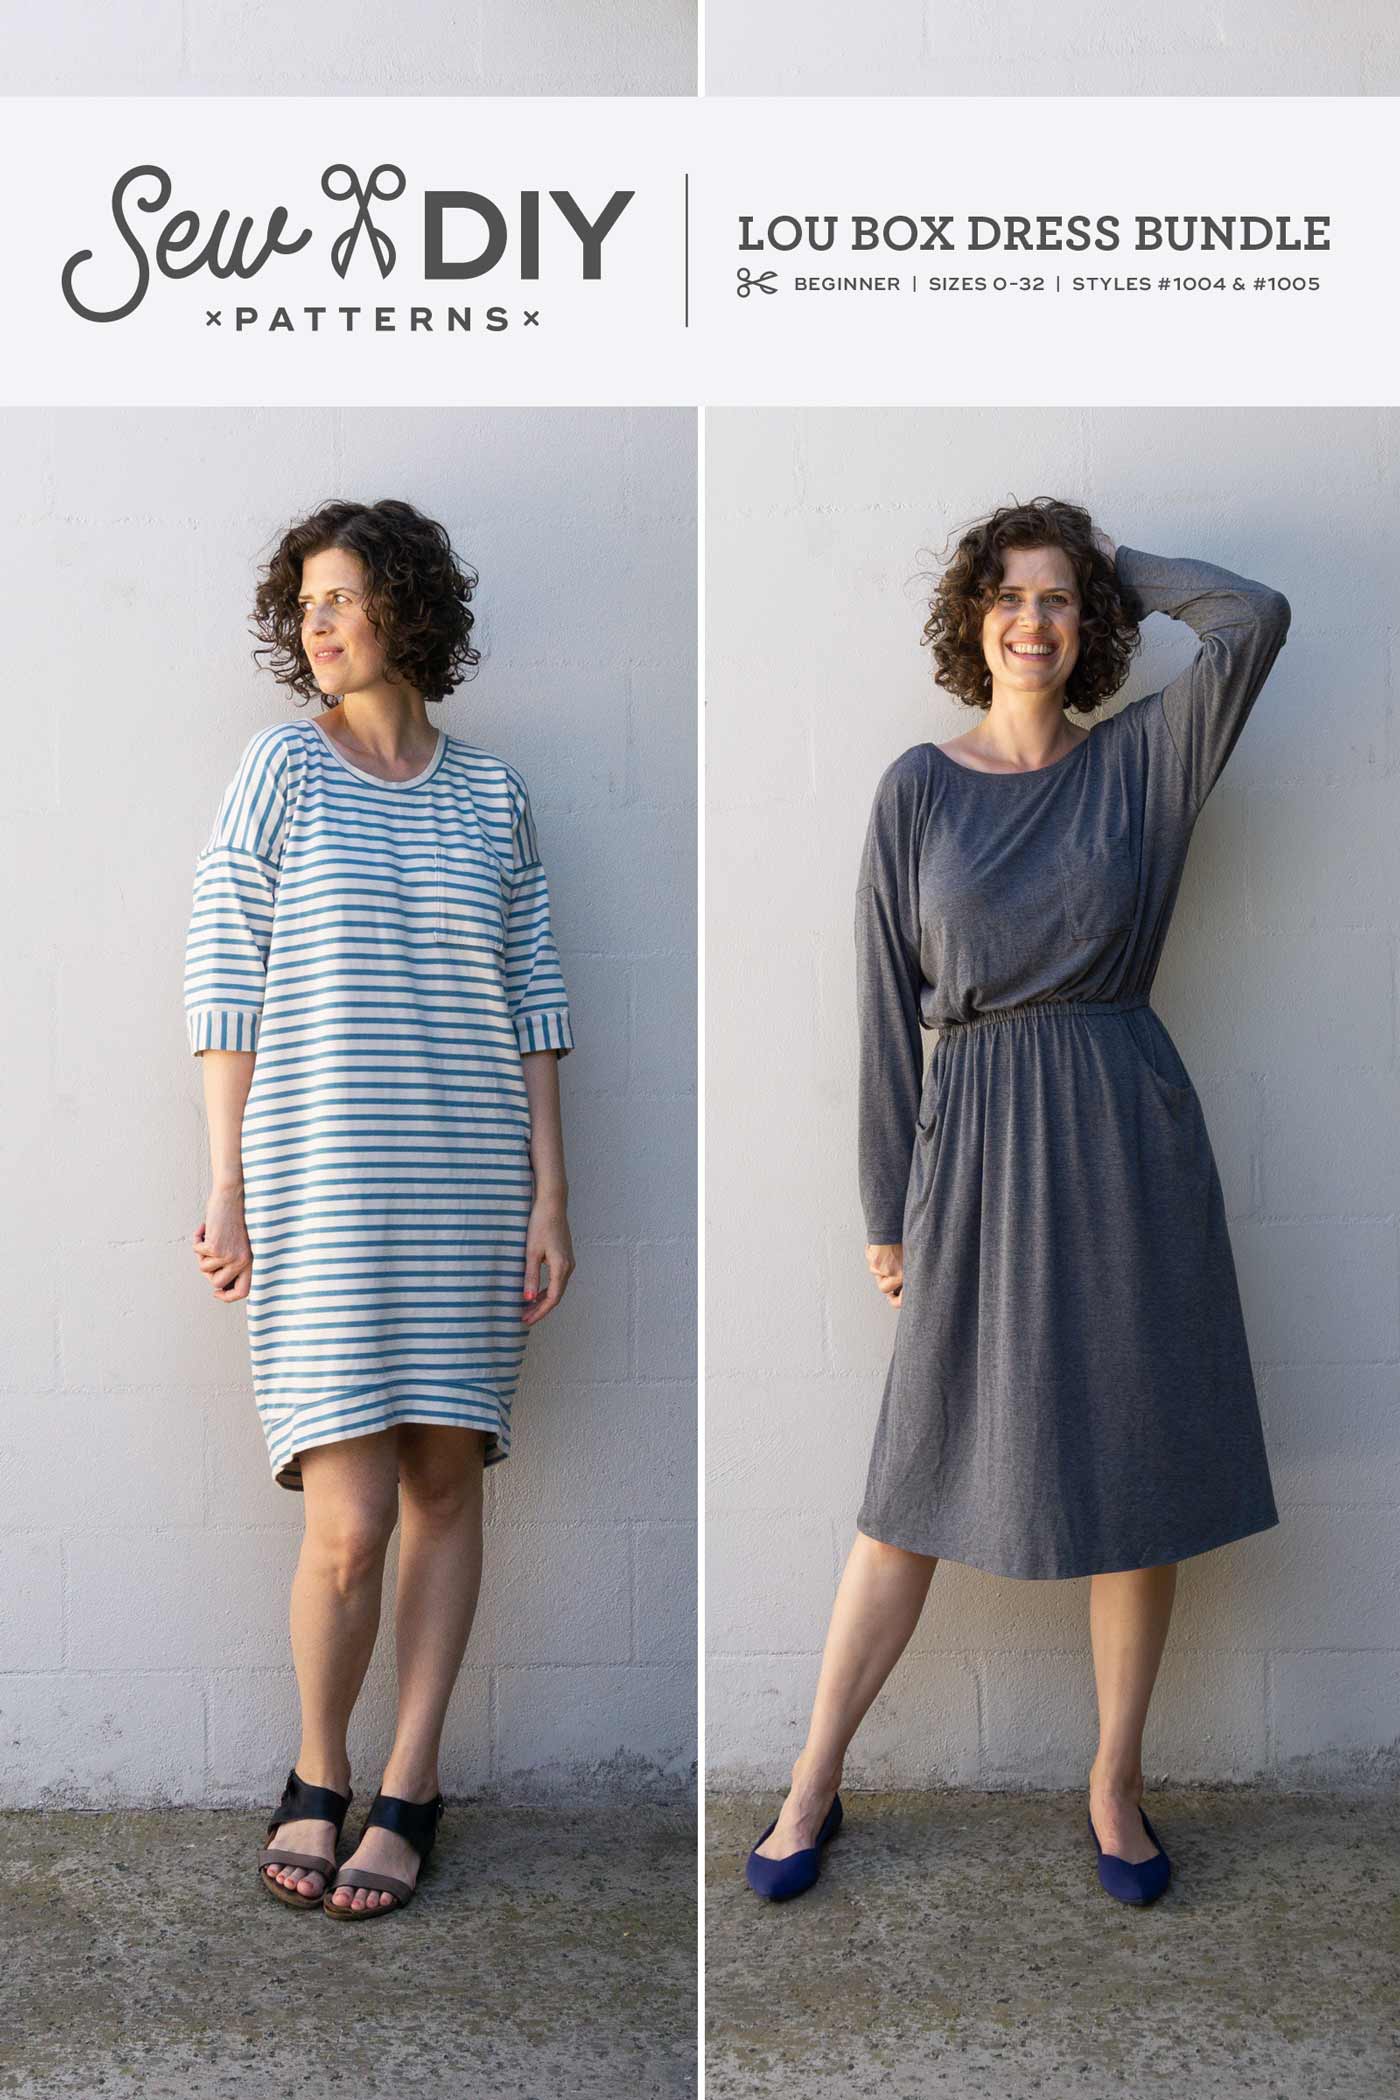
One of the features of the Lou Box Top and Dresses is an opening at the back neck with a button and loop closure. The feature is both functional and decorative. For a high neck, the opening to necessary for getting the garment over your head. But for the scoop neck versions it is not strictly necessary. For the Lou Box Top Sewalong, I showed you how to finish a woven neckline with the back opening. Today I’m going to show you how to finish the neckline in the round, without a back neck opening. This method is recommended for the Lou Box Dress 2 view B with the low scoop back but you can use this for any view of the Lou Box Dress 1 or 2.
How to Sew a Woven Neck Binding in the Round
Step 1: Prepare the body of the garment. Stitch center back seam from neckline to hem and press seams open. (Alternately, you can cut the back piece on the fold and eliminate the center back seam.) Stitch shoulder seams and press open.
Step 2: Prepare the bias binding. Place ends of neck binding right sides together at a 90 degree angle. This can be a little tricky sometimes so before I stitch, I like to put a pin where I plan to stitch. Then I open up the fabric to look at the right side and make sure that it will create one long strip.
Stitch from one inside corner to the other. Trim excess and press seam open. Fold binding in half lengthwise with wrong sides together and press.
Note: I think it’s easier for a beginner to handle a piece of bias binding that is folded in half once but if your fabric is on the heavier side you may find this too bulky. You can use a lighter weight fabric for your binding. Or, fold the bias binding in a more traditional way, with two folds and each raw edge folded to the center.
Step 3: The binding is longer than required so next we'll figure out how much to trim away to make it the perfect length. With raw edges matching, pin neck binding to right side of neckline starting at the center back. Mark where the ends of the bias binding overlap.
Open up the binding and stitch right sides together along the marking, creating a loop that fits the neckline. Trim excess binding and press the seam open. Refold the binding in half and pin in place.
Step 4: Using a 1/4 inch (.6 cm) seam allowance, slowly stitch binding to neck opening. Press seam allowance towards binding. To help the neckline lay flat, clip seam allowance about every 3/4 to 1 inch and grade the seam allowance, trimming the binding to about 1/8 inch.
Step 5: To help the binding stay hidden inside the dress, understitch the binding. Stitch the seam allowance to the binding, stitching close to the seam. As you stitch, use your fingers to feel the seam allowance and make sure it's pushed to the right under the binding. I generally use a slightly longer stitch when I understitch because it won't be under much stress.
Step 6: Press binding to wrong side and pin. Topstitch or hand stitch in place. Press well using the highest setting your fabric can tolerate.
LOU BOX DRESS SEWALONG SCHEDULE
DAY 1 RTW Inspiration Tues Jan 9
DAY 2 Fabric & Supplies Wed Jan 10
DAY 3 How to Print and Store PDF patterns Thurs Jan 11
DAY 4 How to Finish a Knit Neckline Mon Jan 15
DAY 5 How to Finish a Woven Neckline Tues Jan 16
DAY 6 How to Sew a Patch Pocket Wed Jan 17
DAY 7 How to Sew In-Seam Pockets with a Serger Thurs Jan 18
DAY 8 How to Sew Lou Box Dress 2 Scoop Pockets Mon Jan 22
Day 9 How to Sew Lou Box Dress 1, View A Sleeves Tues Jan 23
DAY 10 How to Sew Lou Box Dress 1, View B Sleeves Wed Jan 24
DAY 11 How to Sew Lou Box Dress 2 Waist Casing Thurs Jan 25
DAY 12 How to Sew a Hem Facing Fri Jan 26
If you haven't picked up your pattern yet, they are available in the shop at the links below.