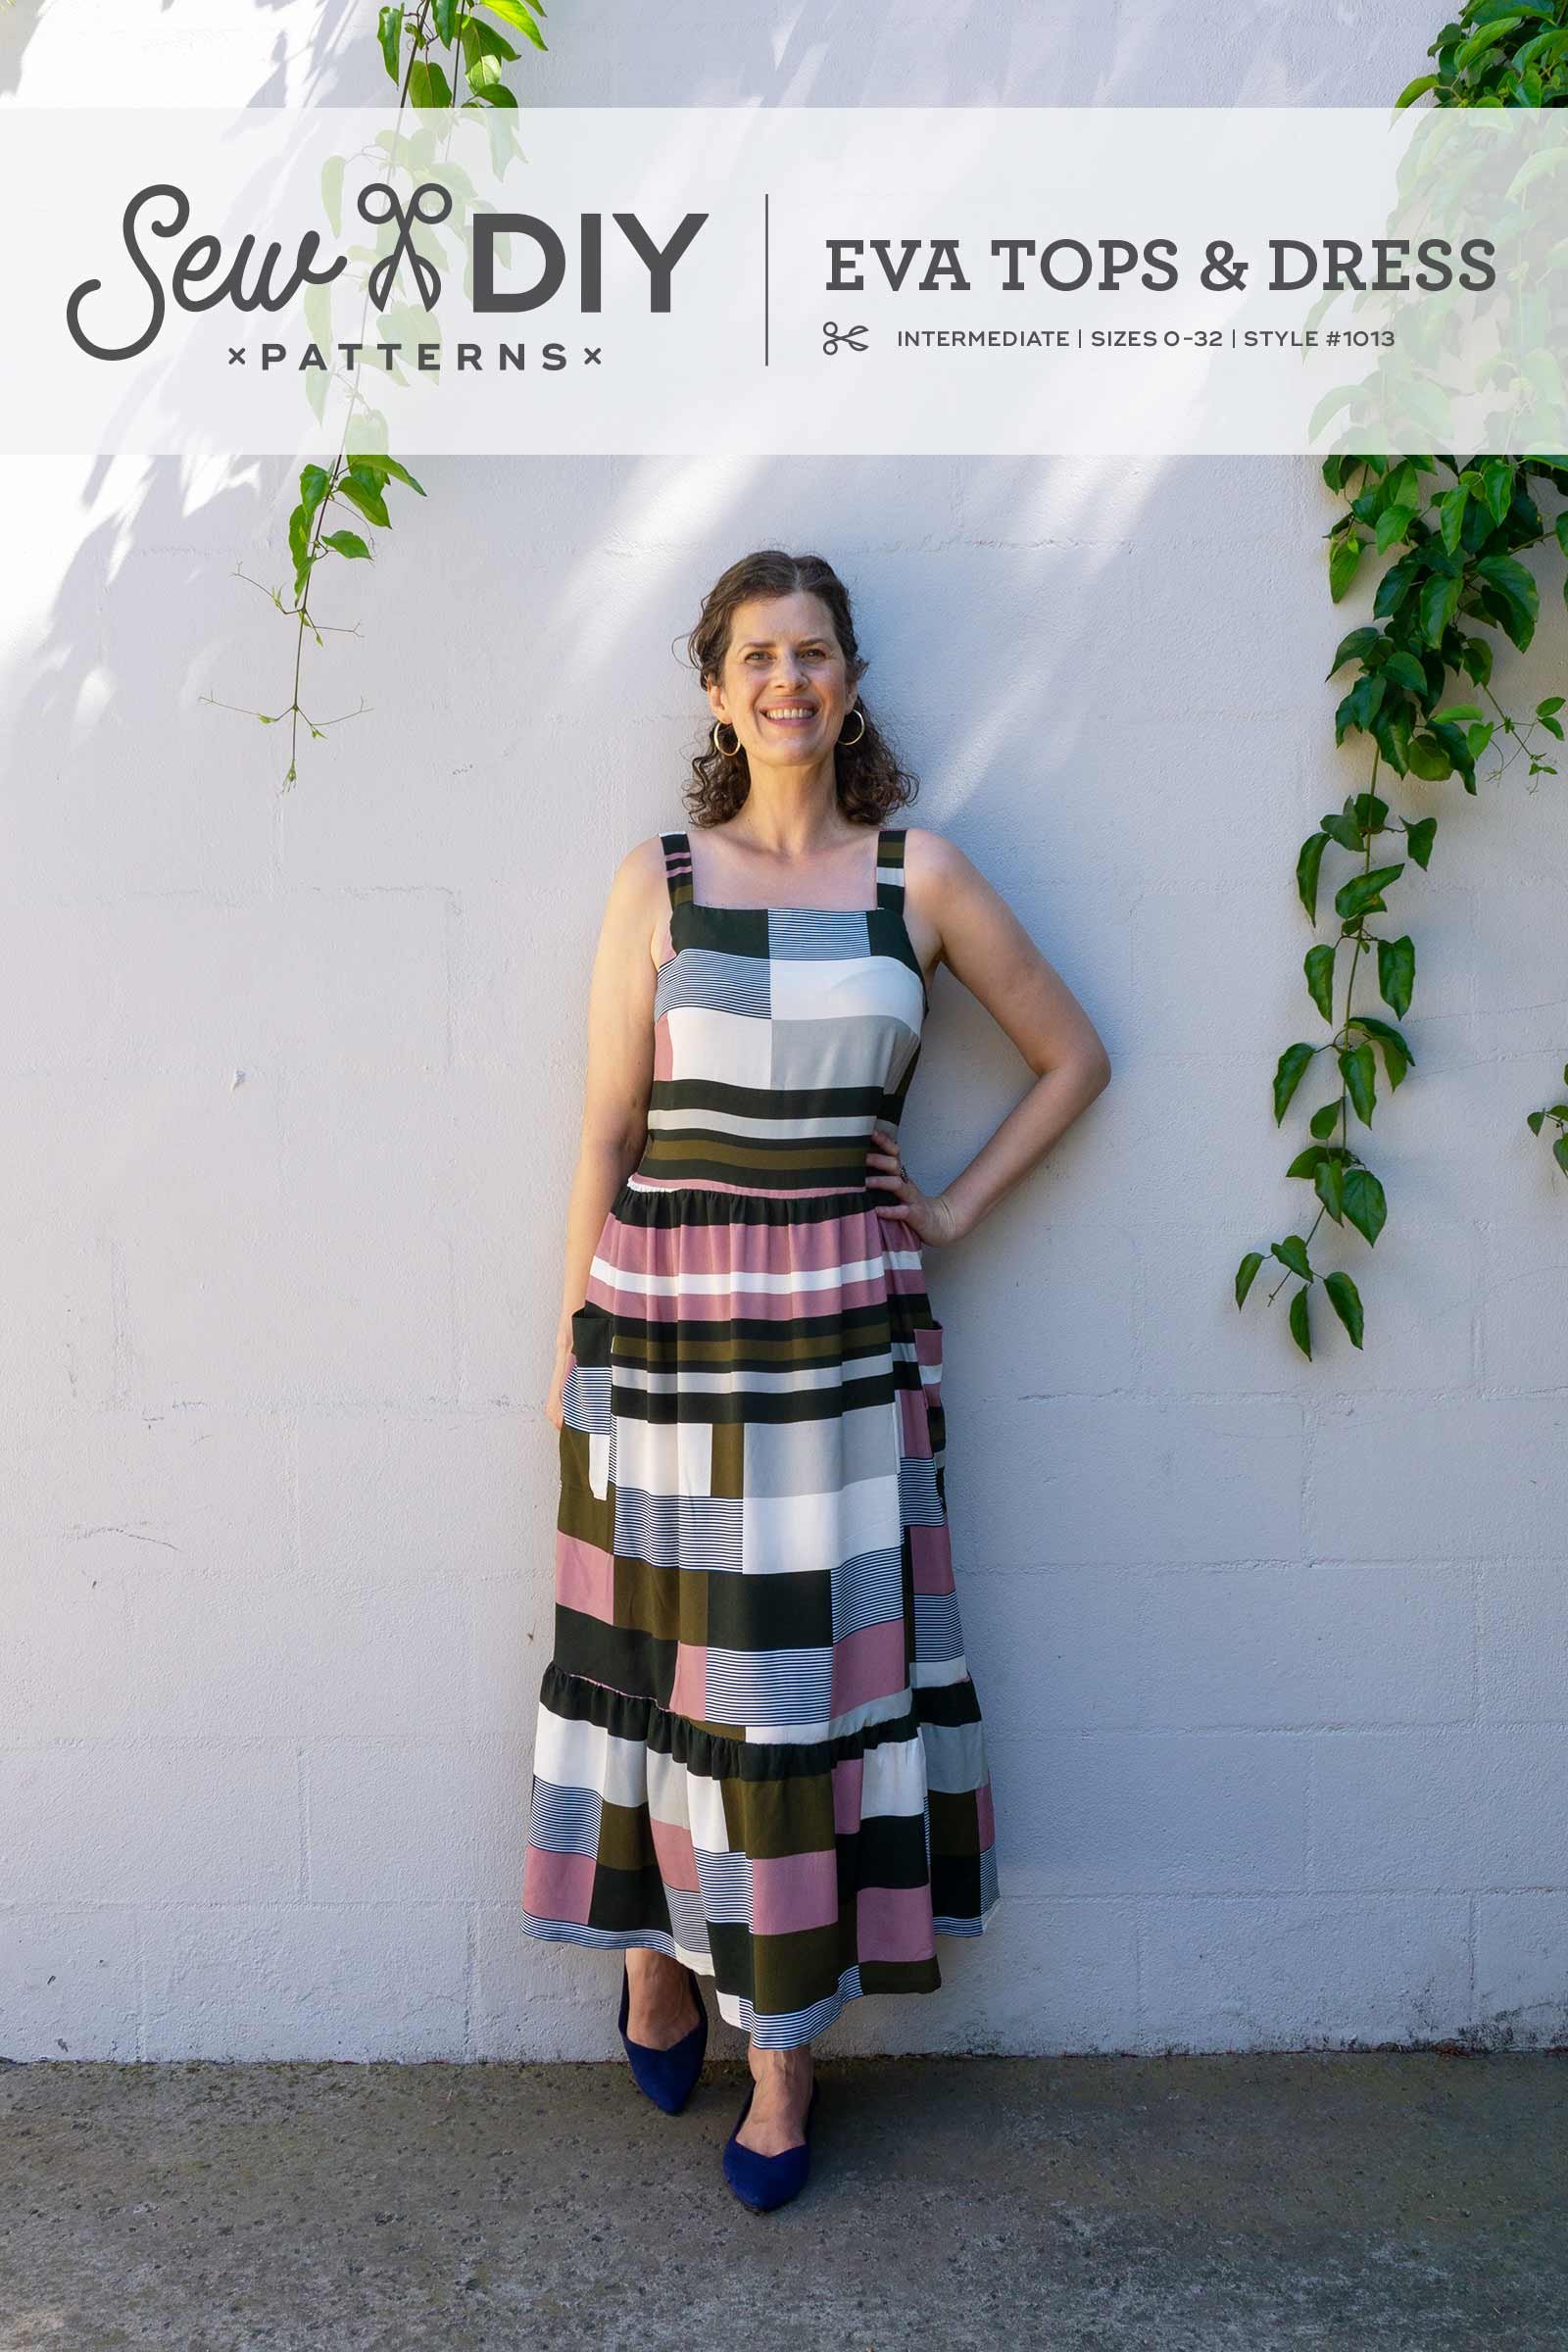
Welcome to the first installment of the Sew DIY Eva sewalong. Today, we’re going to be talking about fabric, notions, tools and supplies. We’ll share our favorite fabrics to use with this pattern, the fabrics we used in the samples and a few of our favorite online fabrics picks. Plus, we’ll talk about the notions needed to sew the Eva and tools and supplies we recommend having on hand to make sewing the Eva easier.
New pattern launch! Introducing the Eva Tops and Sundress
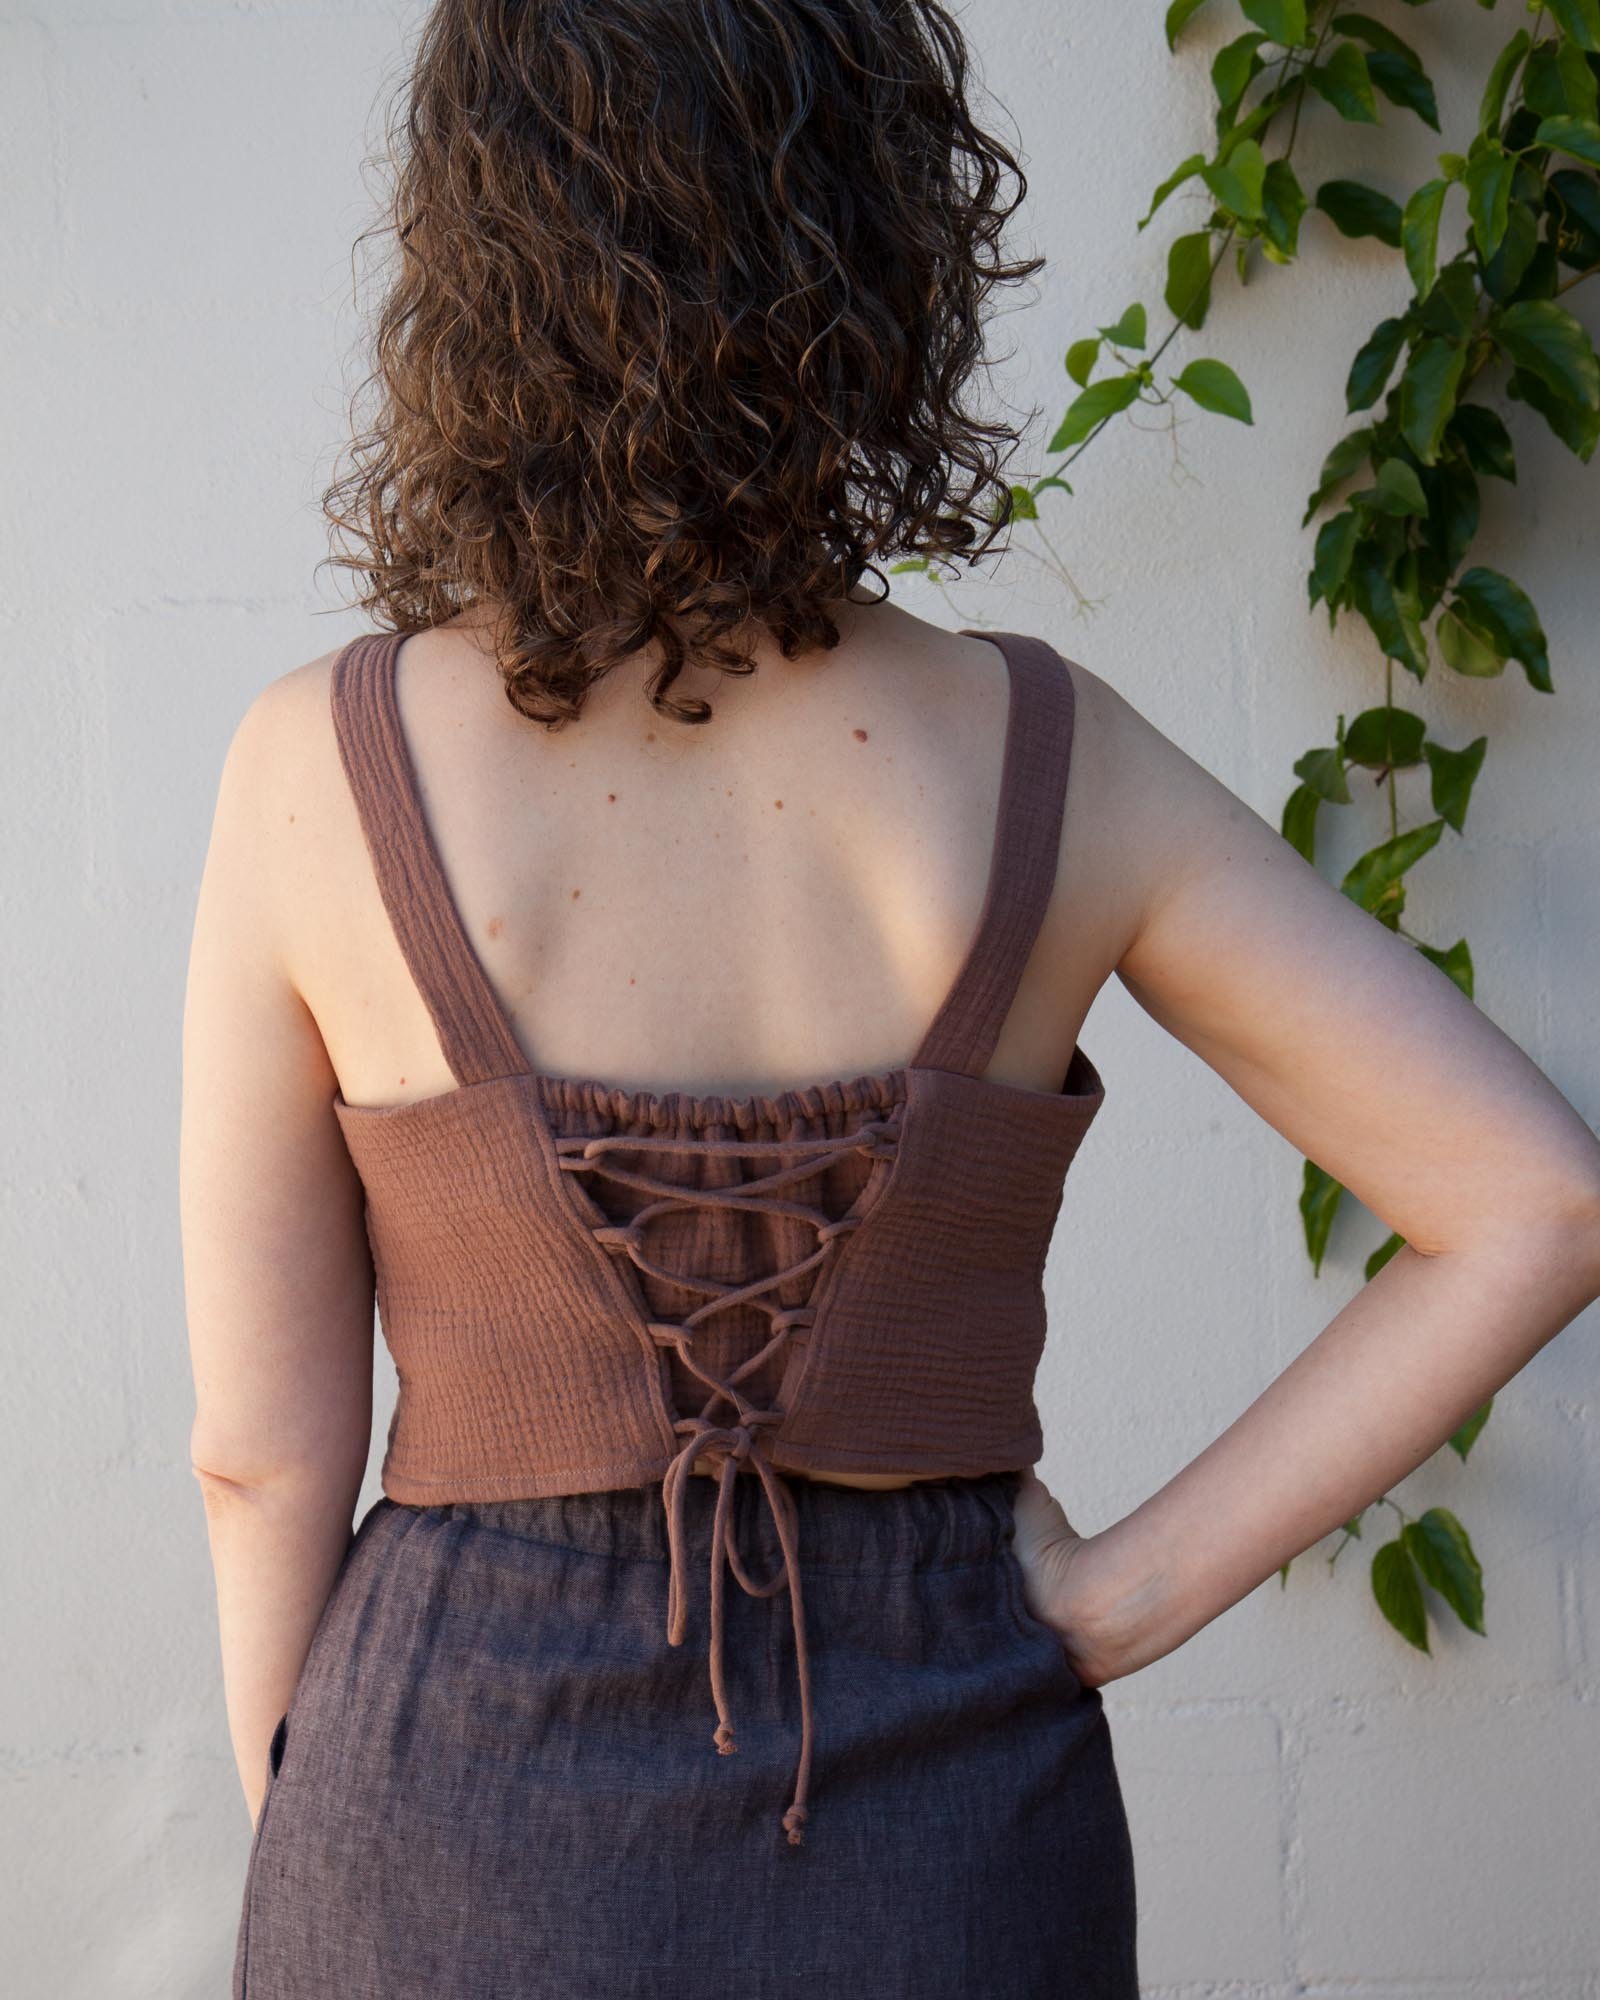
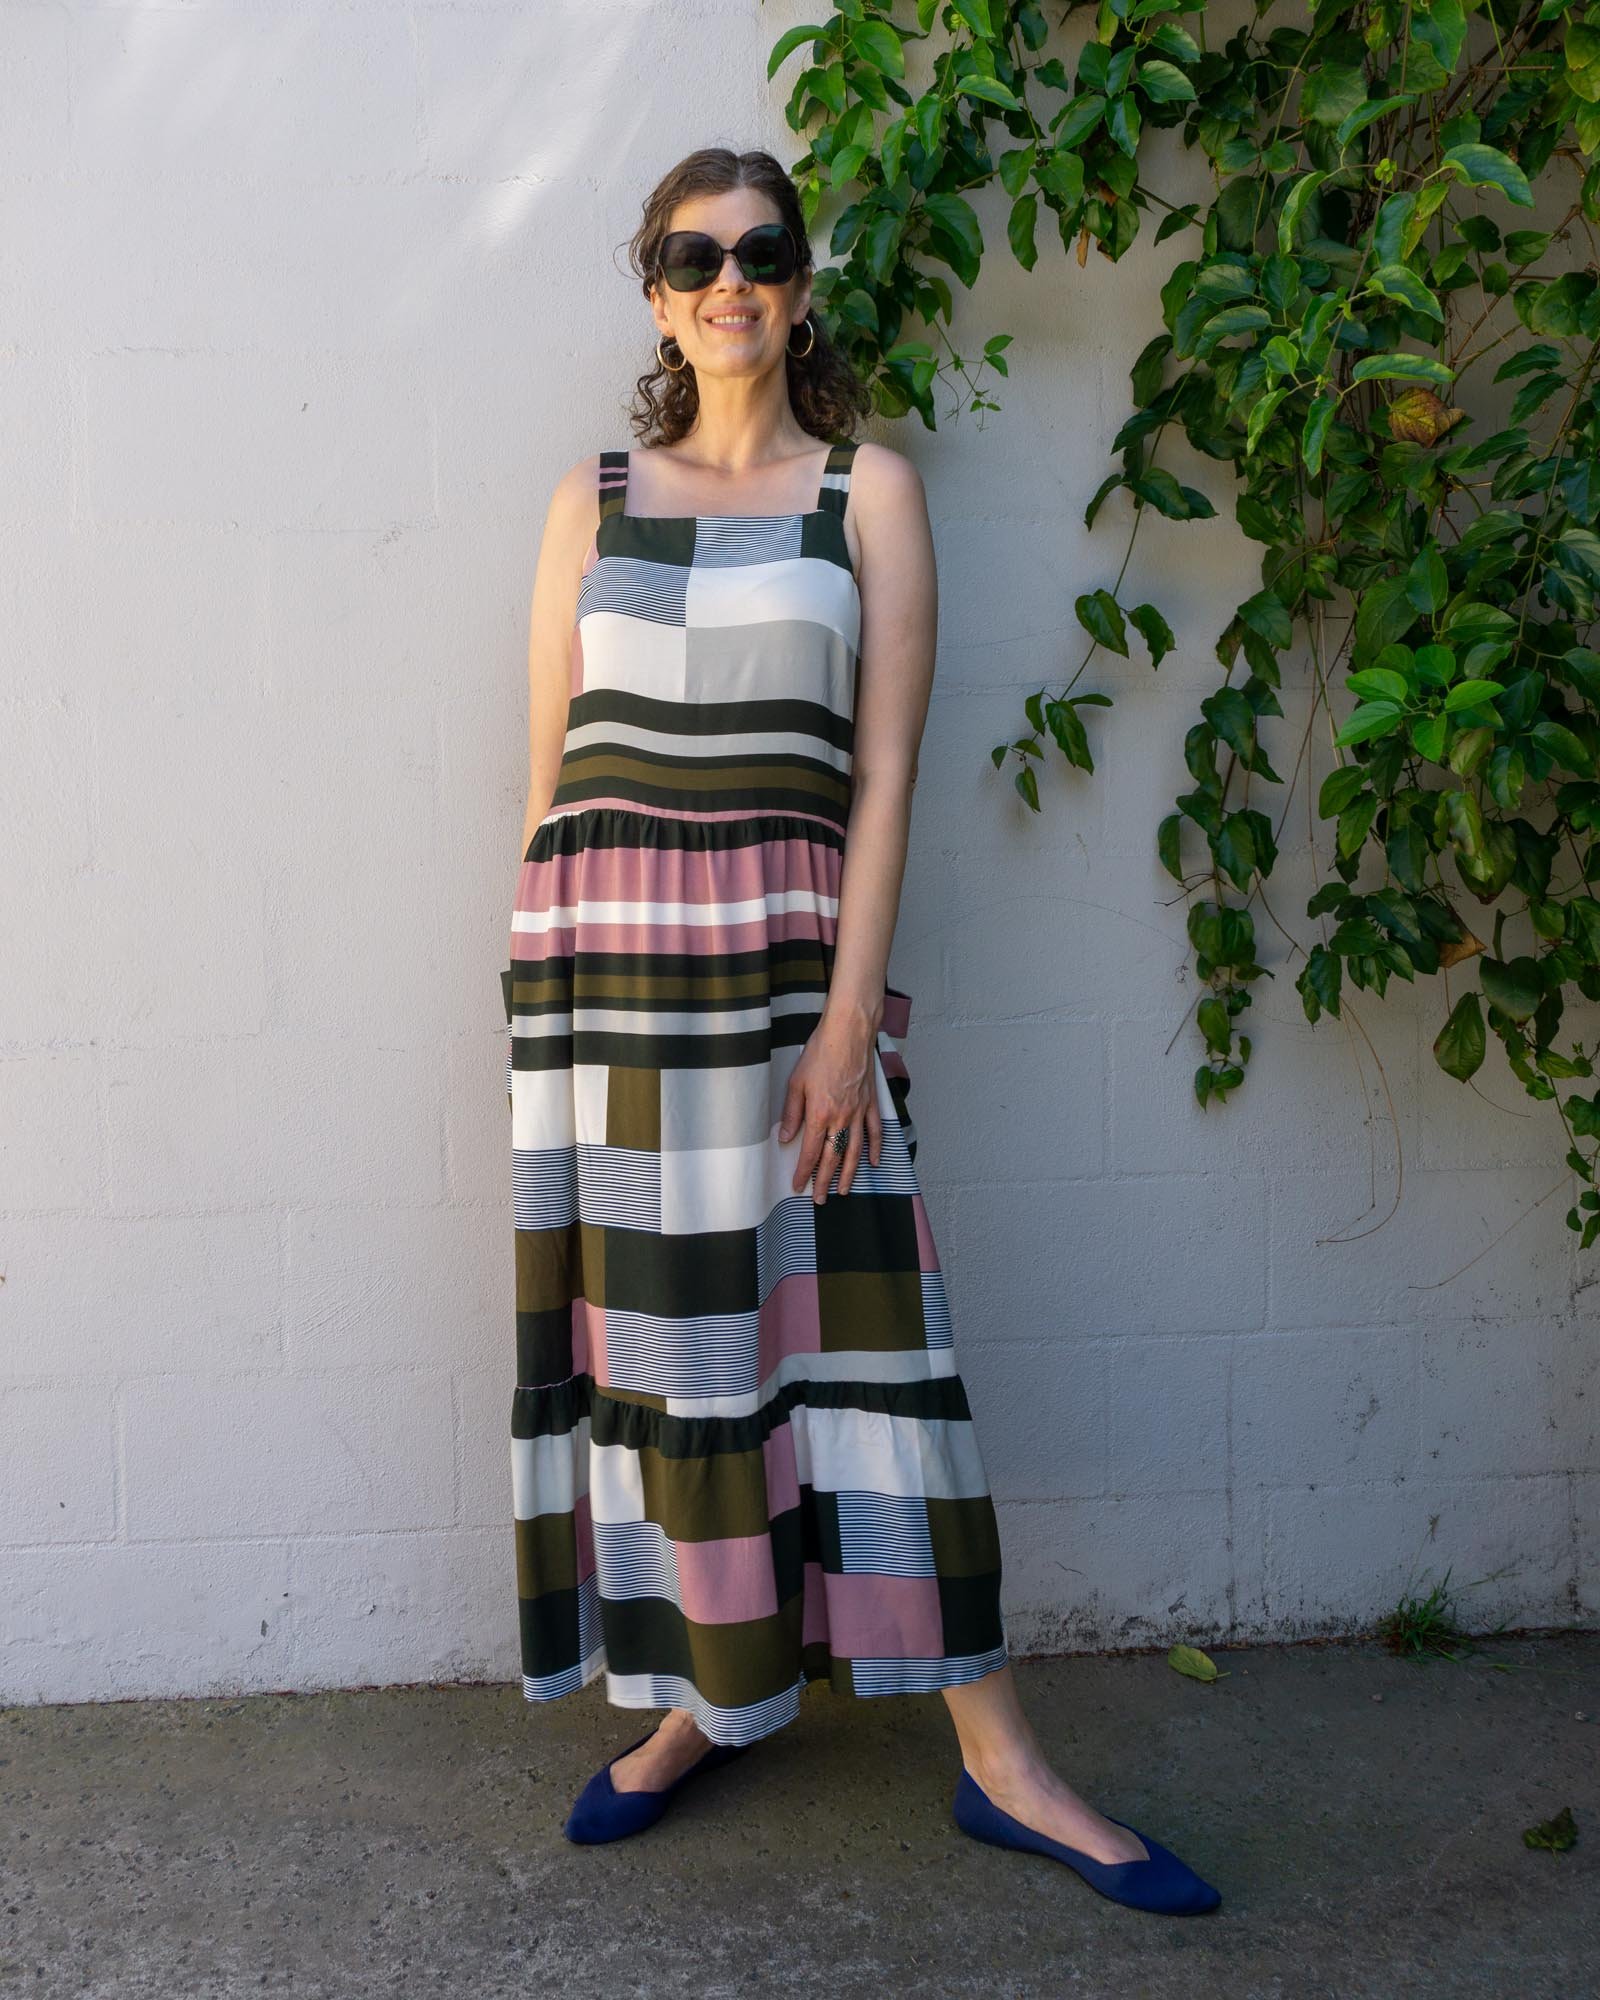
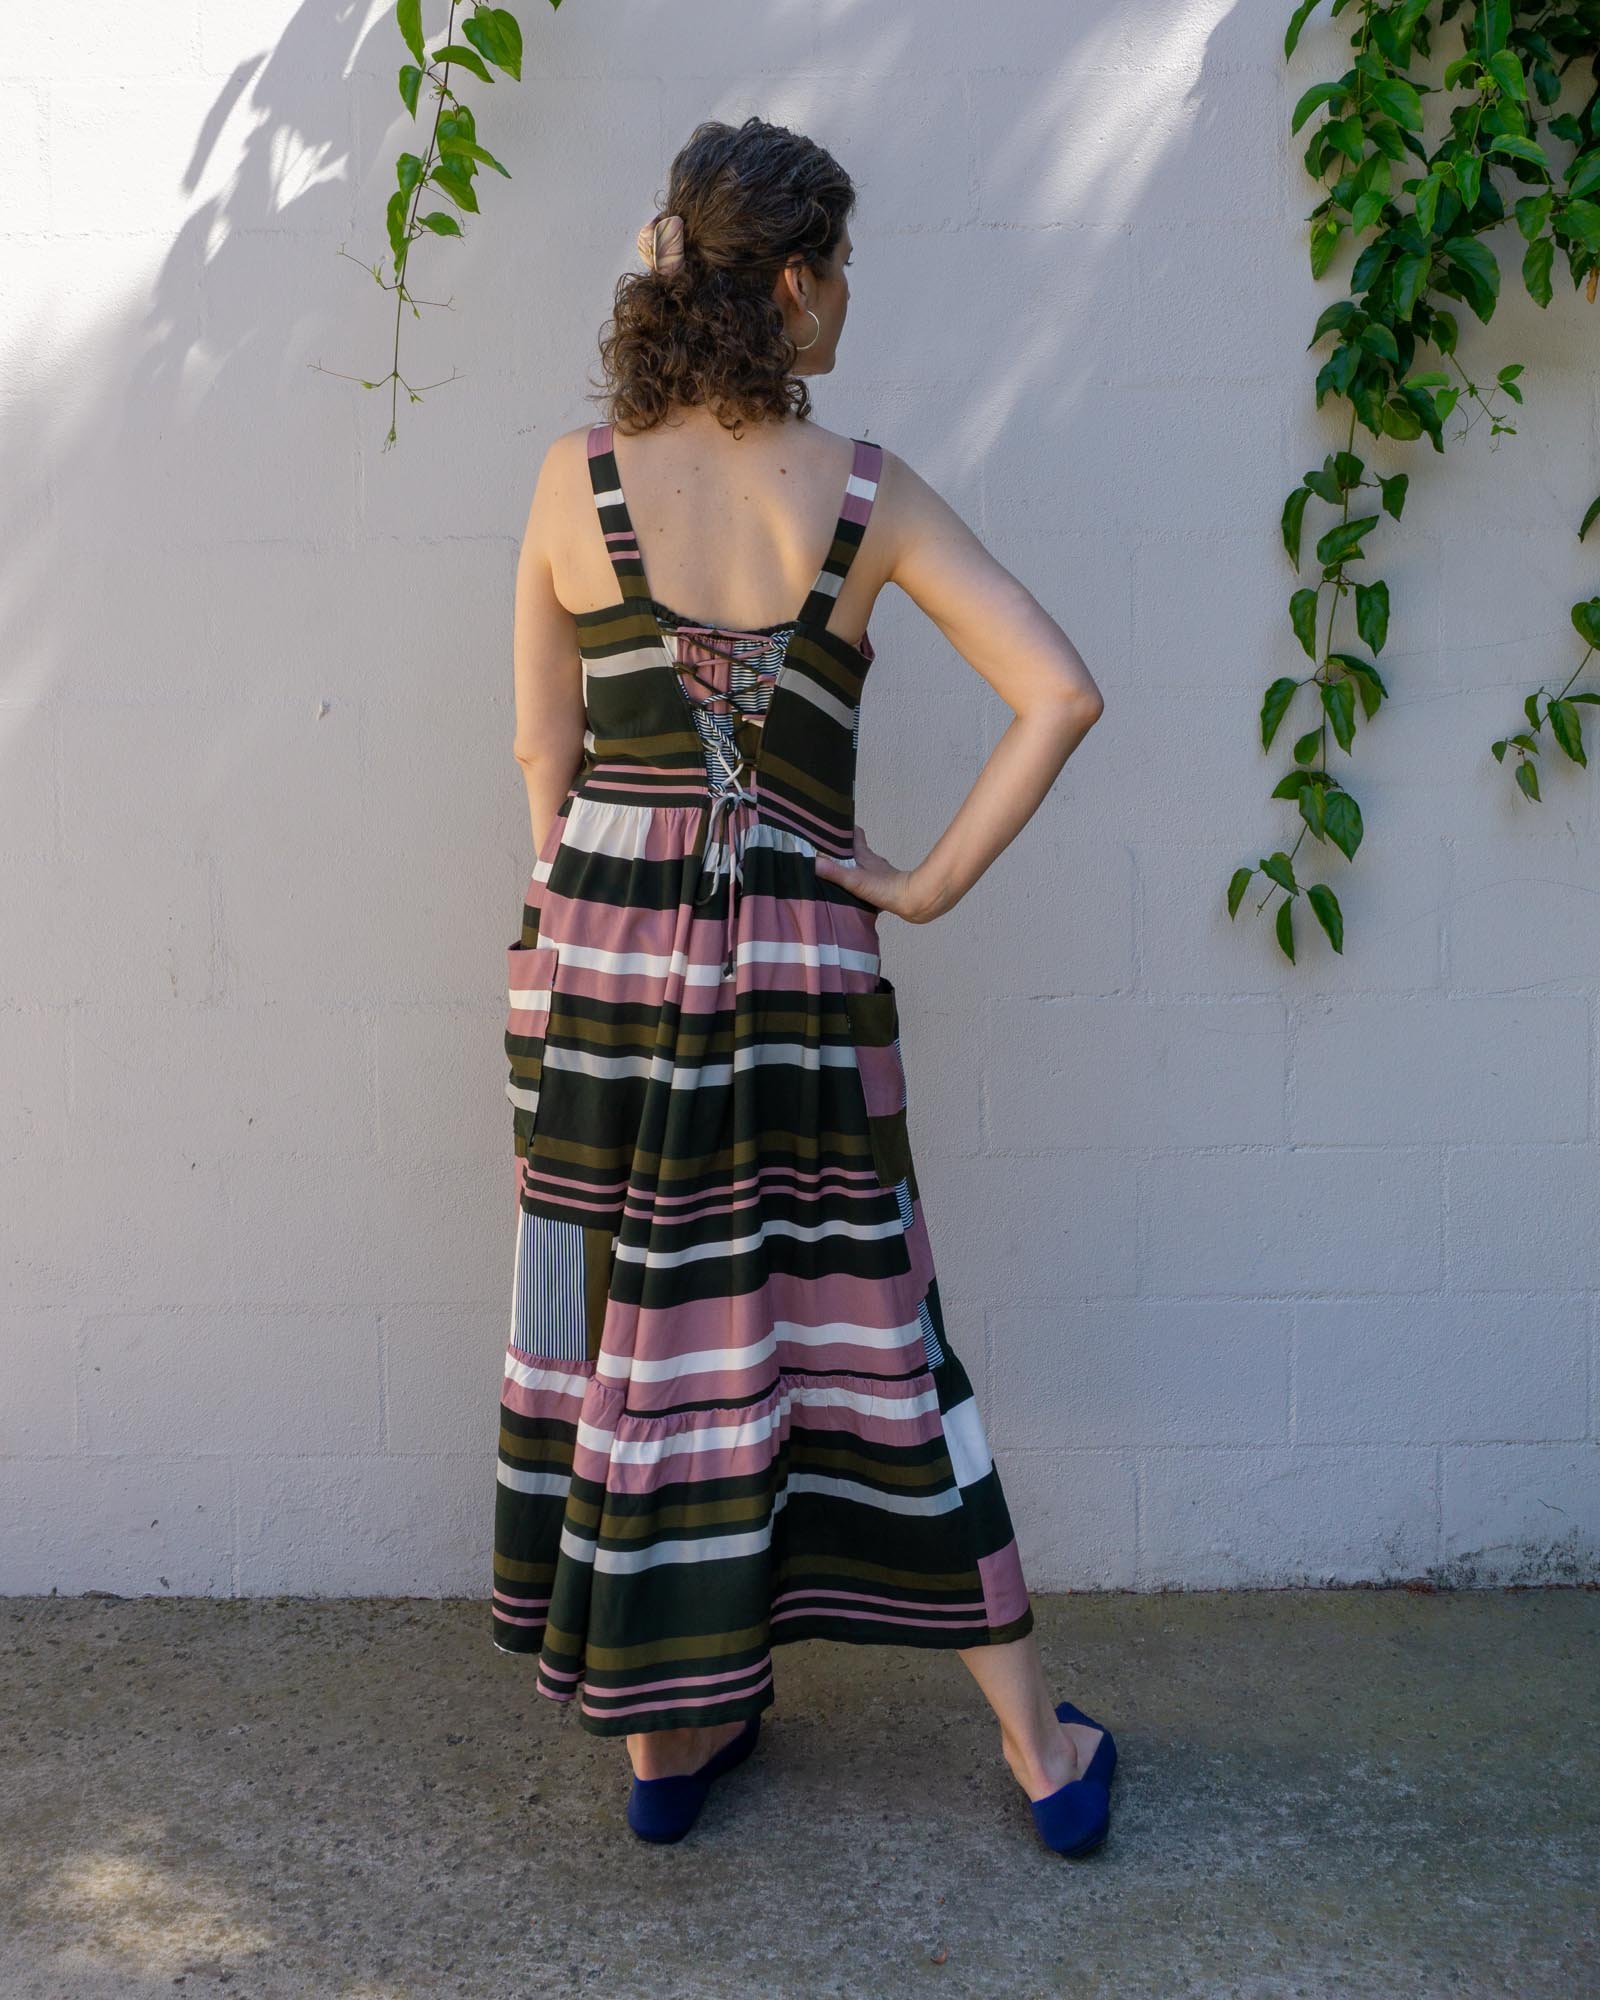
Today, I'm very excited to announce the launch of a new sewing pattern, the Eva Tops and Sundress. When designing this top and dress, I wanted to create a summer garment that was a little bare but still loose fitting and comfortable. I thought back to some of my favorite garments of the 1990s and decided to incorporate a square neckline and lacing in the back, for a bit of a vintage, prairie feel.
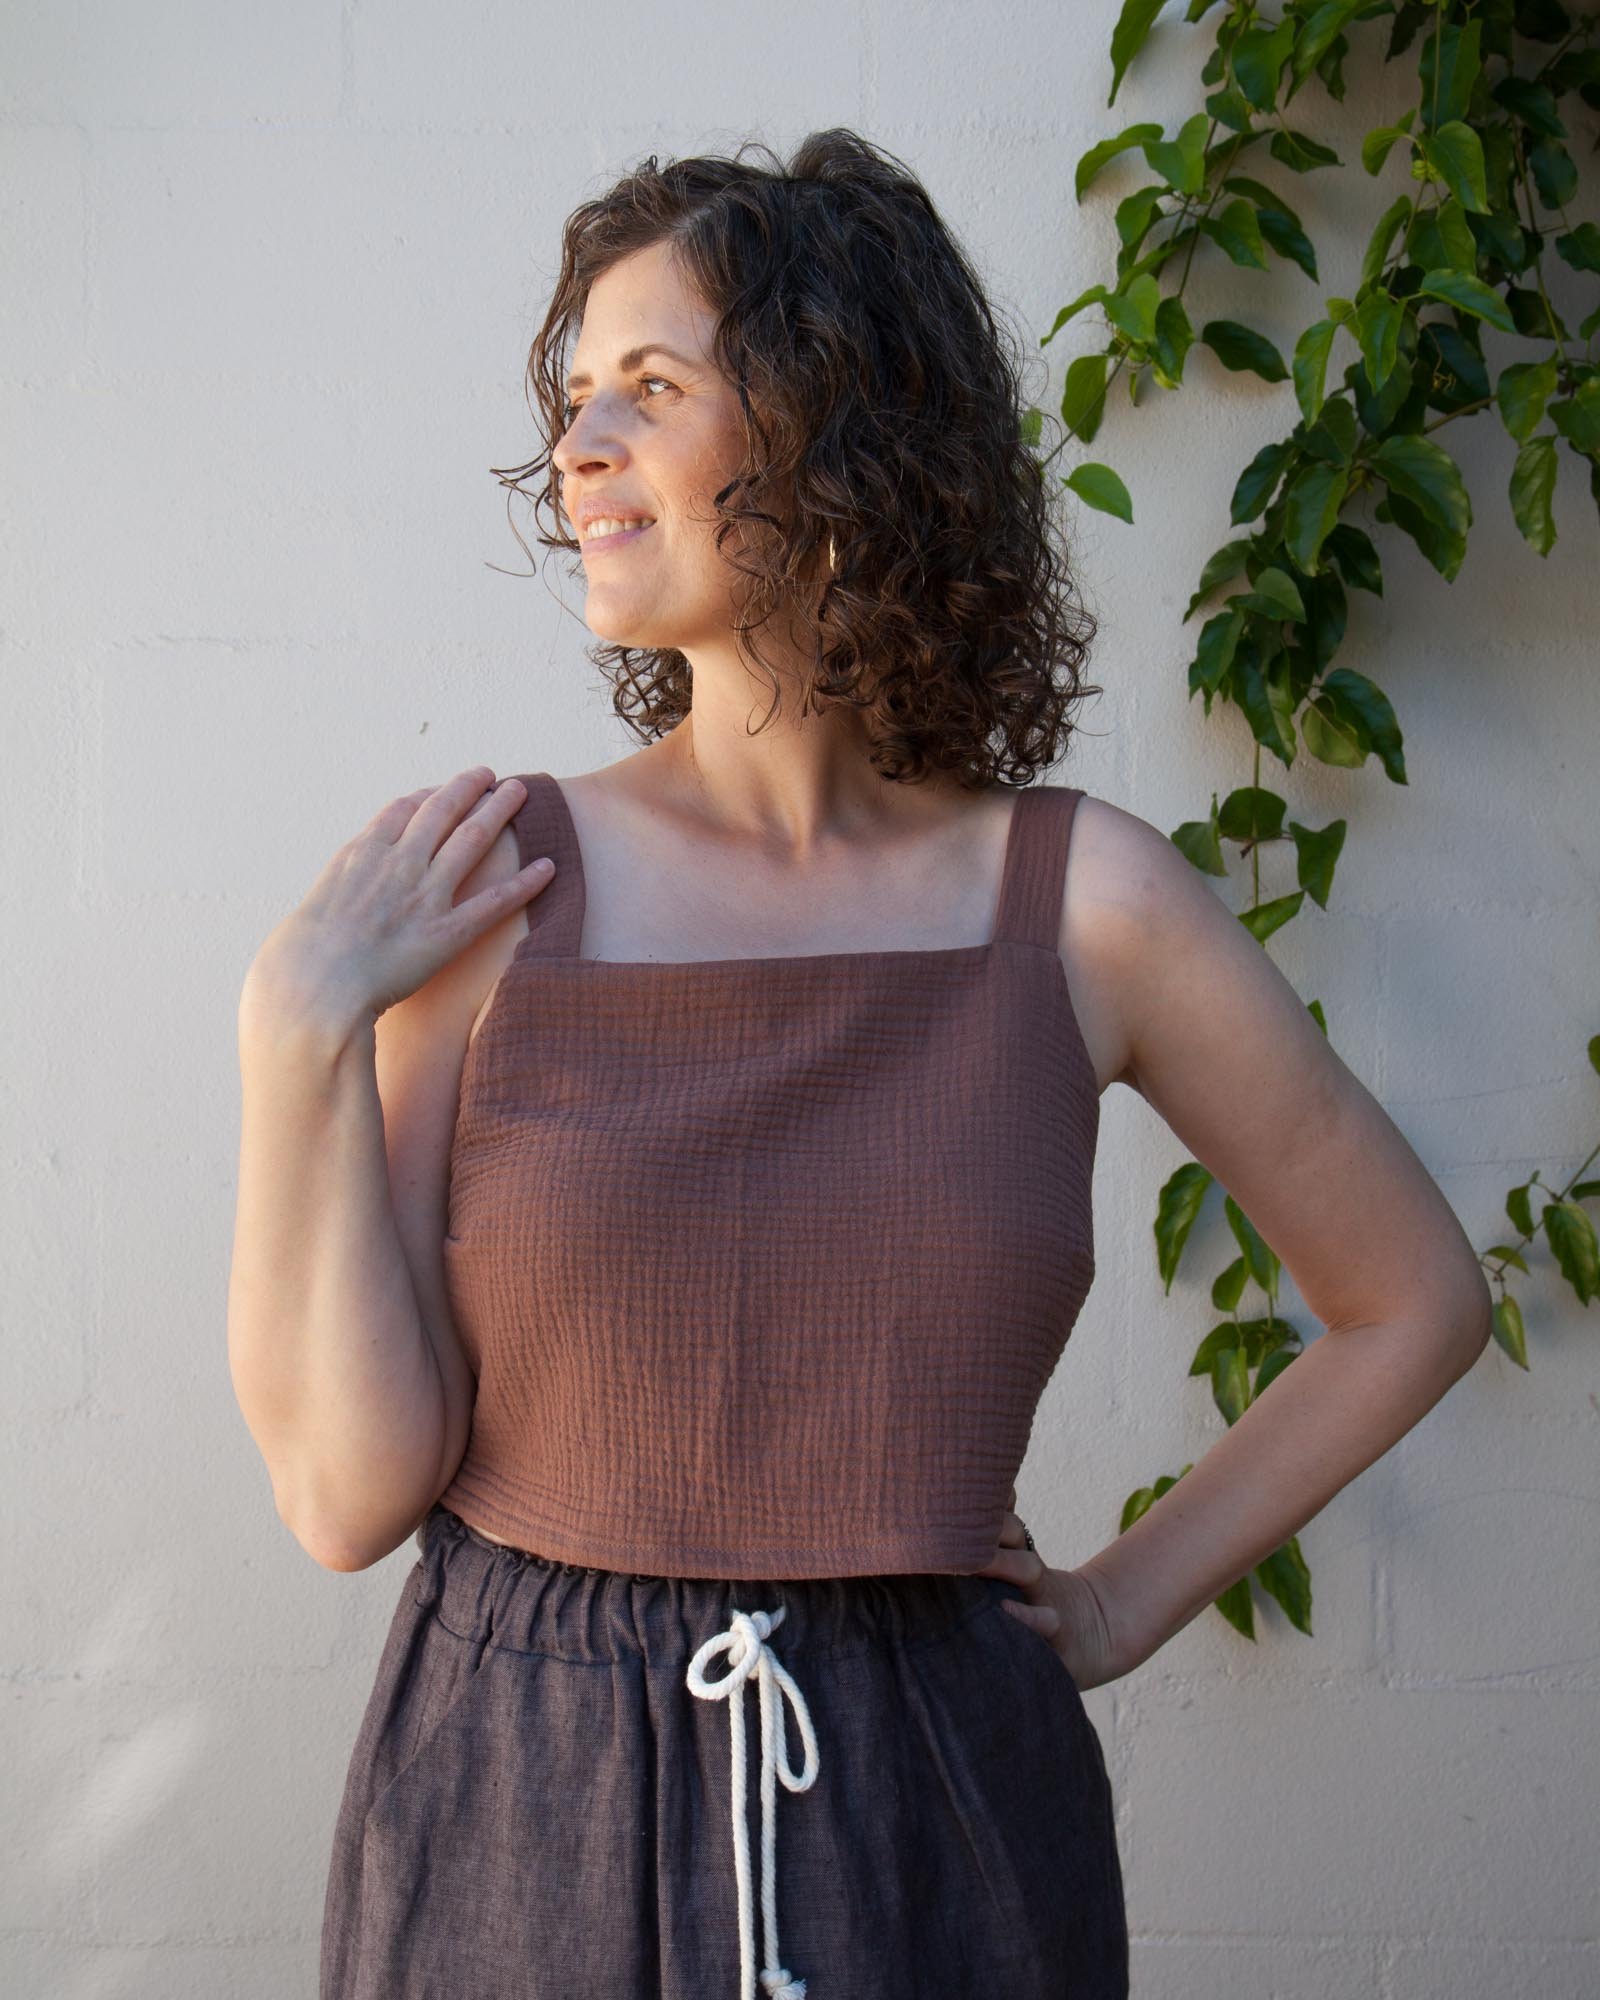
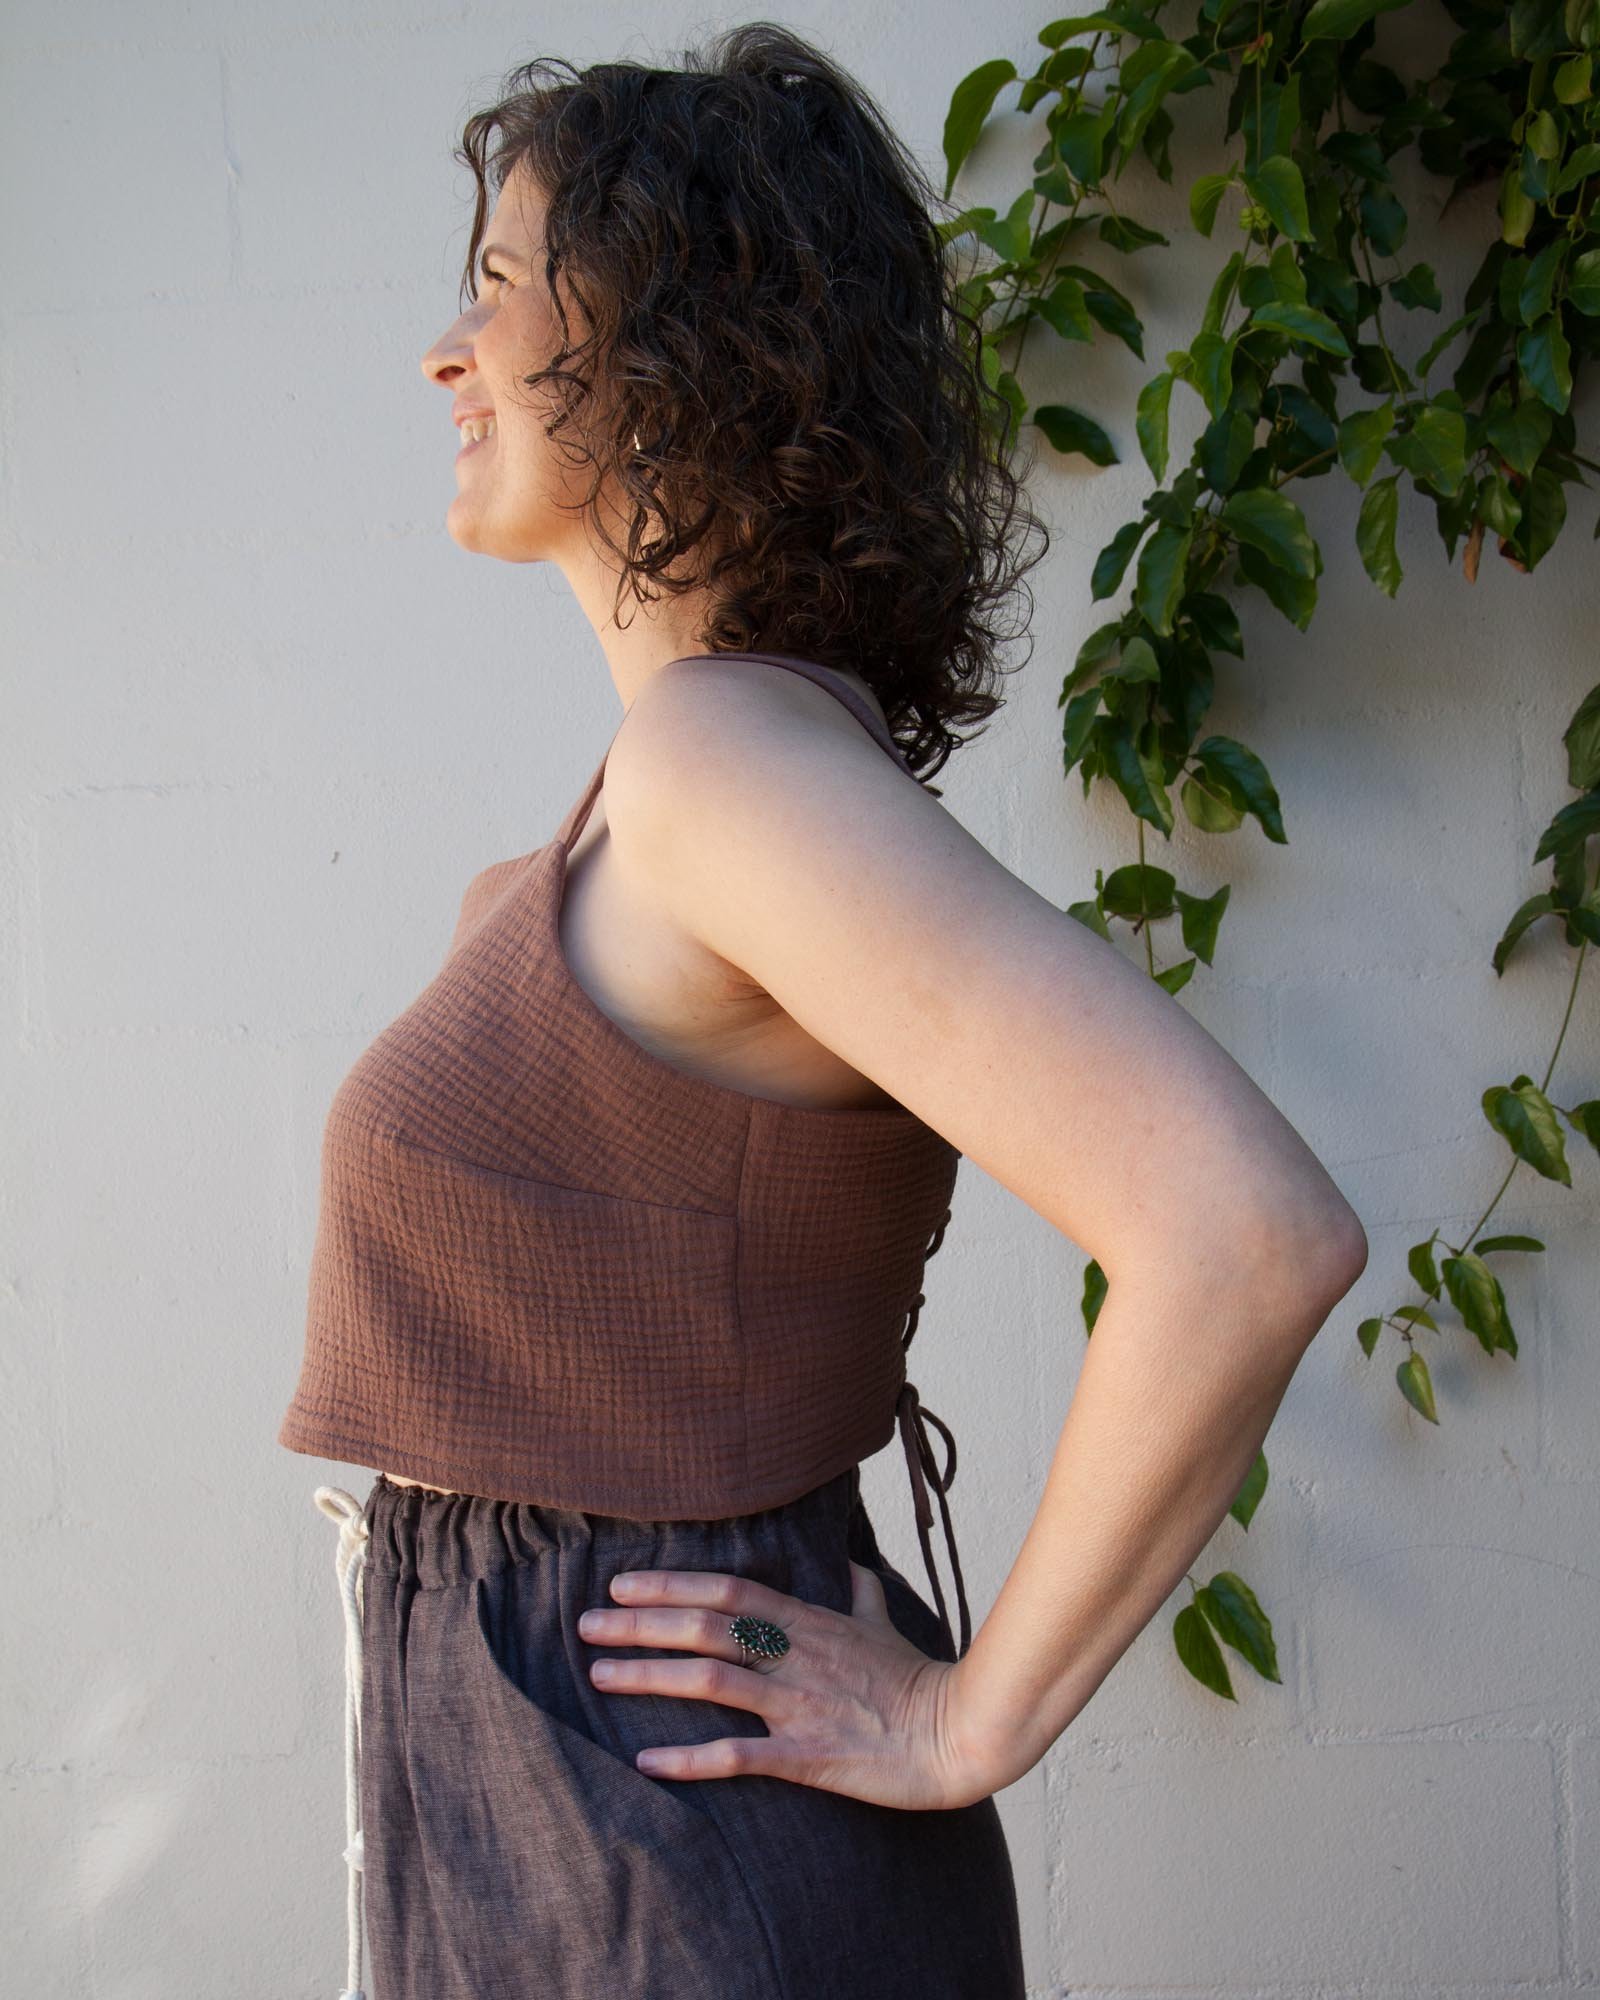
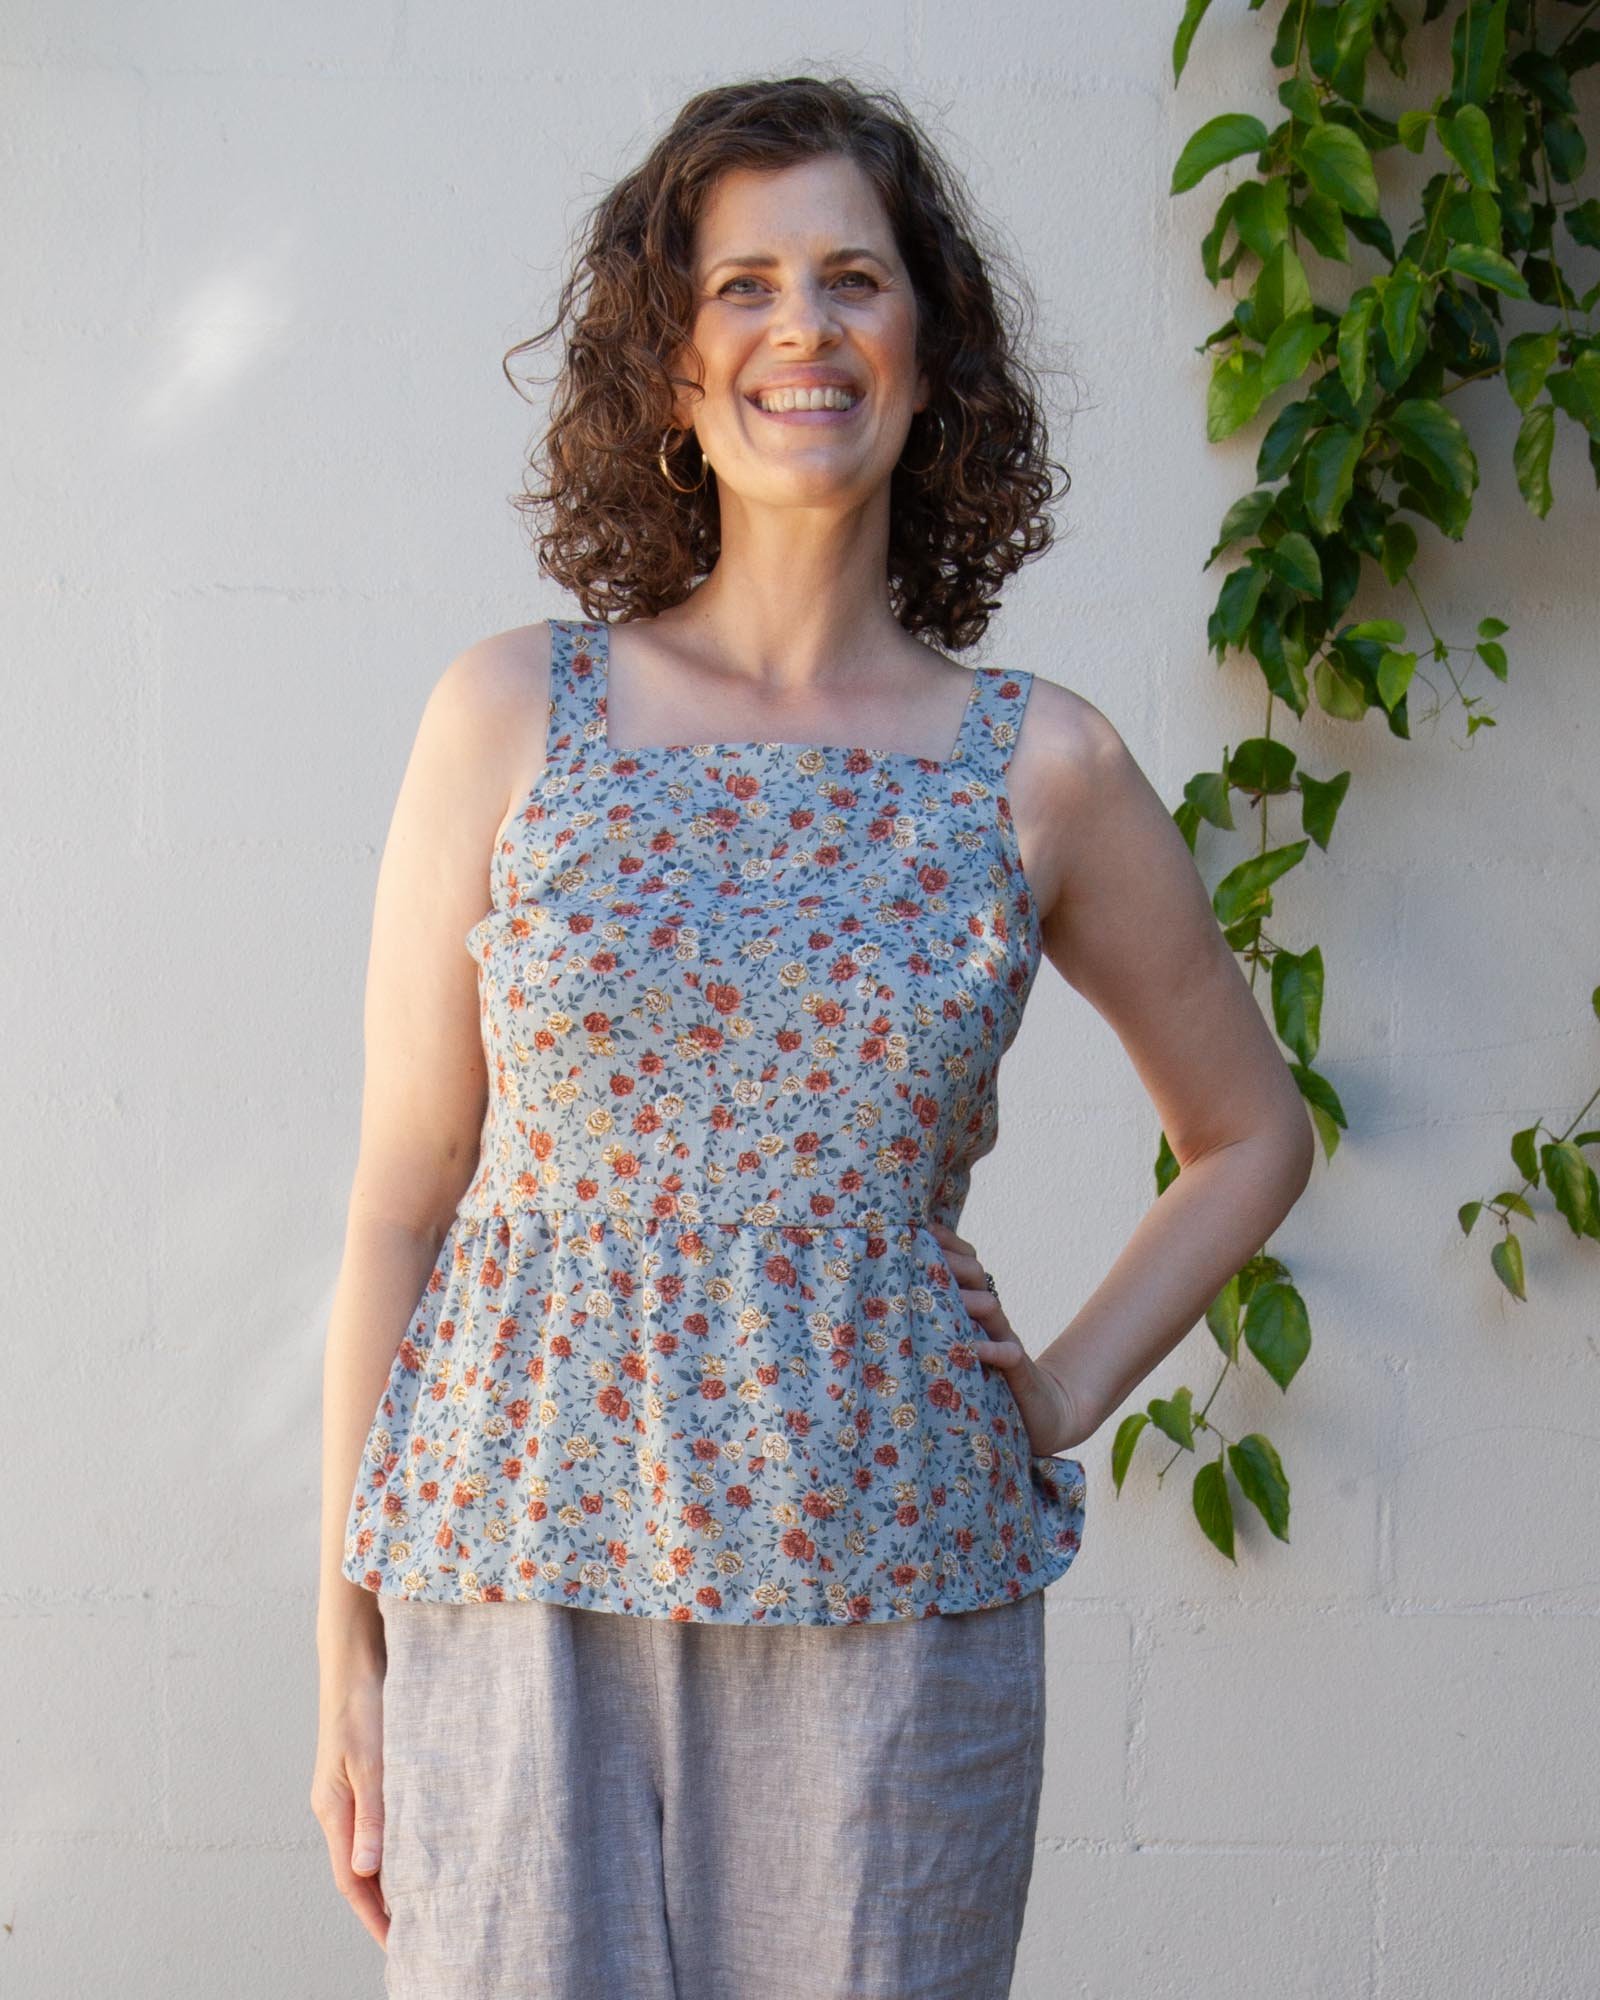
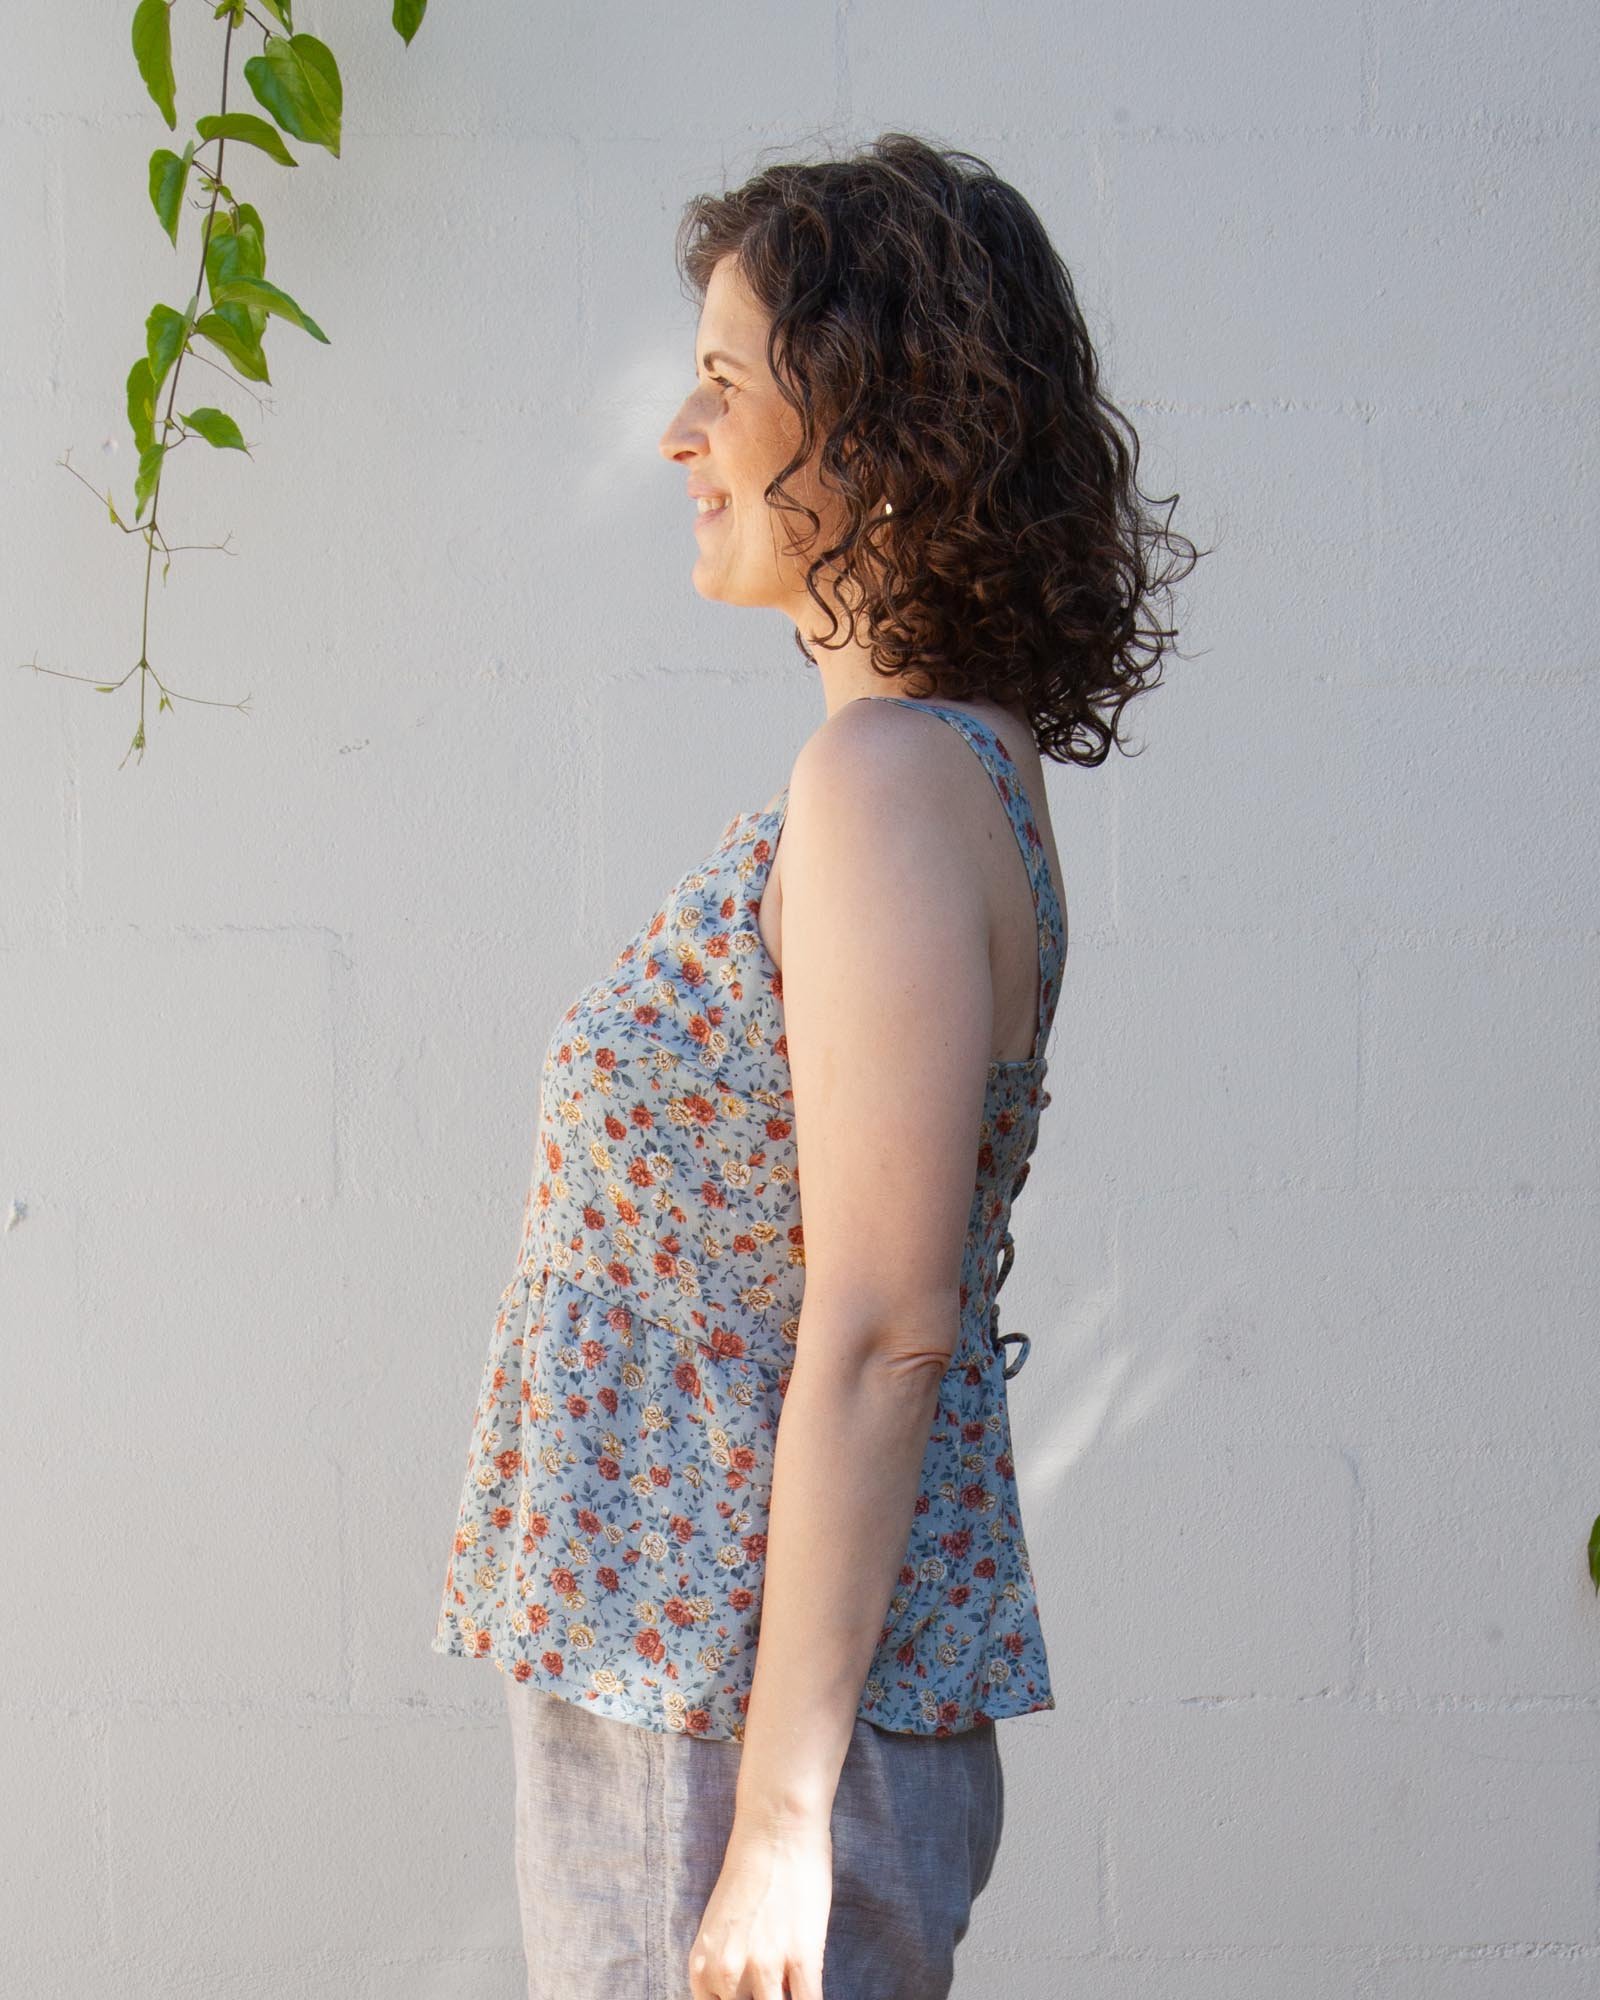
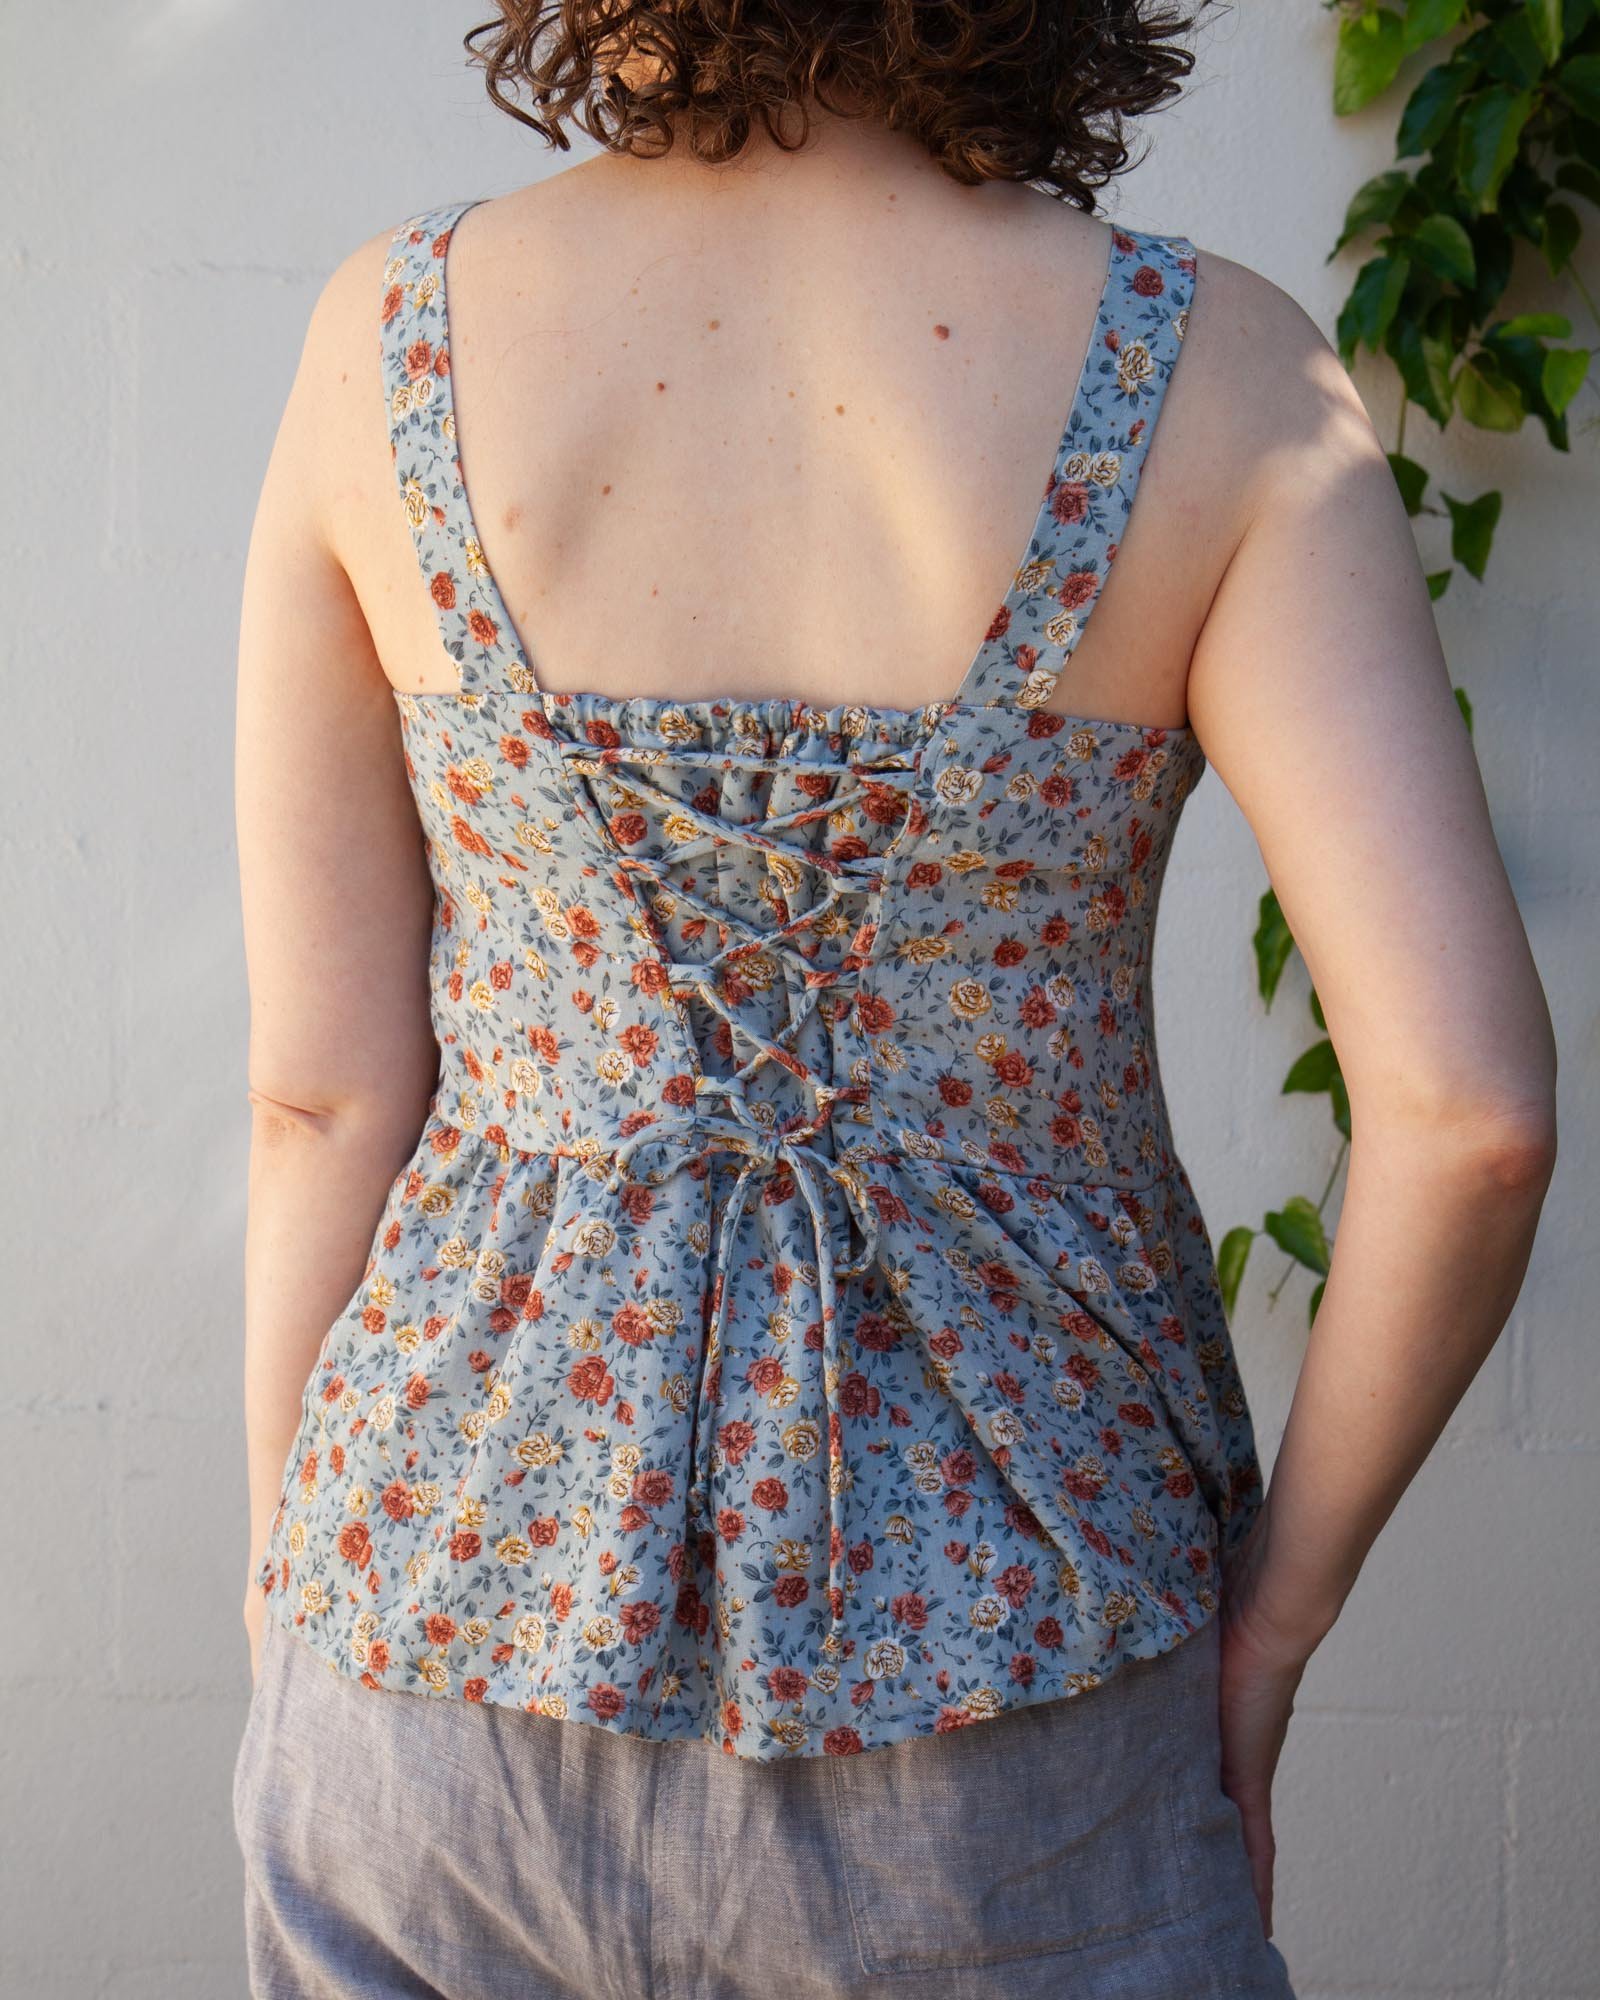
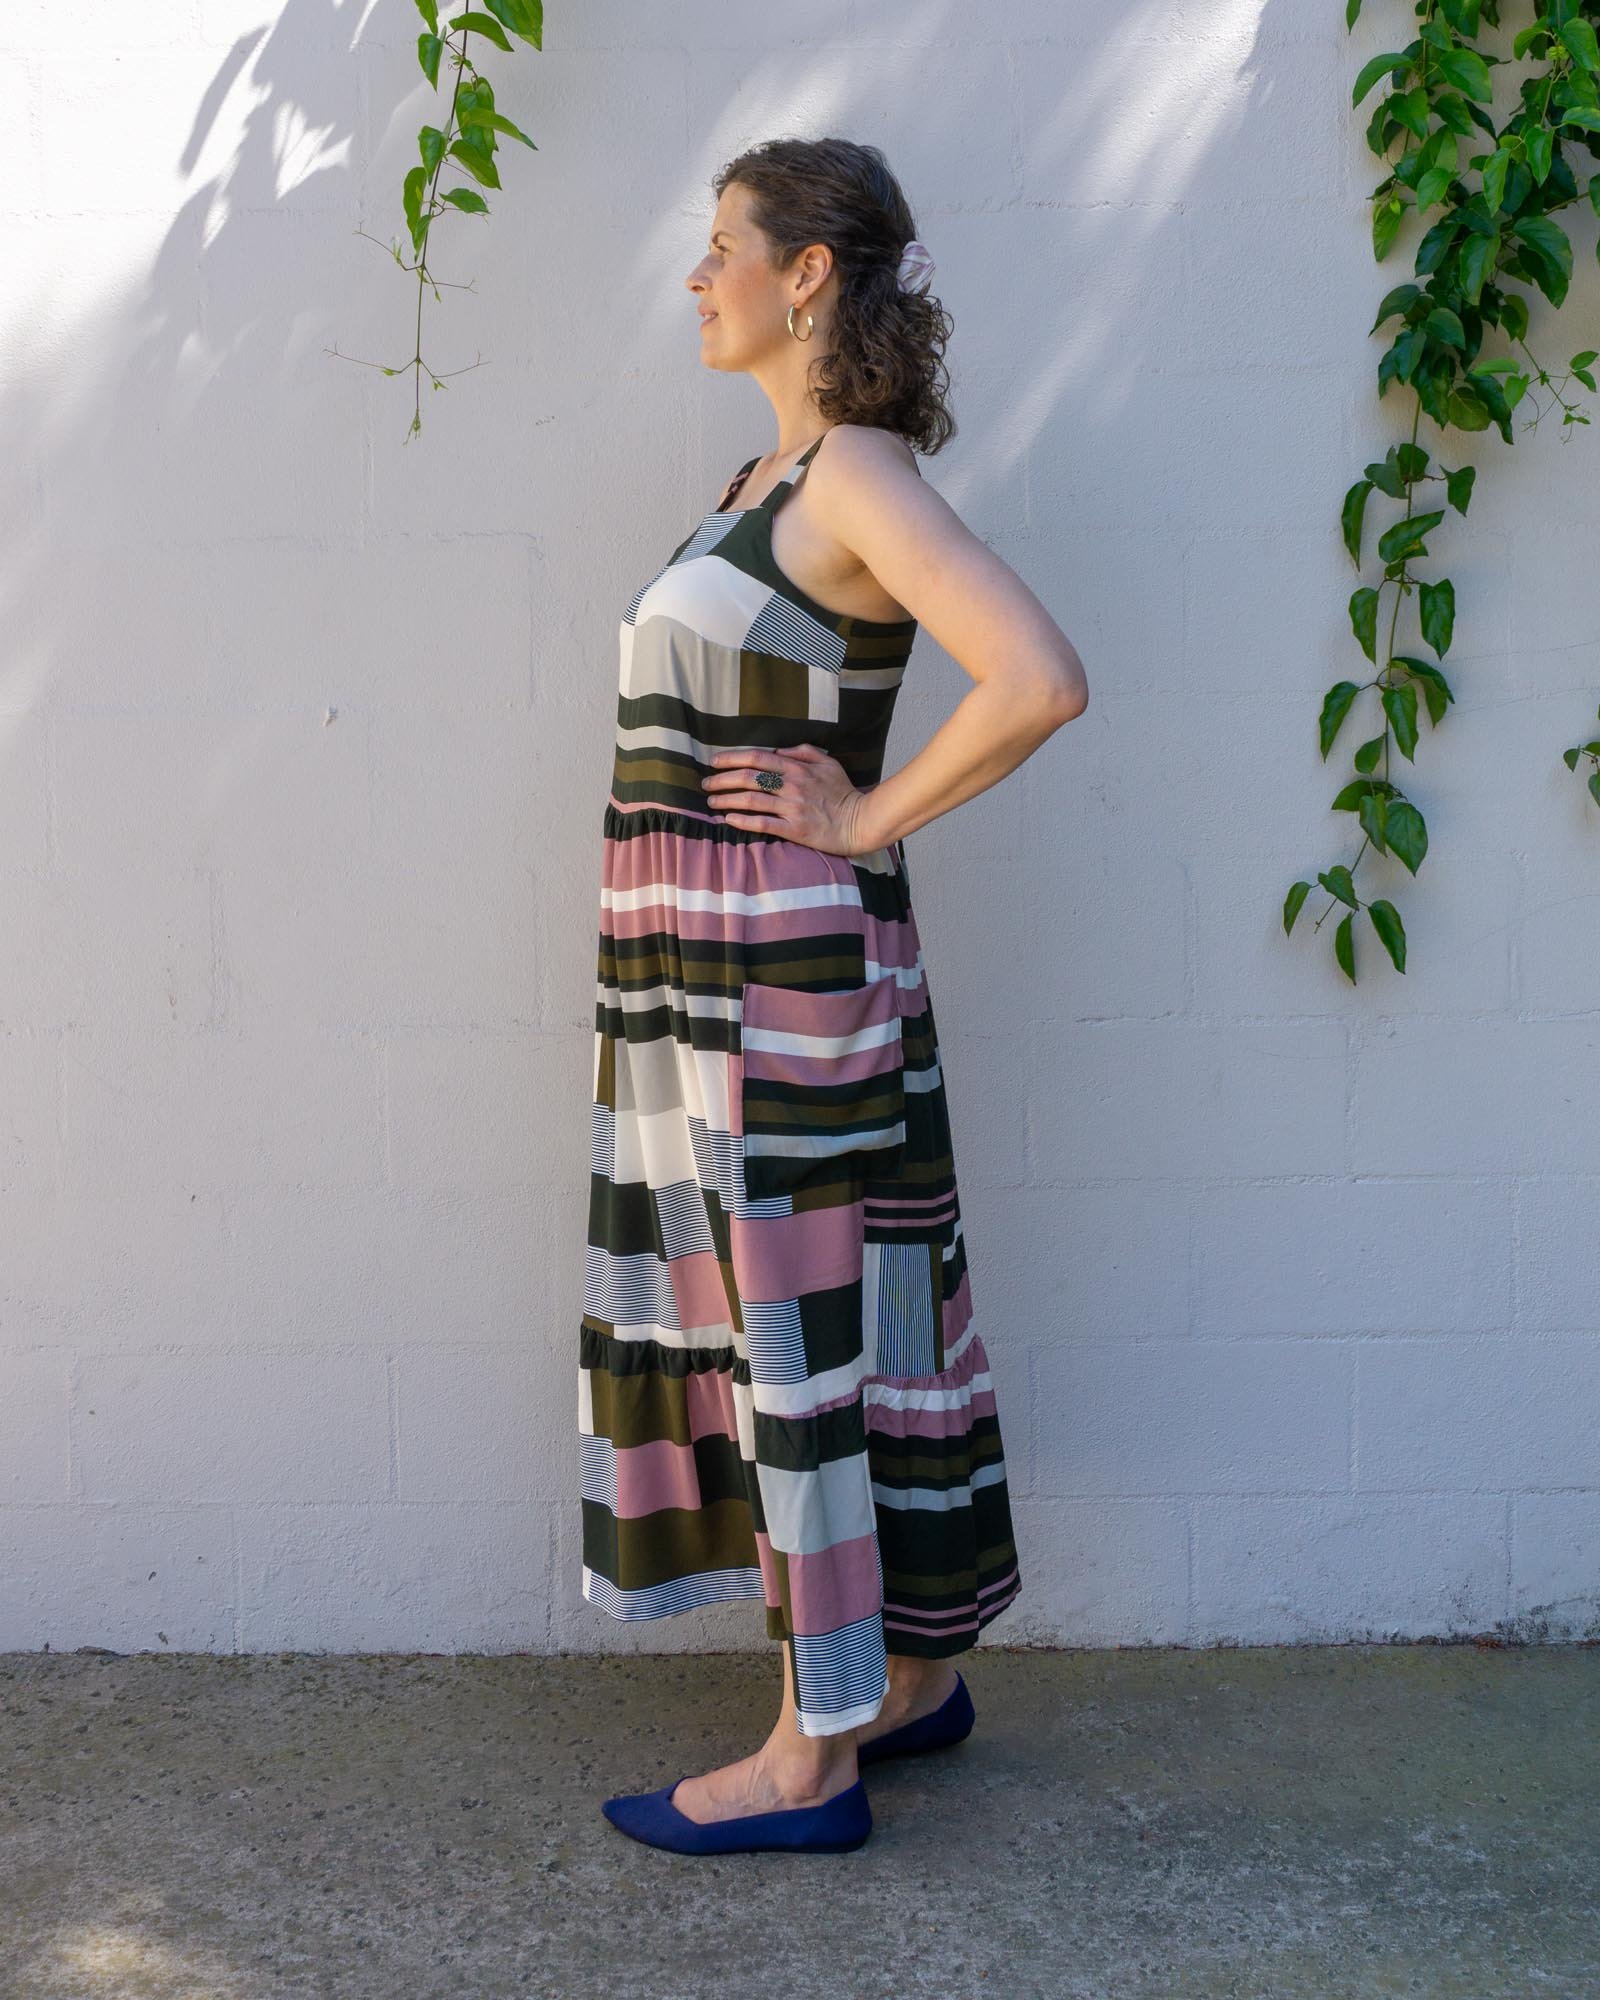
The Eva features a square neckline, side bust darts and is fitted at the back with a combination of narrow elastic and criss-crossed lacing. View A is a crop top that ends at the waistline, View B has a ruffled peplum that ends at the high hip and View C is a dress with a calf-length skirt and ruffle at the hem.
ABOUT THE Eva Tops and Dress SEWING PATTERN
The pattern is a hybrid of a traditional pattern that you need to print and a zero-waste style pattern. You will need to print (or project) the front bodice and front facing pattern pieces. The remaining pattern pieces are rectangles that you can draw directly on your fabric (or paper) and then cut out, saving you paper and fabric.
This pattern is rated as an Intermediate level but I believe it can be sewn successfully by an adventurous beginner. Each individual step is fairly easy but all together it's more involved than some of my other patterns. If you're a more advanced sewist, I think this will be a really fun pattern to sew. There is just enough of a challenge to keep things interesting but nothing too daunting.
Sizing for the Eva Tops and Dress sewing pattern (Multiple cup sizes!!)
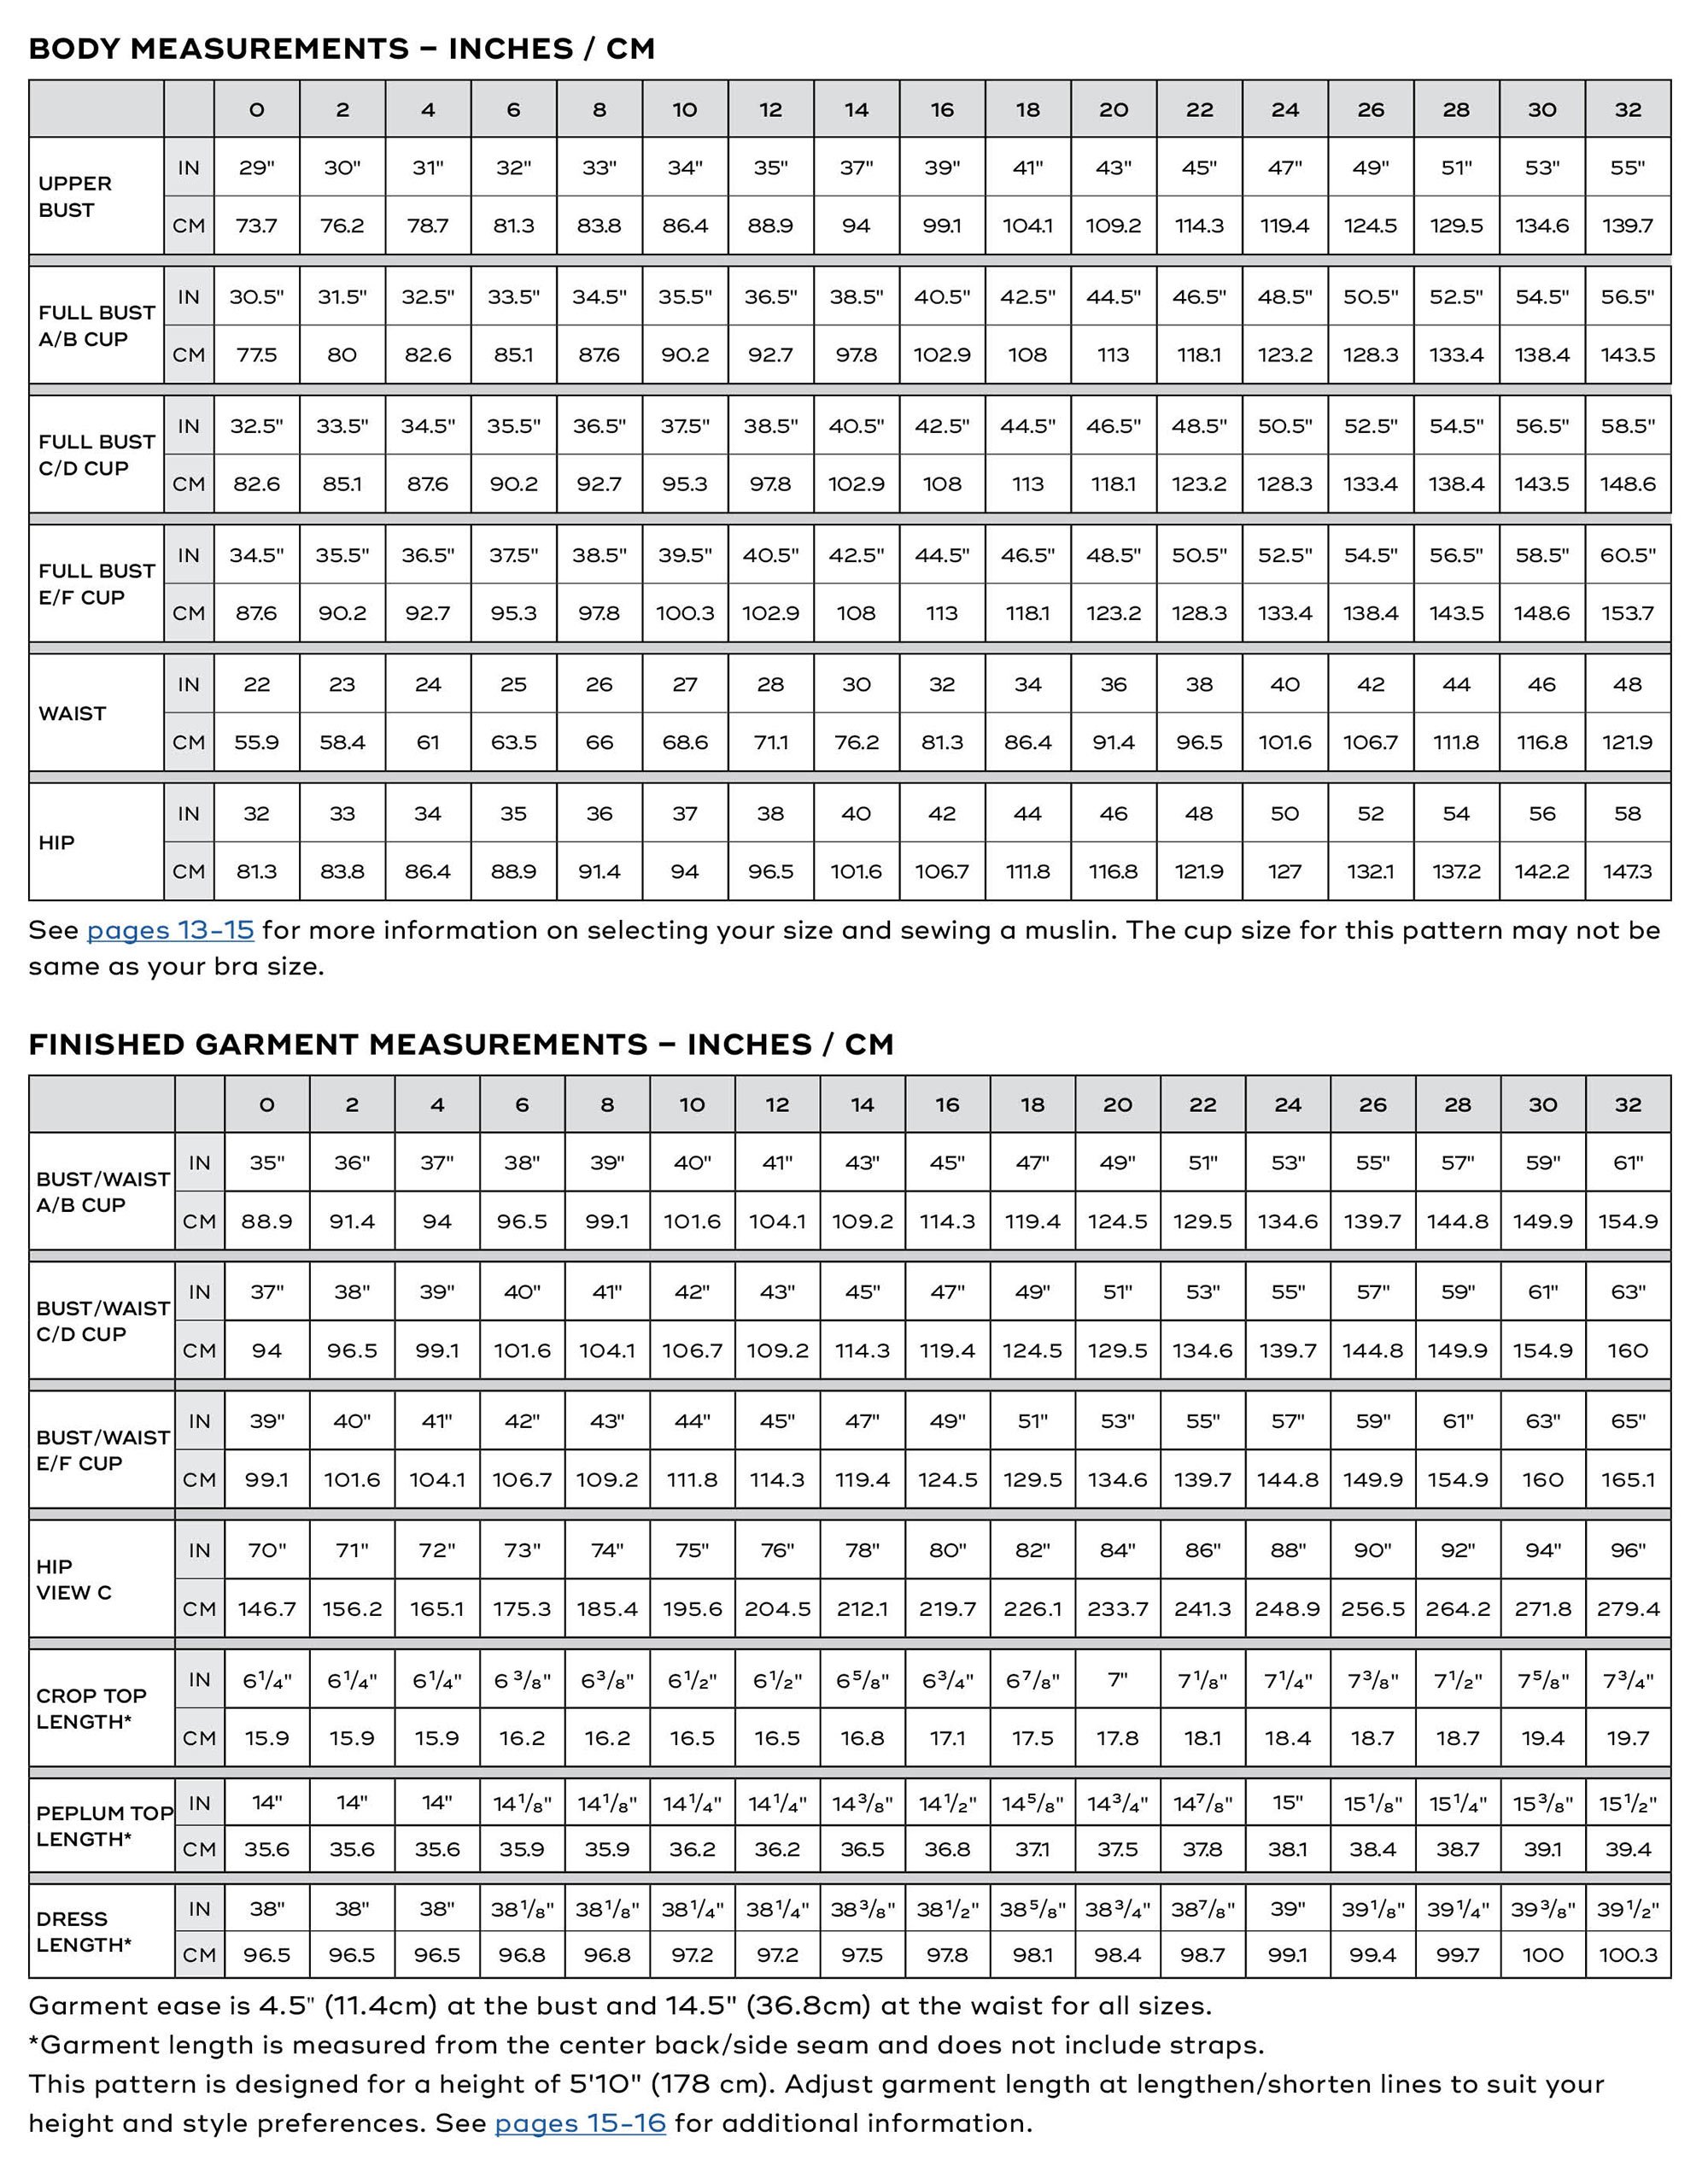
The Eva pattern is drafted for sizes 0-32 and includes three cup size options for all sizes, just like our Miri Tank Top pattern. You can choose from an A/B cup, C/D cup or E/F cup for a customized fit through the bust.
The instruction booklet will take you through the steps of selecting your size, sewing a quick muslin and evaluating the fit. Plus, throughout the construction the instructions call out points where we recommend doing a “Fit Check” before proceeding.
When selecting your size, you'll start by finding the size closest to your high bust measurement (it's ok to round up or down). Then go down that column to find the measurement that most closely matches your full bust (again, it's ok to round up or down). The pattern instructions have additional information on how to select your size.
If you're interested in the technical bit of what exactly an A/B cup is, let me tell you. So, in the world of pattern drafting, the bust cup is determined by the difference between the high bust measurement and the full bust measurement. A 1" difference is an A cup, 2" difference is a B cup, 3" is a C cup, etc. The A/B cup is drafted to be right in between a sewing A-cup and a sewing B-cup–a 1.5" difference between the high bust and full bust. During testing, I was pleased to find that these in-between cups really worked well.
You can learn more about our size charts here.
Fabric and supplies
This pattern is designed to be used with light to medium-weight woven fabrics such as linen, chambray, cotton lawn, poplin, double gauze, rayon, and crepe de chine. For the samples shown here, view A is made in cotton double gauze and views B and C are sewn in rayon challis. I really like using a rayon challis for this pattern because it provides nice drape, gathers nicely and it’s easier to turn the ties right side out.
Additionally, you will need thread, interfacing and 3/8” (1cm) wide elastic. For interfacing, you'll want to use a type that has the same weight as the fabric you are using. For example, if you're using a very lightweight fabric such as rayon crepe, you'll want to use lightweight interfacing. If in doubt, I recommend using a lightweight interfacing. Using an interfacing that is heavier than your fabric can make the garment feel very odd. So, lighter is better!
The elastic is used to fit the top of the center back and you only need a small piece (see the fabric chart). One of my testers recommended cotton swim elastic as being very comfortable.
Tools
I don't usually recommend special tools with my patterns but there are a few things that will make sewing the Eva much easier. The most important one is bodkin or tube turner for turning the tubes right side out. The pattern also gives advice on when to check the fit during construction and it's helpful to have a couple of small safety pins to hold the elastic temporarily in place. Additionally, I like to use a wooden dowel when pressing the seams open for the straps.
Sewalong
I have created an Eva sewalong page with all of the blog posts that could be helpful when making this pattern. You'll find posts on interfacing, darts, gathers and printing your pattern. I’m also planning to put together some video posts for how to sew the Eva. I have everything filmed, I just need to find the time to edit and post (not an easy task!).
The best way to stay up to date on all my blog posts is to sign up for my weekly newsletter.
I hope that you love this pattern as much as I do. It’s really fun to sew, and perfect for summer. To celebrate the launch, we are offering 20% off this pattern with code HELLOEVA. Offer expires Wednesday, August 23, 2023, at midnight, Pacific time.
Click here to grab your copy of the pattern. Happy sewing!
How to Understitch a Facing or Lining—Sewing Basics Tutorial
In today's video, I'm going to be showing you how to understitch. Understitching is a technique that is most often used when sewing woven fabric garments but occasionally with knit fabrics as well. It's mostly used when you are sewing a facing, a lining or an in-seam pocket. The purpose of understitching is to keep those parts of the garments hidden and out of view.


