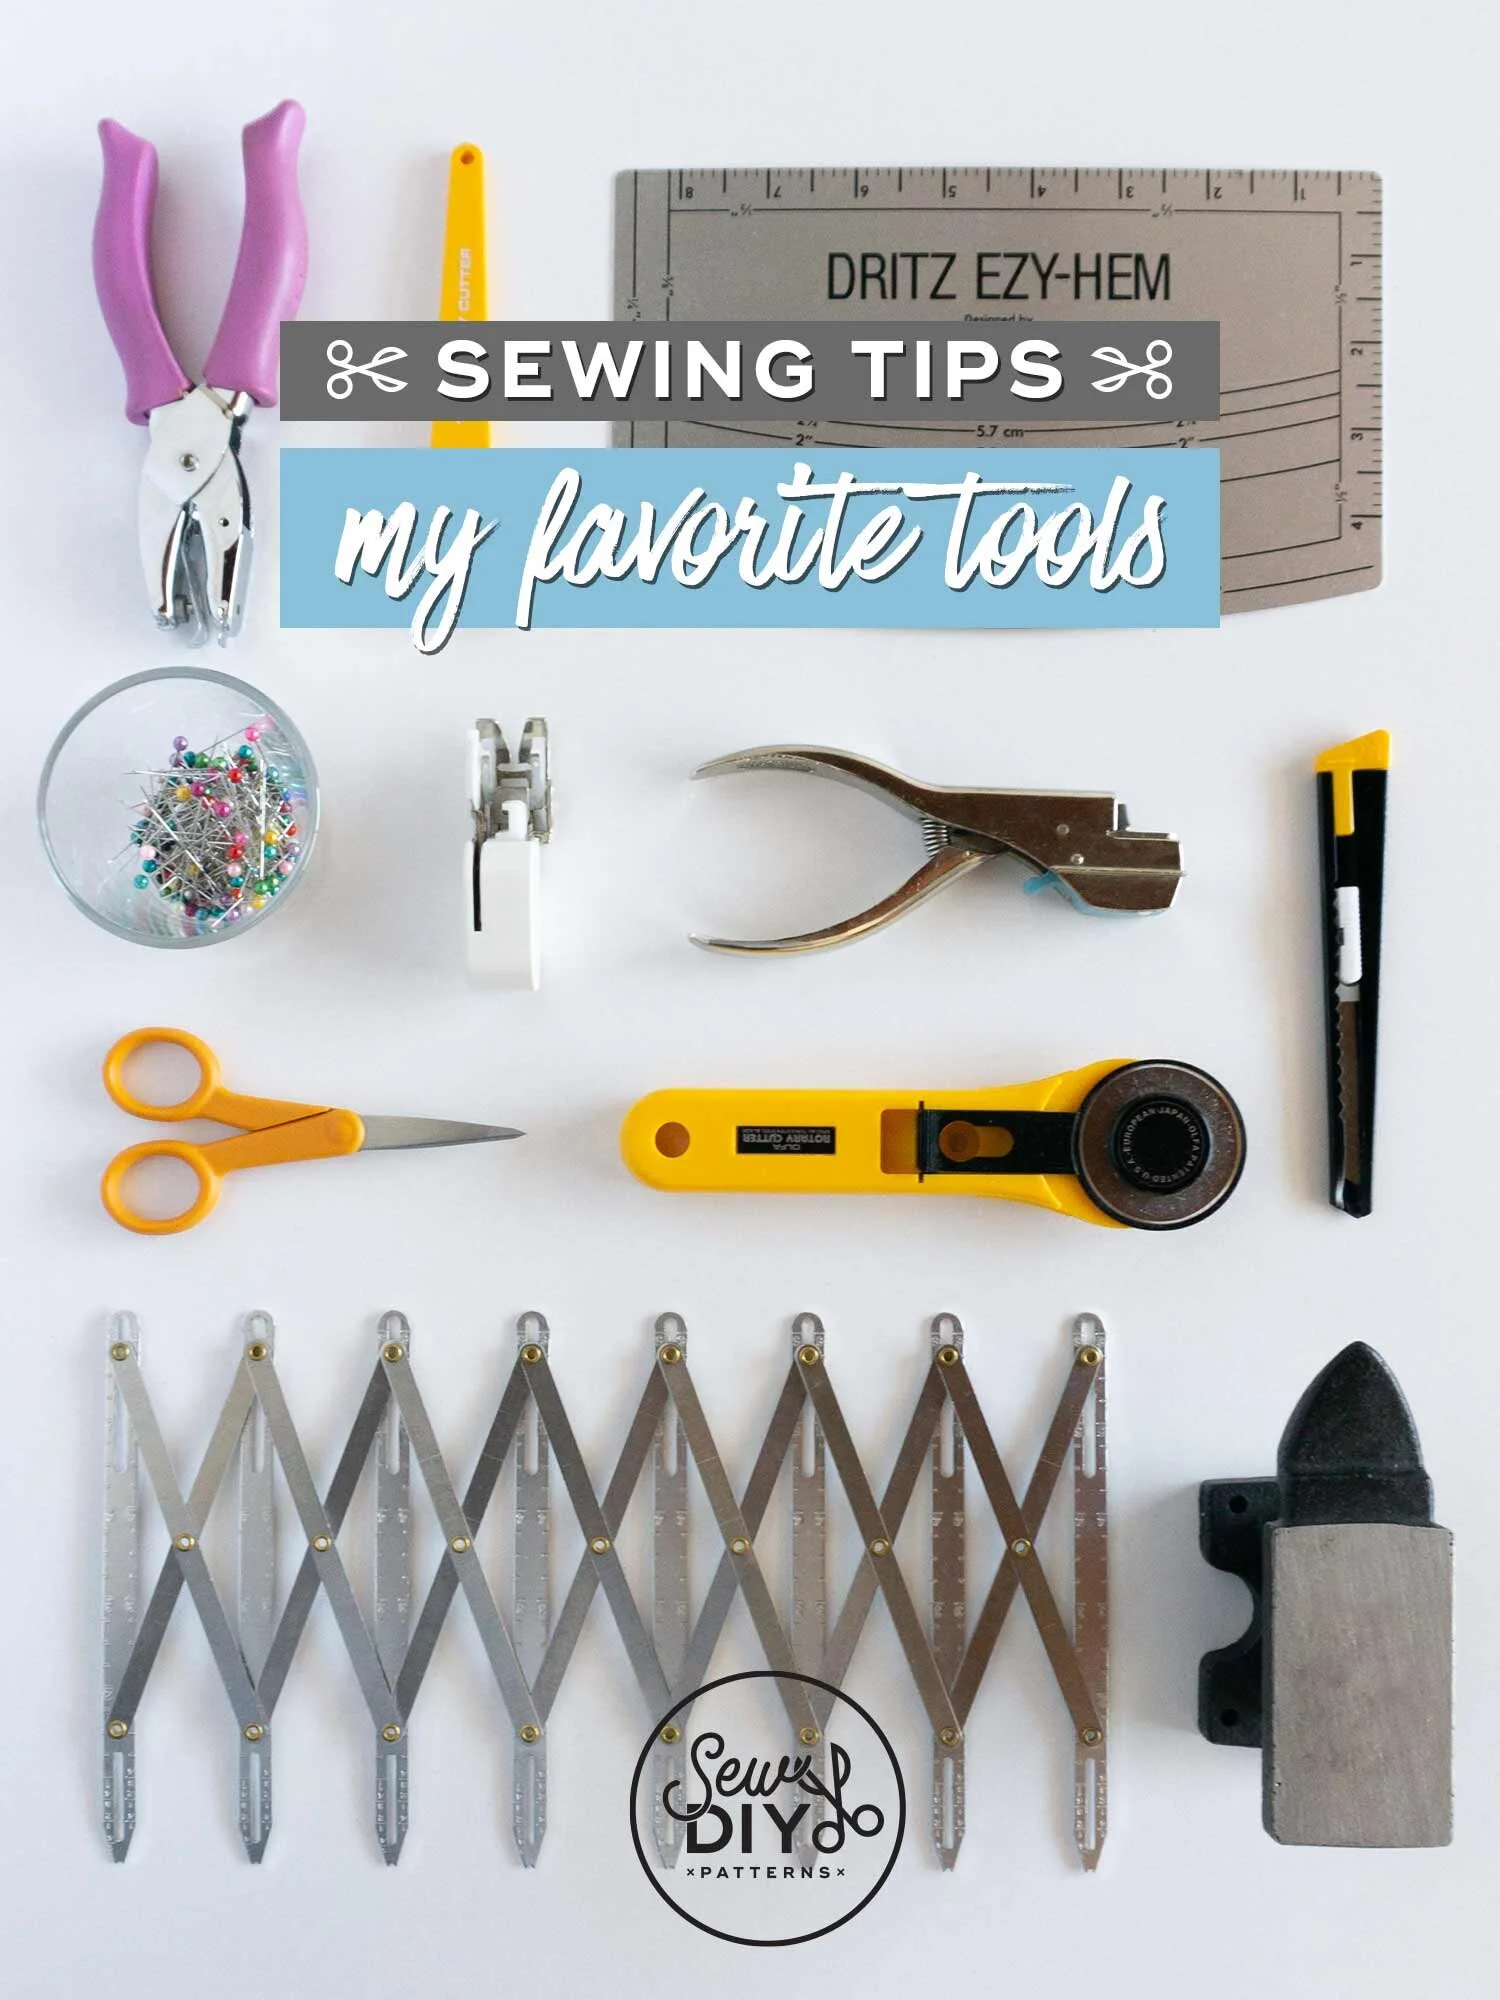
Today, I'm sharing my favorite sewing tools. These are the tools that I use often and that make a huge difference in the quality and/or ease of my sewing. I share why I love these tools and a little bit about how I use them.
I'm generally, pretty minimalist when it comes to tools. I only like to have things that I know are going to be useful. So, even though there are nineteen sewing tools on my list, you can rest assured that I use these all the time. If you're looking for ideas on how to build out your sewing tool kit or help someone else build theirs, this is a great video for you.
MY FAVORITE SEWING TOOLS
Note, the links below are affiliate links which means that if you purchase via one of these links, I will earn a small commission at no additional cost to you.
1) Iron
An iron is essential for sewing. I even like to have a backup iron in case my main one goes kaput. I recommend having an iron with a wide range of heat and steam settings. It’s also nice to have buttons to poof out additional steam or water as needed.
A cheap utility knife from the hardware store is a simple and affordable way to cut out pdf patterns.
This is my go-to fabric cutting tool. I’ve had mine for at least 15 years. You do need to replace the blades fairly often but the cutter itself lasts forever.
A smaller rotary cutter is helpful for cutting sharp curves and other places that the 45mm can’t easily reach. It’s not essential but it is useful.
I didn’t mention this in the video but it’s definitely an essential when you are using a rotary cutter.
The pattern notcher is a type of punch that cuts a narrow U-shape out of the side of your pattern. Use it to punch a hole at the notches. Then use scissors (see number 8) to snip a bit of the fabric and mark the notch. Just be careful not to snip past the seam line.
This is not essential but really useful for transferring circle markings to your fabric. For every circle marking on the pattern, cut a hole in the pattern using this hole punch. Then, with the pattern on top of the fabric, run a piece of chalk over the hole, leaving a mark on the fabric.
These are my all-time favorite scissors. They are great for snipping threads, notches and clipping fabric on curved seams.
When chalk doesn’t cut it, I like to use a wash-away fabric marker. It creates an accurate mark that disappears when spritzed with water.
10) Long pins
I like to use long pins with a large ball on the end because they are the easiest to pick up.
If you accidentally spill your pins on the floor, the easiest way to clean them up is with a magnetic wand.
12) Walking foot
A walking foot is immensely helpful when sewing knits, matching stripes or plaids and for quilting. Make sure to find a walking foot that is made to use with your machine.
13) EZ Hem Gauge
I only bought this recently and I’ve found that I use it all the time to press accurate hems.
14) Sleeve board
A sleeve board makes it easy to press narrow pieces of fabric like sleeves or pant legs.
15) Tailor's clapper
A tailor’s clapper will help press challenging fabrics flat without damaging the fabric. It’s pretty much just a piece of wood though so you may be able to make one yourself.
16) Tailor's ham
Use a tailors ham to press curved pieces of fabric. You can also use a rolled up towel or make one yourself.
17) Tube turner
For narrow tubes, sometimes a safety pin just doesn’t work. A tube turner will make turning a fabric tube right side out, quick and easy.
18) Simflex expanding sewing gauge
I never really thought that this tool was very useful until I actually used one. It makes marking even spacing for buttonholes super fast.
19) Mini anvil
If you’re sewing jeans or other things with rivets, a mini anvil is really helpful in creating a hard flat surface to hammer on.
MY FAVORITE LOW COST SEWING MACHINES
I occasionally get asked about what sewing machines I would recommend. Until last year, I sewed on a very cheap Brother cs6000i. It’s a basic machine but it could do everything I needed and even included a walking foot. I’ve also tried sewing on a friend’s Singer Heavy Duty machine and I found that it was challenging to adjust the stitch width and length on the Singer. The Brother is computerized and much easier to adjust.
I’ve been using the Brother 1034DX serger for about 10 years (I think) now. It’s been very reliable and is very affordable.
I hope that you found this post helpful. I want to mention that you definitely don’t need all of these tools to start sewing. The tools listed here are going beyond the basics. I love them and use them often but they are not all strictly necessary. If you are looking for just the basic tools you need to start sewing, then I recommend checking out this post. There are only 6 items on that list! Happy sewing!


