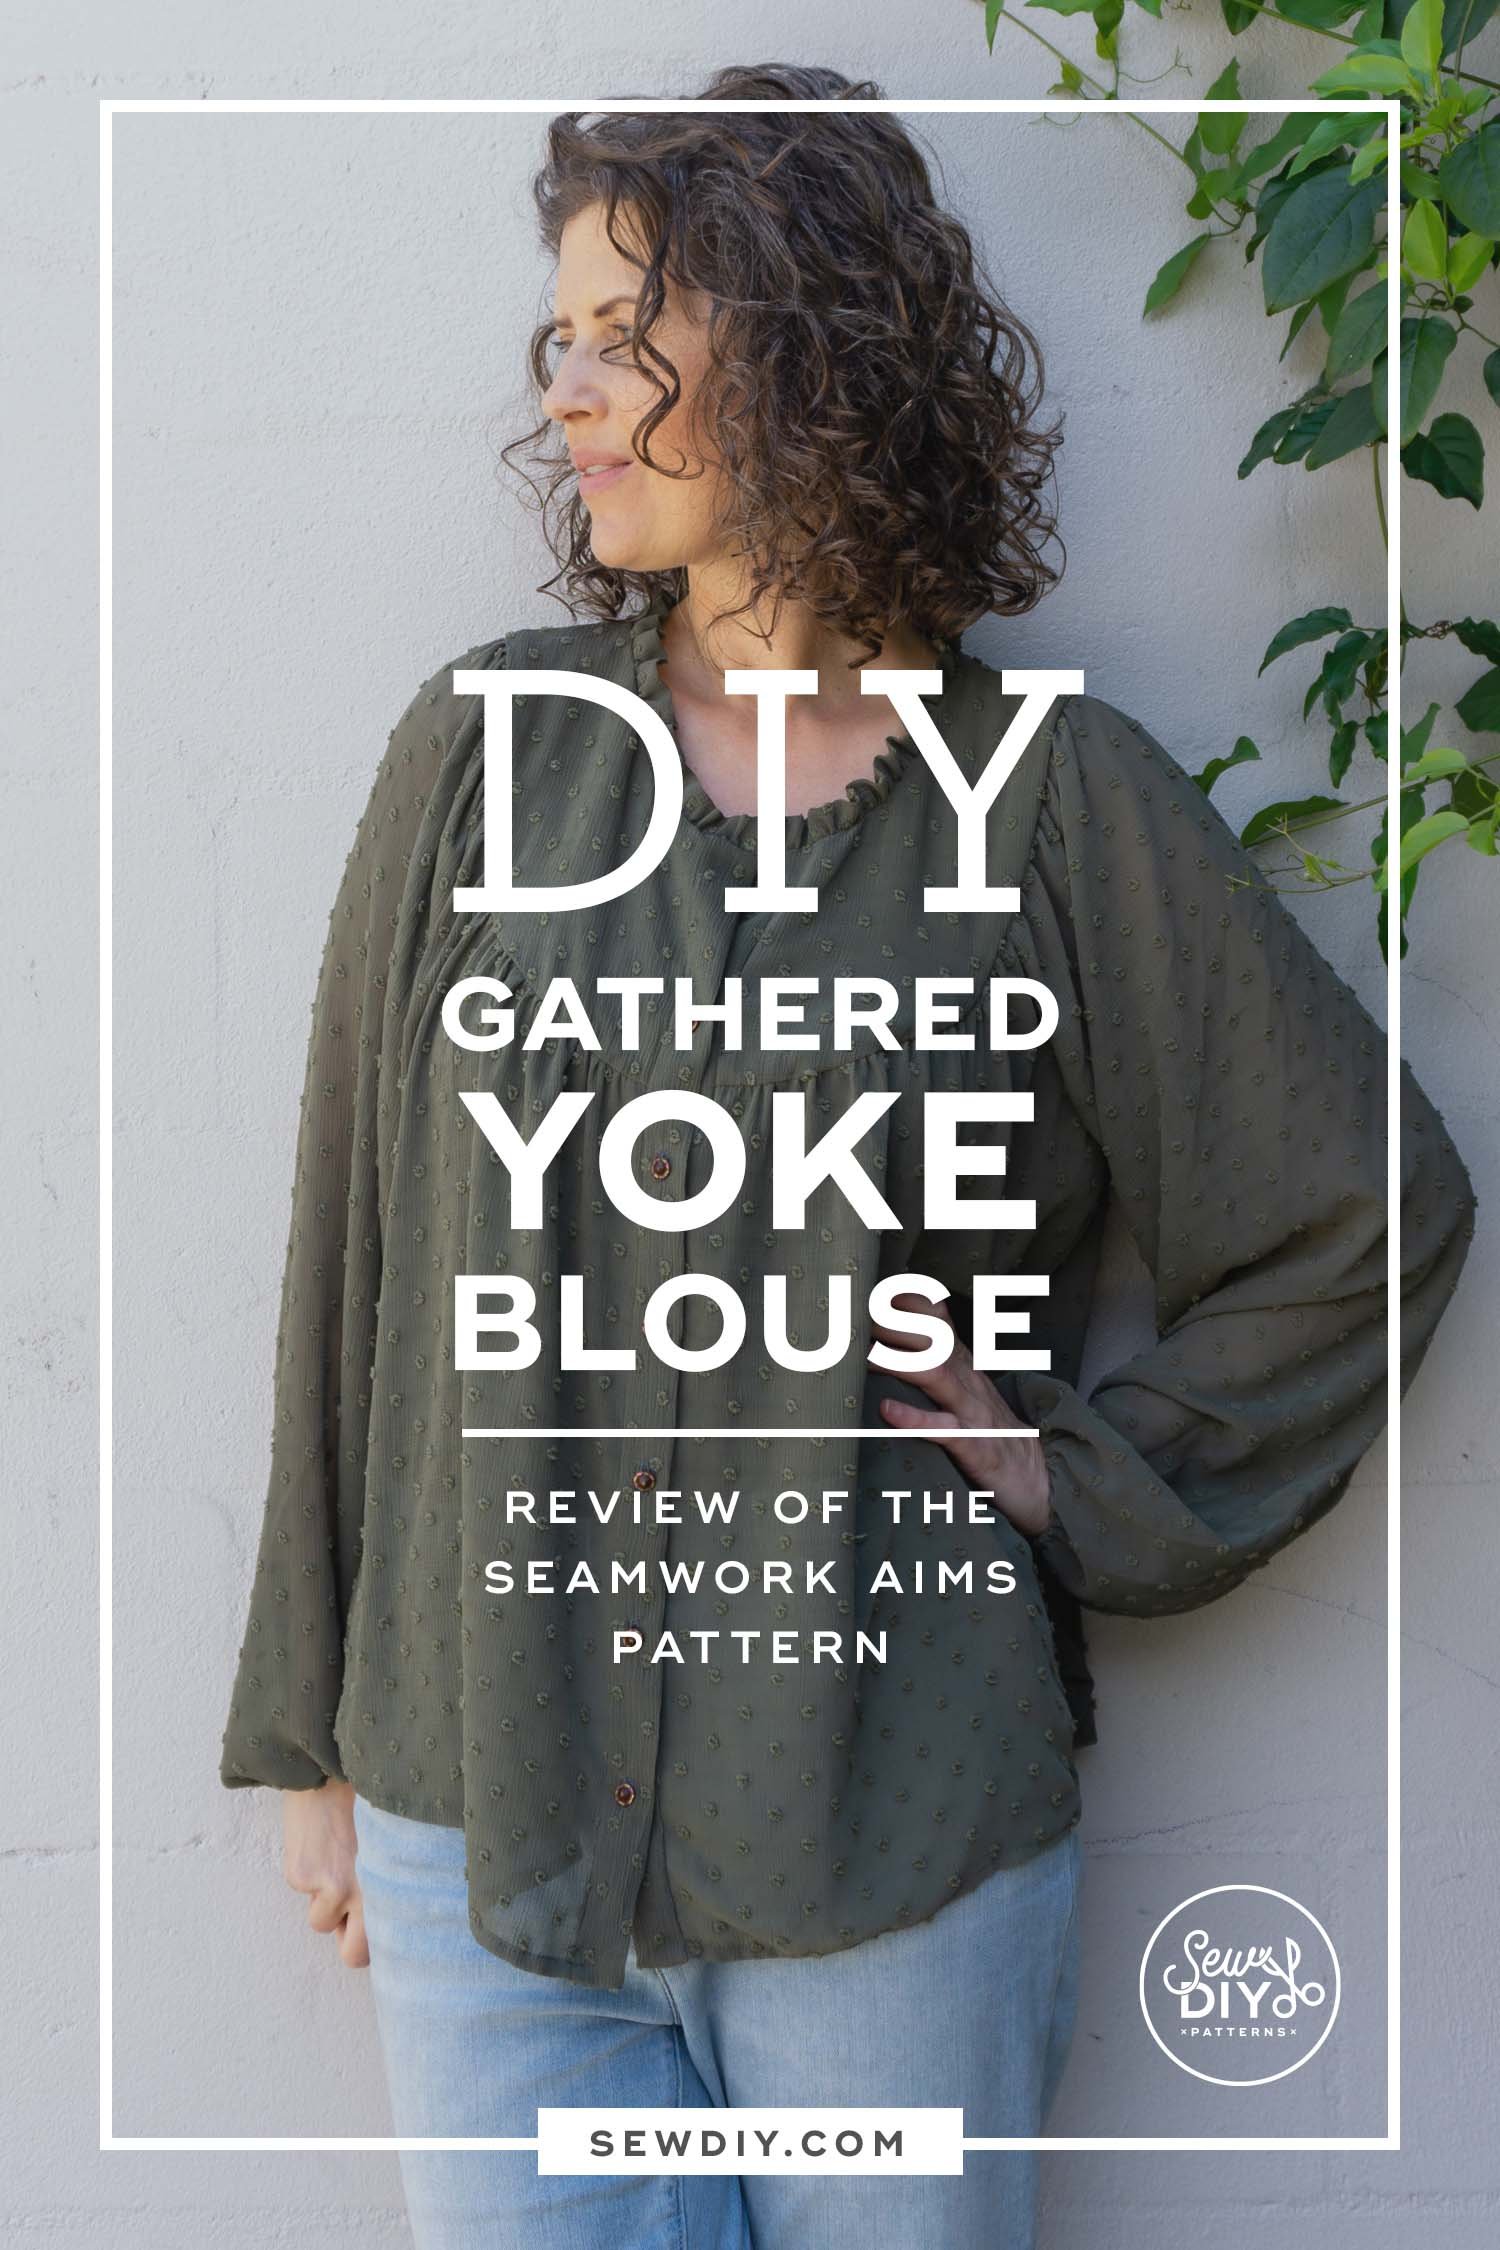
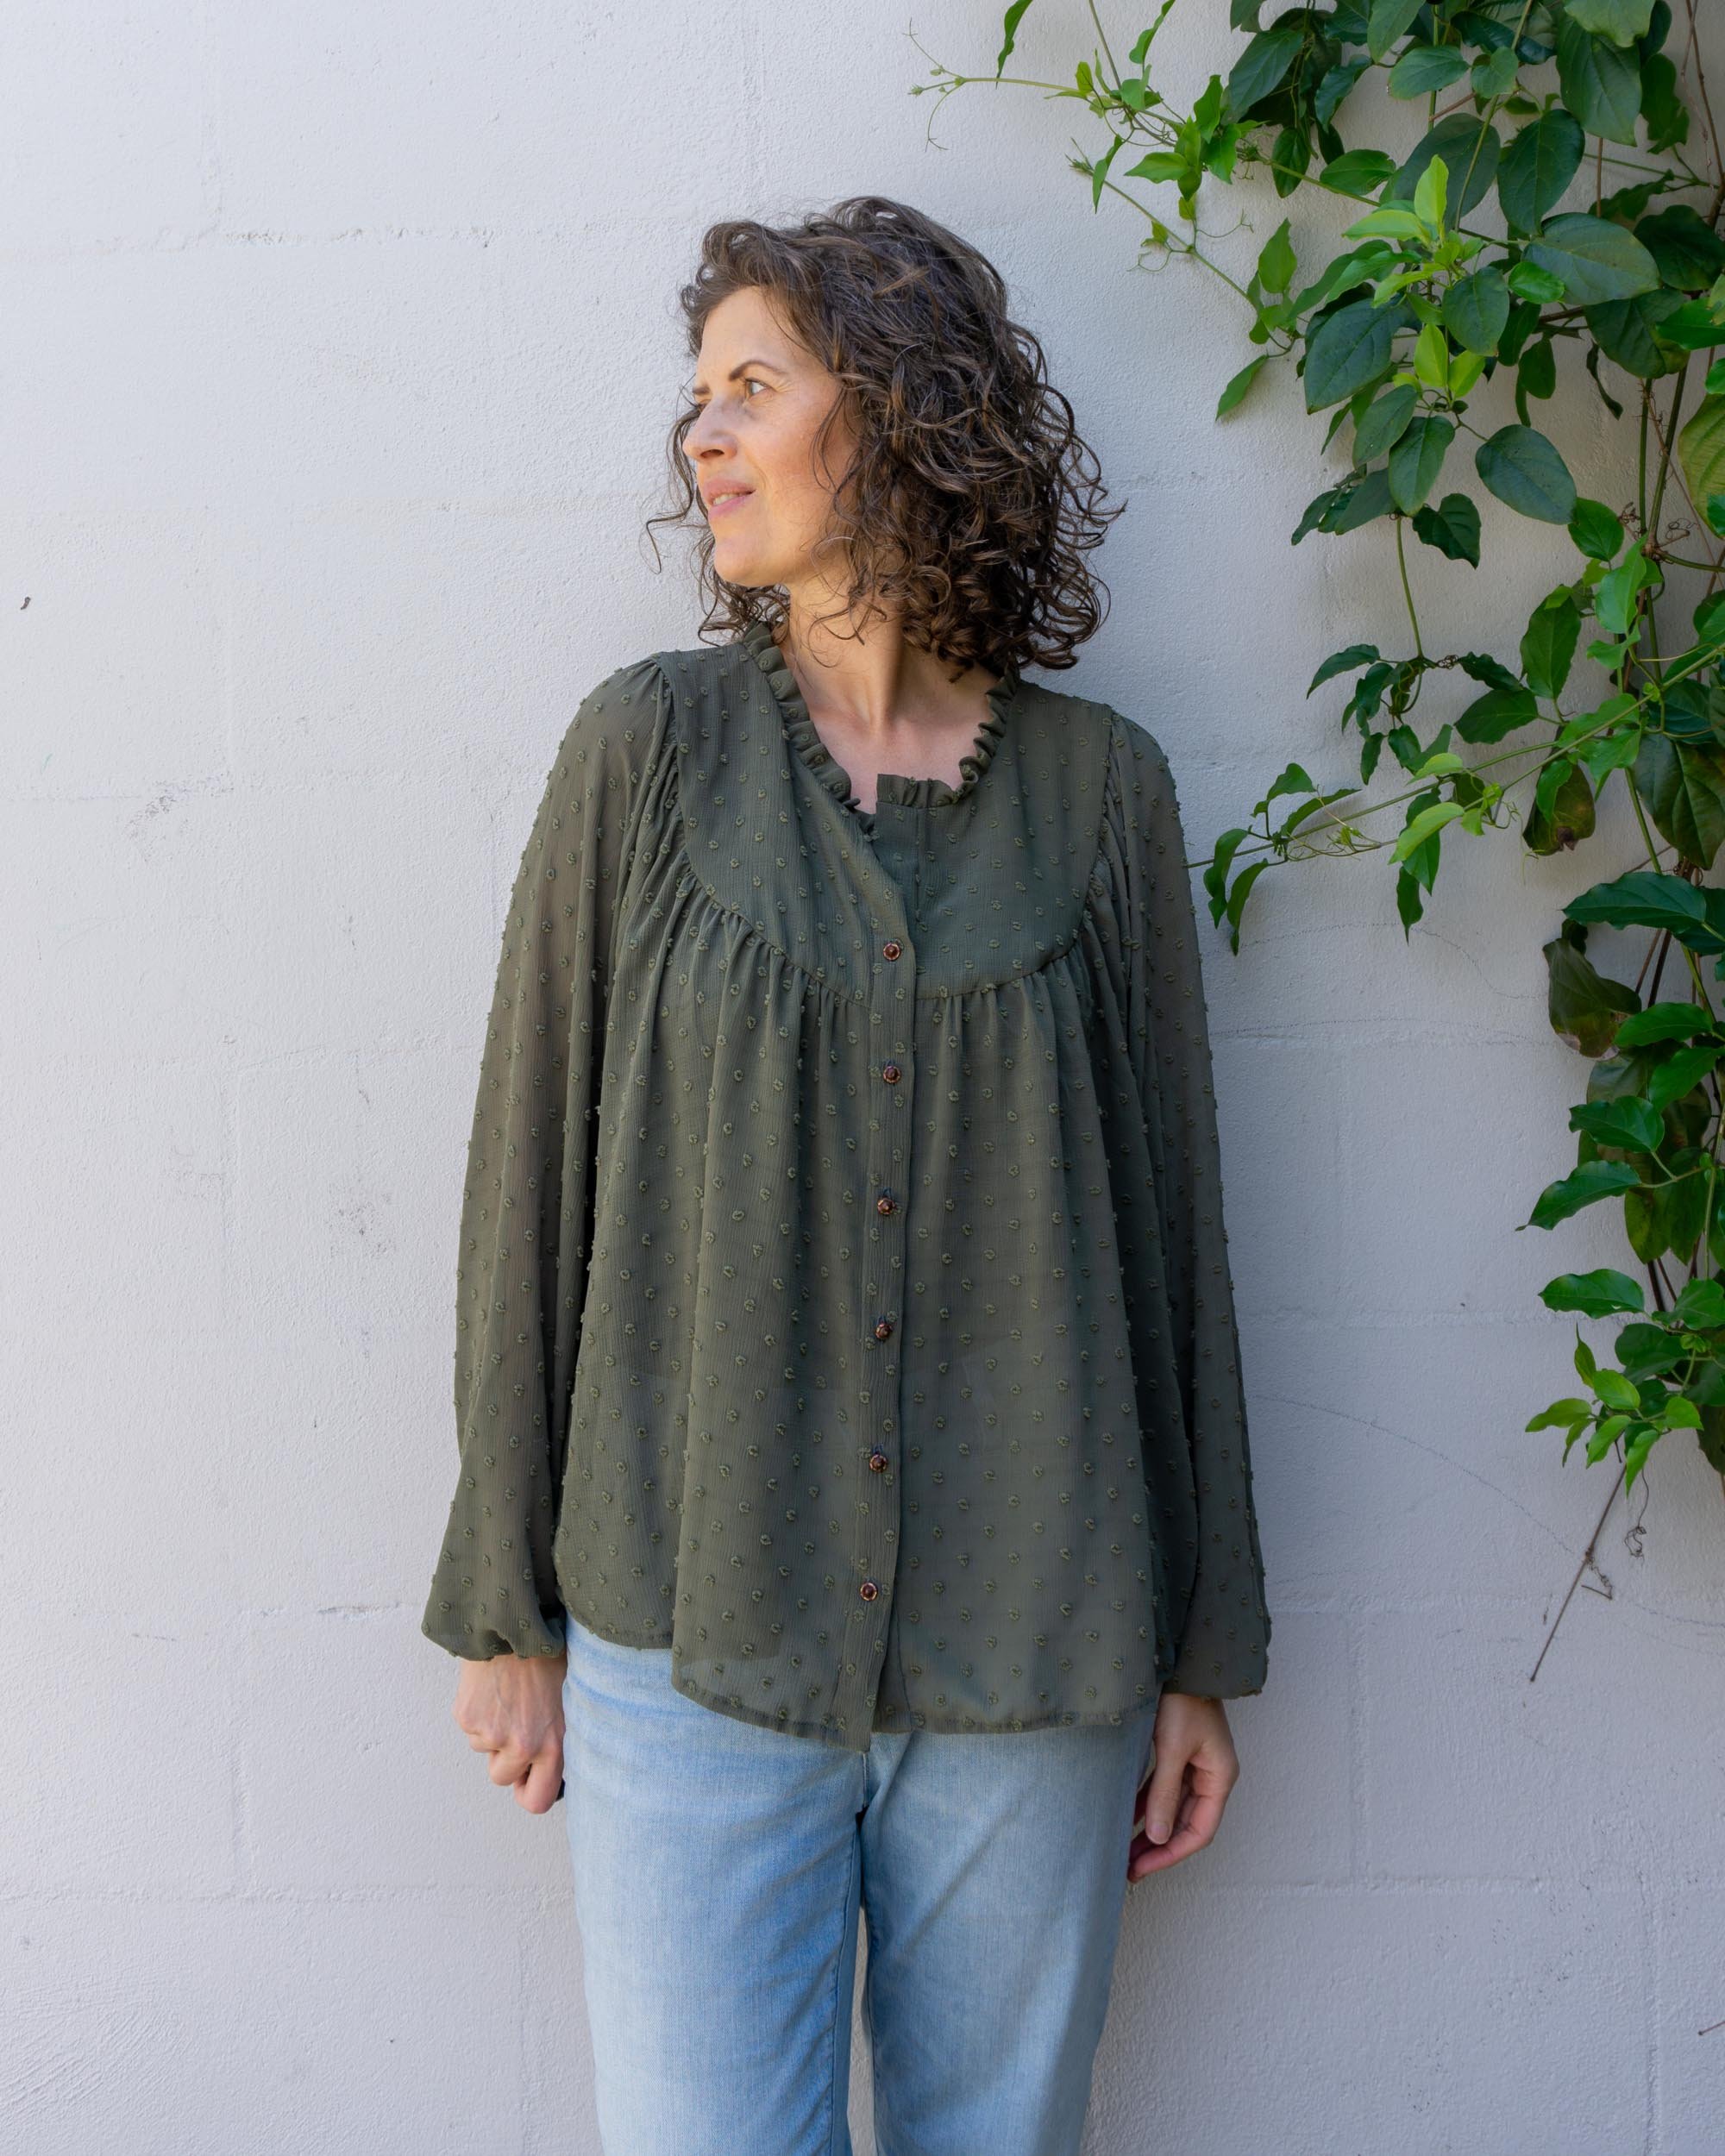
Hello friends! Today I'm happy to (finally) share a blouse that I made a few months ago. I think I actually started it in December of 2022 and then finished it up around late January or early February. All that is to say that I took my time with this make. The fabric is sheer and rather delicate so I decided to enclose all the seams and to use French seams throughout. I'm really glad that I took the extra time to enclose the seams and I love the blouse. It's already gotten quite a few wears over the past few months. So, let's dive in for all the details.
The pattern is the Aims blouse by Seamwork. I've been a subscriber to Seamwork since the beginning and love having access to their pattern library. It's one of the first places I go when I'm looking for a pattern. (Btw, they also have a great podcast and YouTube channel.) This blouse has raglan sleeves and a button front and is oversized, like a peasant blouse. But, it has a big yoke in the front and back for a really unique design. Because my fabric was sheer and I wanted to avoid interfacing, I decided to use the ruffled collar from the bonus variation (which is available to subscribers).
You can sign up for Seamwork here and get half off the Unlimited plan. (If you sign up using my link, I will receive a small commission.)
I made my usual Seamwork size 10 but decided to skip my usual FBA because of the oversized fit. I also made my standard 5/8" square shoulder adjustment to the yoke pattern pieces. (See my tutorial for how to make shoulder slope adjustments.) For reference, my current measurements are upper bust 35.5" and full bust 39".
I found the blouse really easy to assemble, even with the adjustments that I made (more on that below) and highly recommend it if you’re looking for an oversized blouse with a dramatic yoke.
FABRIC
I found this fabric in a bargain bin in the LA Fashion District. (See my guide to fabric shopping in Los Angeles.) It might have even been in one of the infamous piles of fabric on the ground at Angel Textiles. The fabric you find in those piles is about $1 a yard but you can't cut it shorter. So I think I ended up with 4 yards. After sewing the dress, I was able to rehome the remaining fabric at a Fabric Swap meet up in LA.
Due to its "pile on the ground" origins, I don't know the fiber content and I haven't done a burn test. I suspect that it's rayon or polyester. The fabric is an olive green, sheer swiss dot. I love the neutral color combined with the texture of the swiss dots. I actually found a really similar looking fabric at Joanns.
CONSTRUCTION
While the texture is really cool, this fabric does fray a lot and because it's sheer I didn't want to be able to see serged edges through the blouse. So that meant that I got to do French seams and some hand finishes. These techniques take more time but they're a great way to slow down and make a really special project that looks just as beautiful on the inside as it does on the outside. The instructions for the blouse do not use French seams so I had to adjust a little bit to make it work.
As I mentioned earlier, I wanted to avoid interfacing so instead of the flat collar that requires it, I used the ruffled bonus pattern. For the button placket I did use a black fusible interfacing that blends in nicely with the olive color of the fabric. The shoulder seams and collar seams are enclosed by the yoke facing so I didn't use French seams there. I did use French seams for the side seams, sleeve underarm and where the sleeve is attached to the body. When I attached the body to the yoke, I stitched the body only to the exterior yoke. Then, I pressed all of the seam allowances towards the yoke. I pressed in the raw edge of the facing and hand stitched it in place, enclosing the seam allowance.
The buttons are beautiful, brown vintage buttons from my stash. I inherited a lot of buttons from my grandma and her sisters and I love finding opportunities to use them. A few years ago, I organized the buttons by color in these plastic craft bins and it makes it really easy and fun to sort through and find the perfect match. I found six matching buttons and used all of them for the blouse (the pattern only calls for five). These buttons are brown with bits of yellow and pink paint.
I hand stitched the button band facing in place, enclosing the raw edges in the band. I used the standard one-step buttonhole on my sewing machine and placed tissue paper under the fabric to help stabilize it. I also placed one button in the yoke section of the button band to prevent it from falling open as much. The buttons are a shank style, so I sewed them on by hand.
I also top stitched a narrow hem for the sleeves and hem. I used a 1/8" wide elastic for the sleeve hem and cut it smaller to 7.5" long. Next time, I'd probably use a 1/4" wide elastic as the pattern recommends.
If you’d like extra help sewing this blouse, make sure to check out these tutorials for skills I used while sewing this garment.
Skills used to make this blouse:
How to sew a one-step buttonhole
Sewing buttons by hand (Instagram reel)
I really love how this blouse came together and have really enjoyed wearing it. Because the fabric is sheer, I just wear a camisole underneath. I love the big yoke and the oversized fit. This blouse is a great way to easily dress up a pair of jeans and the oversized fit is super comfy. My only complaint is that with this fabric, the button placket falls open at the top. I don’t think that would be an issue with heavier fabric.
I would even consider making it again in a non-sheer fabric. If I used a regular non-sheer cotton, I would very likely not use French seams. I think they're a great way to finish delicate fabrics but not something that I do with all of my projects. I hope that you found this post helpful. Let me know in the comments if you have any questions. And if you're a Seamwork member make sure to check out their forums for lots of awesome community support. Happy sewing!


