

Hello sew-friends! I hope that you are doing well. Today, I have another finished make for you. This dress has a very long and winding road to completion. It was at times frustrating and at other times exhilarating. In the end, I would give myself a B+ for effort, an A for determination and a B- for quality. Honestly, this grading might be a smidge generous. I wish it was an A+ on all counts, but I'm also totally ok with the fact that is beautiful dress is NOT perfect.
Let's start at the beginning with the fabric. It was love at first sight for me and this fabric. I have a very particular fondness for prints that include both blue and pink. It's a niche. I bought this fabric in 2019 or earlier at Bolt in Portland, Oregon. It's the only time I've been to the shop and I definitely need to go back. Portland has so many great fabric stores. It's a sewist mecca. I believe the fabric is a rayon. It's slightly sheer and has a little bit of texture to it.
In early 2023, I decided to make a dress to wear to a wedding I was attending in April. I decided it was time to use this fabric and I selected a pattern from my stash, the vintage reproduction Butterick B4919. I thought that it wouldn't be that hard to fit because of the wrap waist styling. Boy was I wrong. I cut out a size 16 for the bodice and, because I was short on fabric, Iused rectangles to make a gathered skirt.

The design of B4919 is very unusual because there are no side seams. The front bodice has short extensions from the side seams that meet at the center back and are held together with snaps. The back bodice has a center back zipper and then long extensions at the waist that wrap around the front and tie. I had it pretty well sewn together but it looked a mess. All the fabric at the waist was really bulky and it did not make me feel good to wear it. So, I ended up wearing an old ready-to-wear dress to the 2023 wedding.
Flash forward to 2024 and I had a wedding to attend in June. I decided to pull this WIP out of the many bins that litter my sewing room and give it another shot. I said farewell to Butter B4919 and searched my stash for a pattern that I knew fit well and was similar in style lines. I didn't have a lot of extra fabric and my plan was to recut the existing bodice from this other pattern.


I considered Vogue V8901 (blogged here) because it has a similar side seam wrap design. But alas, the pattern pieces didn't line up well enough that I could recut using the vogue bodice. So, I wracked my brain for another pattern. And I remembered that before I moved last year, I had tried on a dress that I made using vintage pattern Simplicity 5850 (blogged here) and that I loved the fit of the bodice.

So, I pulled it out and layered its pattern pieces over the top of B4919. I decided that I'd have enough fabric to recut with some adjustments. First, I added a center front seam to an upper bodice. Then, I made a new pattern piece for the under bust yoke that did NOT have a center front seam and did have a seam at the waist. A little tricky but not too hard.
The new bodice went together pretty well but the fit at the side seams was a mess. I was in a time crunch (AGAIN!) and did a bit of a hack job on the side seams and on the bodice waist seam. Meaning, the left and right front bodices are uneven. But I didn't think it was that noticeable and the fabric is so beautiful that it distracts from any minor imperfections. Right? haha


The evening before I left for the wedding, I finished the hem using a blind hem stitch (above left). I used a hand slip stitch to finish the lining in car, as we drove down (above right). Nothing if not last minute! I was planning to get photos of myself in the dress at the wedding. It was outdoors along a river and would have been so pretty. But, right after the ceremony, it started to pour down rain and everyone got soaked. Alas, no photos from the wedding.
SKILLS USED TO MAKE THIS DRESS
How to sew a slip stitch by hand
How to sew a blind hem stitch

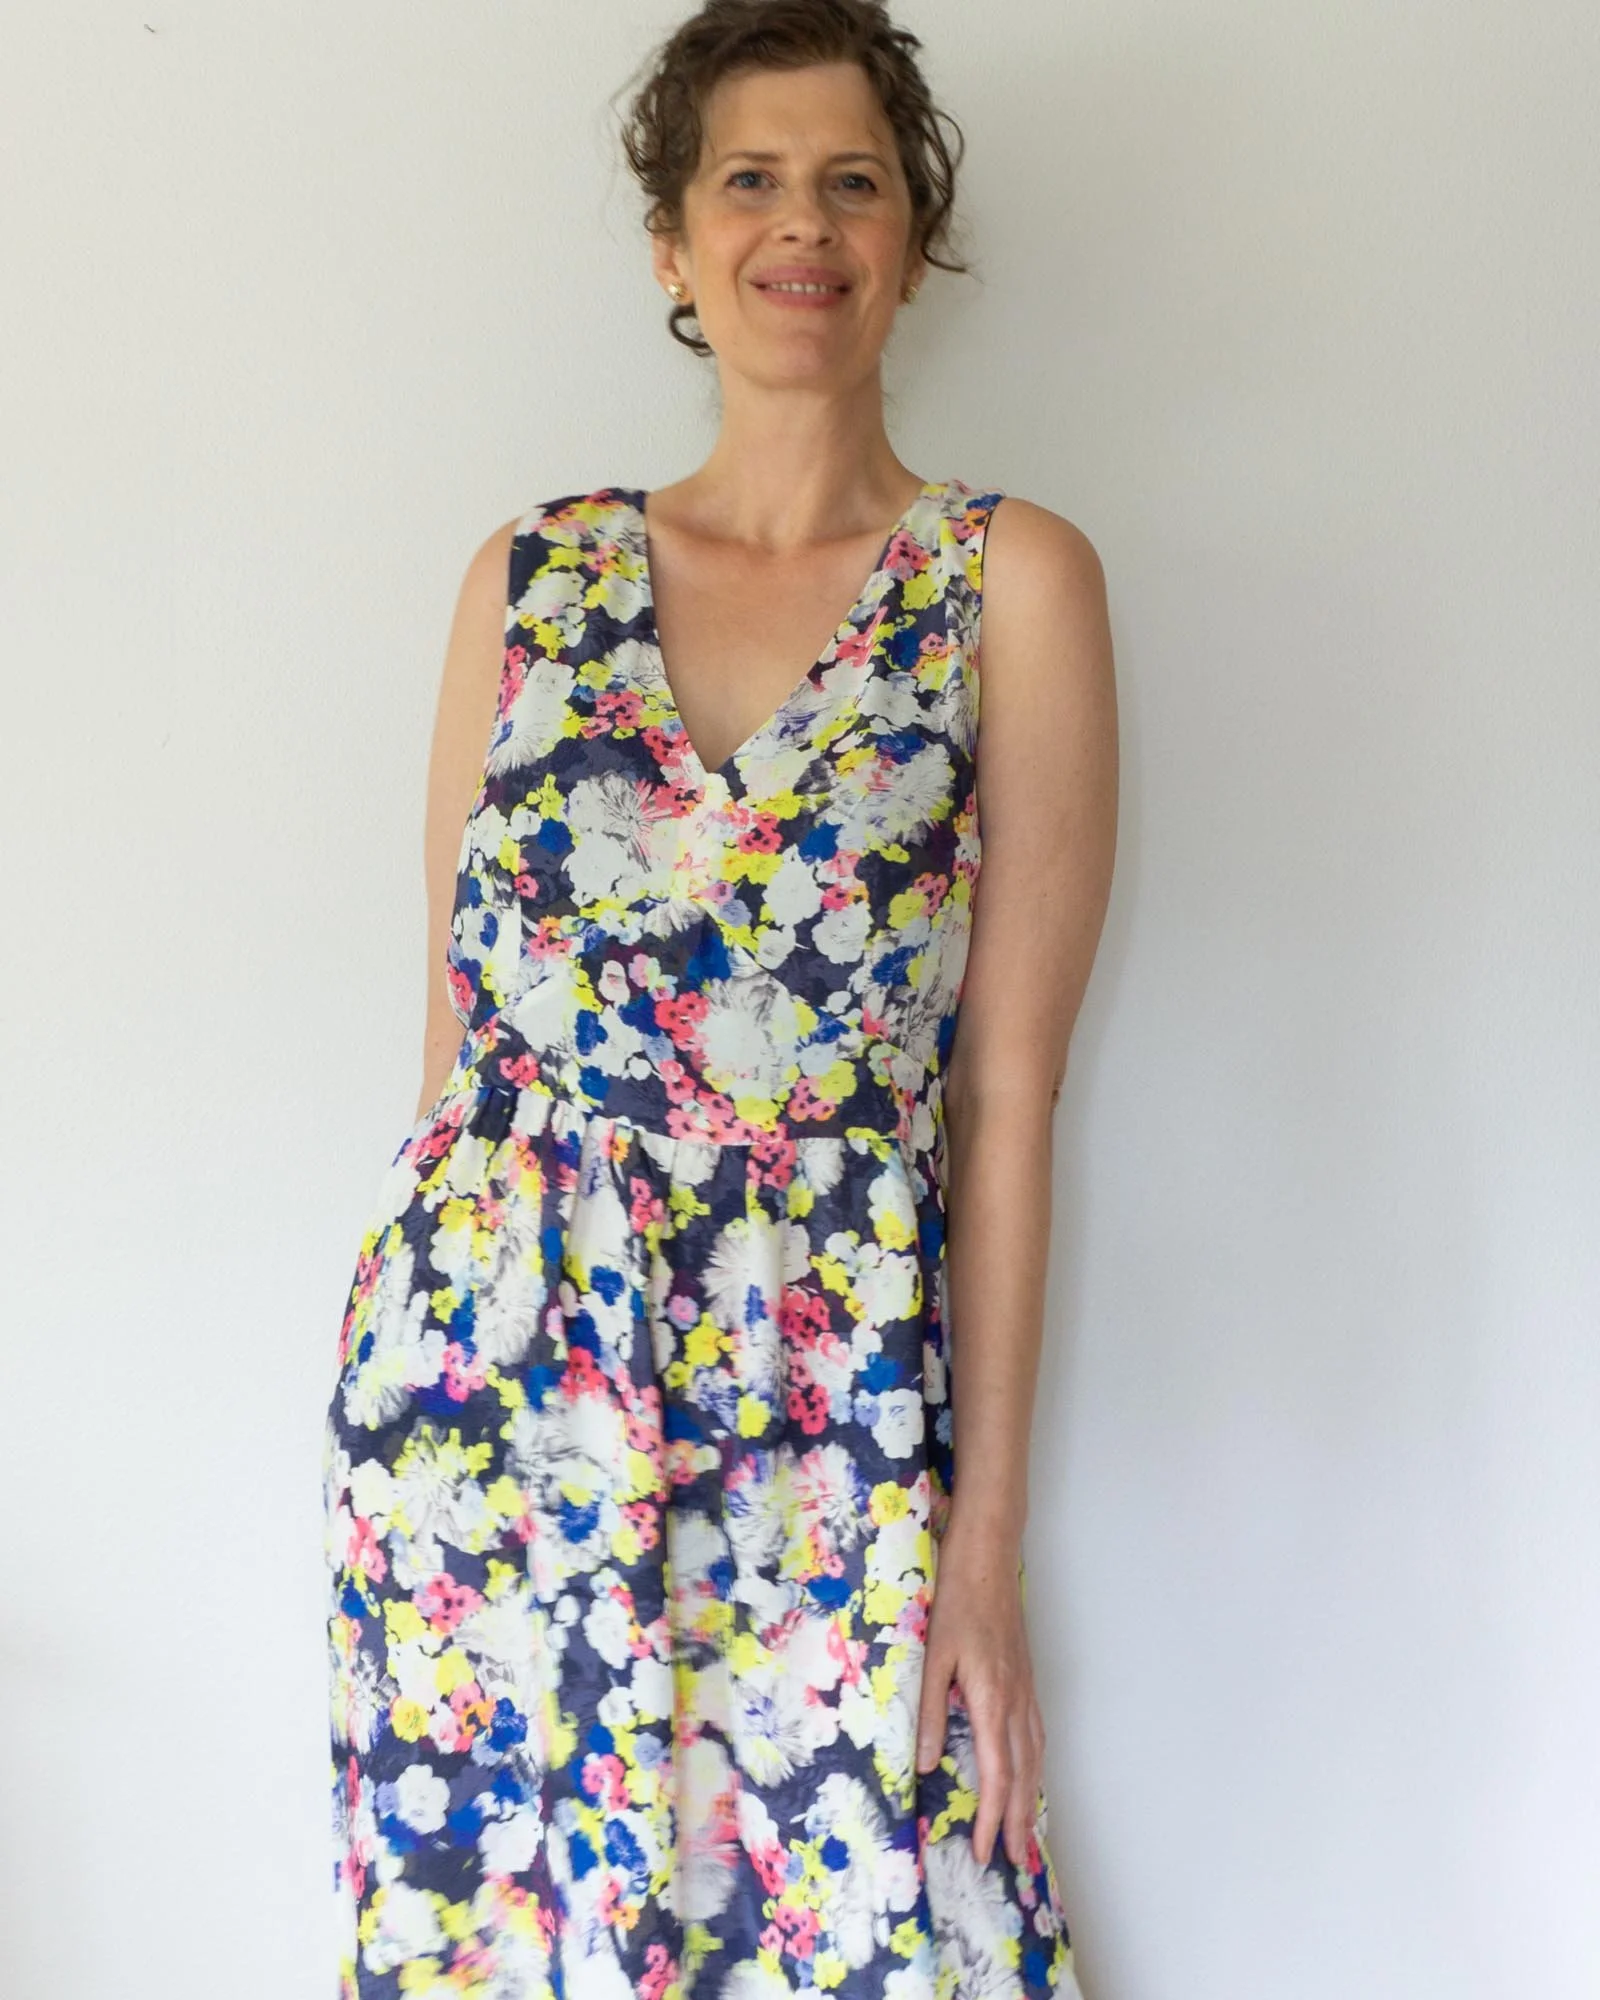
A few weeks ago, I pulled out the dress to take photos for this little ol' blog posts and I was surprised, shocked, dare I say DISMAYED to see that the bodice looks even worse than before. Rayon is notorious for stretching and boy did it ever. The bodice looks terribly uneven.
I LOVE this fabric and I think the fit is not bad. It's really ok. But the unevenness does bother me. When it comes to sewing, before I re-do something, I always ask myself, will this imperfection bother me later? Will it annoy me and prey on my mind? If the answer is no, then I leave it. If the answer is yes, then I will try to fix it. For example, the shirt I shared last week that had cuffs that were too small. It was physically uncomfortable and would annoy me, so I fixed it.

Final thoughts, I think it's a beautiful dress and I'm proud that I was able to save it and make it wearable. But before I wear it again, I think I will try to even out the front bodice. The fabric stretching has done it no favors. One of these days, I may finally learn my lesson and make a muslin every. single. time. But probably not. :)


