

Hello sew-friends! This week I have a fun and simple hack to my Eva Pattern. Often pattern hacks can be more complicated than sewing the original pattern. But today's hack is actually easier and faster! In this version of the Eva Crop Top, I replaced the lacing at the center back with shirring. Not only is this hack quick to sew, it's really comfy too.

The Eva pattern includes two semi-fitted tops and a sundress, all featuring a square neckline, side bust darts and are fitted at the back with a combination of narrow elastic and criss-crossed lacing. View A is a crop top that ends at the waistline. View B has a ruffled peplum and ends at the high hip. View C is a dress with a calf-length skirt and ruffle at the hem.
The pattern is a hybrid of a traditional pattern that you need to print and a zero-waste style pattern. You will need to print (or project) the front bodice and front facing pattern pieces. The remaining pattern pieces are rectangles that you can draw directly on your fabric (or paper) and then cut out, saving you paper and fabric.


The shirring at the center back is used creating elastic thread. If you're new to sewing with elastic thread, I posted my top 7 tips on the blog last week. The elastic thread is placed in the bobbin and regular thread is run through the needle. As you stitch parallel rows, the elastic thread gathers the fabric, creating the shirring. When you stitch with the right side of the fabric facing up, you don't see the elastic. It can be a little tricky to get the tension right, depending on your sewing machine, but once you have that dialed in, it's almost like magic.

The original version of this pattern has a casing at the top of the center back with 3/8" wide elastic. I kept that elastic and added an additional piece of 1/4" elastic inside of the hem for more gathering. In retrospect, I would have made the elastic at the hem a little shorter to make it more fitted at the waist. I would even consider pulling the elastic thread tighter/shorter for the rows of shirring closer to the hem because on me it’s a little loose at the hem.
On Fabric
The fabric used in this sample is a medium-weight cotton woven. It’s been in my stash for so long that I don’t actually remember where I got it. But, I think it’s 100% cotton, as opposed to a cotton poly blend, because it feels soft and not slick like poly can sometimes. A medium weight (or light weight non-opaque) woven fabric works very well for the Eva pattern. You can also use a rayon (aka viscose) if you want something with more drape.


For this hack, I'm using View A, the crop top, of my Eva Tops and Dress sewing pattern. You can sew a shirred back for the other views as well.
If you want just the basics, here’s the short description of the hack: Skip cutting and sewing the loops and ties. Stitch rows of shirring on the Center Back pattern piece. Add extra elastic to the center back hem by using the hem as a casing.
How to sew a shirred back crop top
Step 1: Cut out the pattern pieces as called for in the pattern, EXCEPT do not cut out the Ties/Lacing bias strips.
Step 2: Assemble the bodice front, facing and straps as instructed.
Step 3: On the center back, mark horizontal lines using a wash away pen or chalk. I stitched 5 rows of shirring. If I sew this hack again, I would probably add two rows. The first row should be at least 1" from the top. The bottom row should be at least 1.25" from the bottom.
Tip: I like to use a Simflex gauge (affiliate link) to quickly mark even spacing for the rows of shirring.
Step 4: With elastic thread in the bobbin and a longer stitch length, stitch the shirring. Backstitch at the beginning and end to lock the stitches.
Tip: How to minimize starting and stopping a line of stitching. When you reach the end of a row, stitch into the seam allowance and pivot the fabric. Stitch down to the next row and continue. I'm always concerned about the elastic thread unraveling so I like to have as few cuts in the elastic as possible. Stitching between rows reduces the number of thread tails and cuts.
Step 5: Continue as instructed in the pattern including sewing the casing at the center back and inserting elastic.
Step 6: When sewing the hem, leave an opening at the center back so that you can insert elastic. Follow the same process as the elastic at the top of the center back.


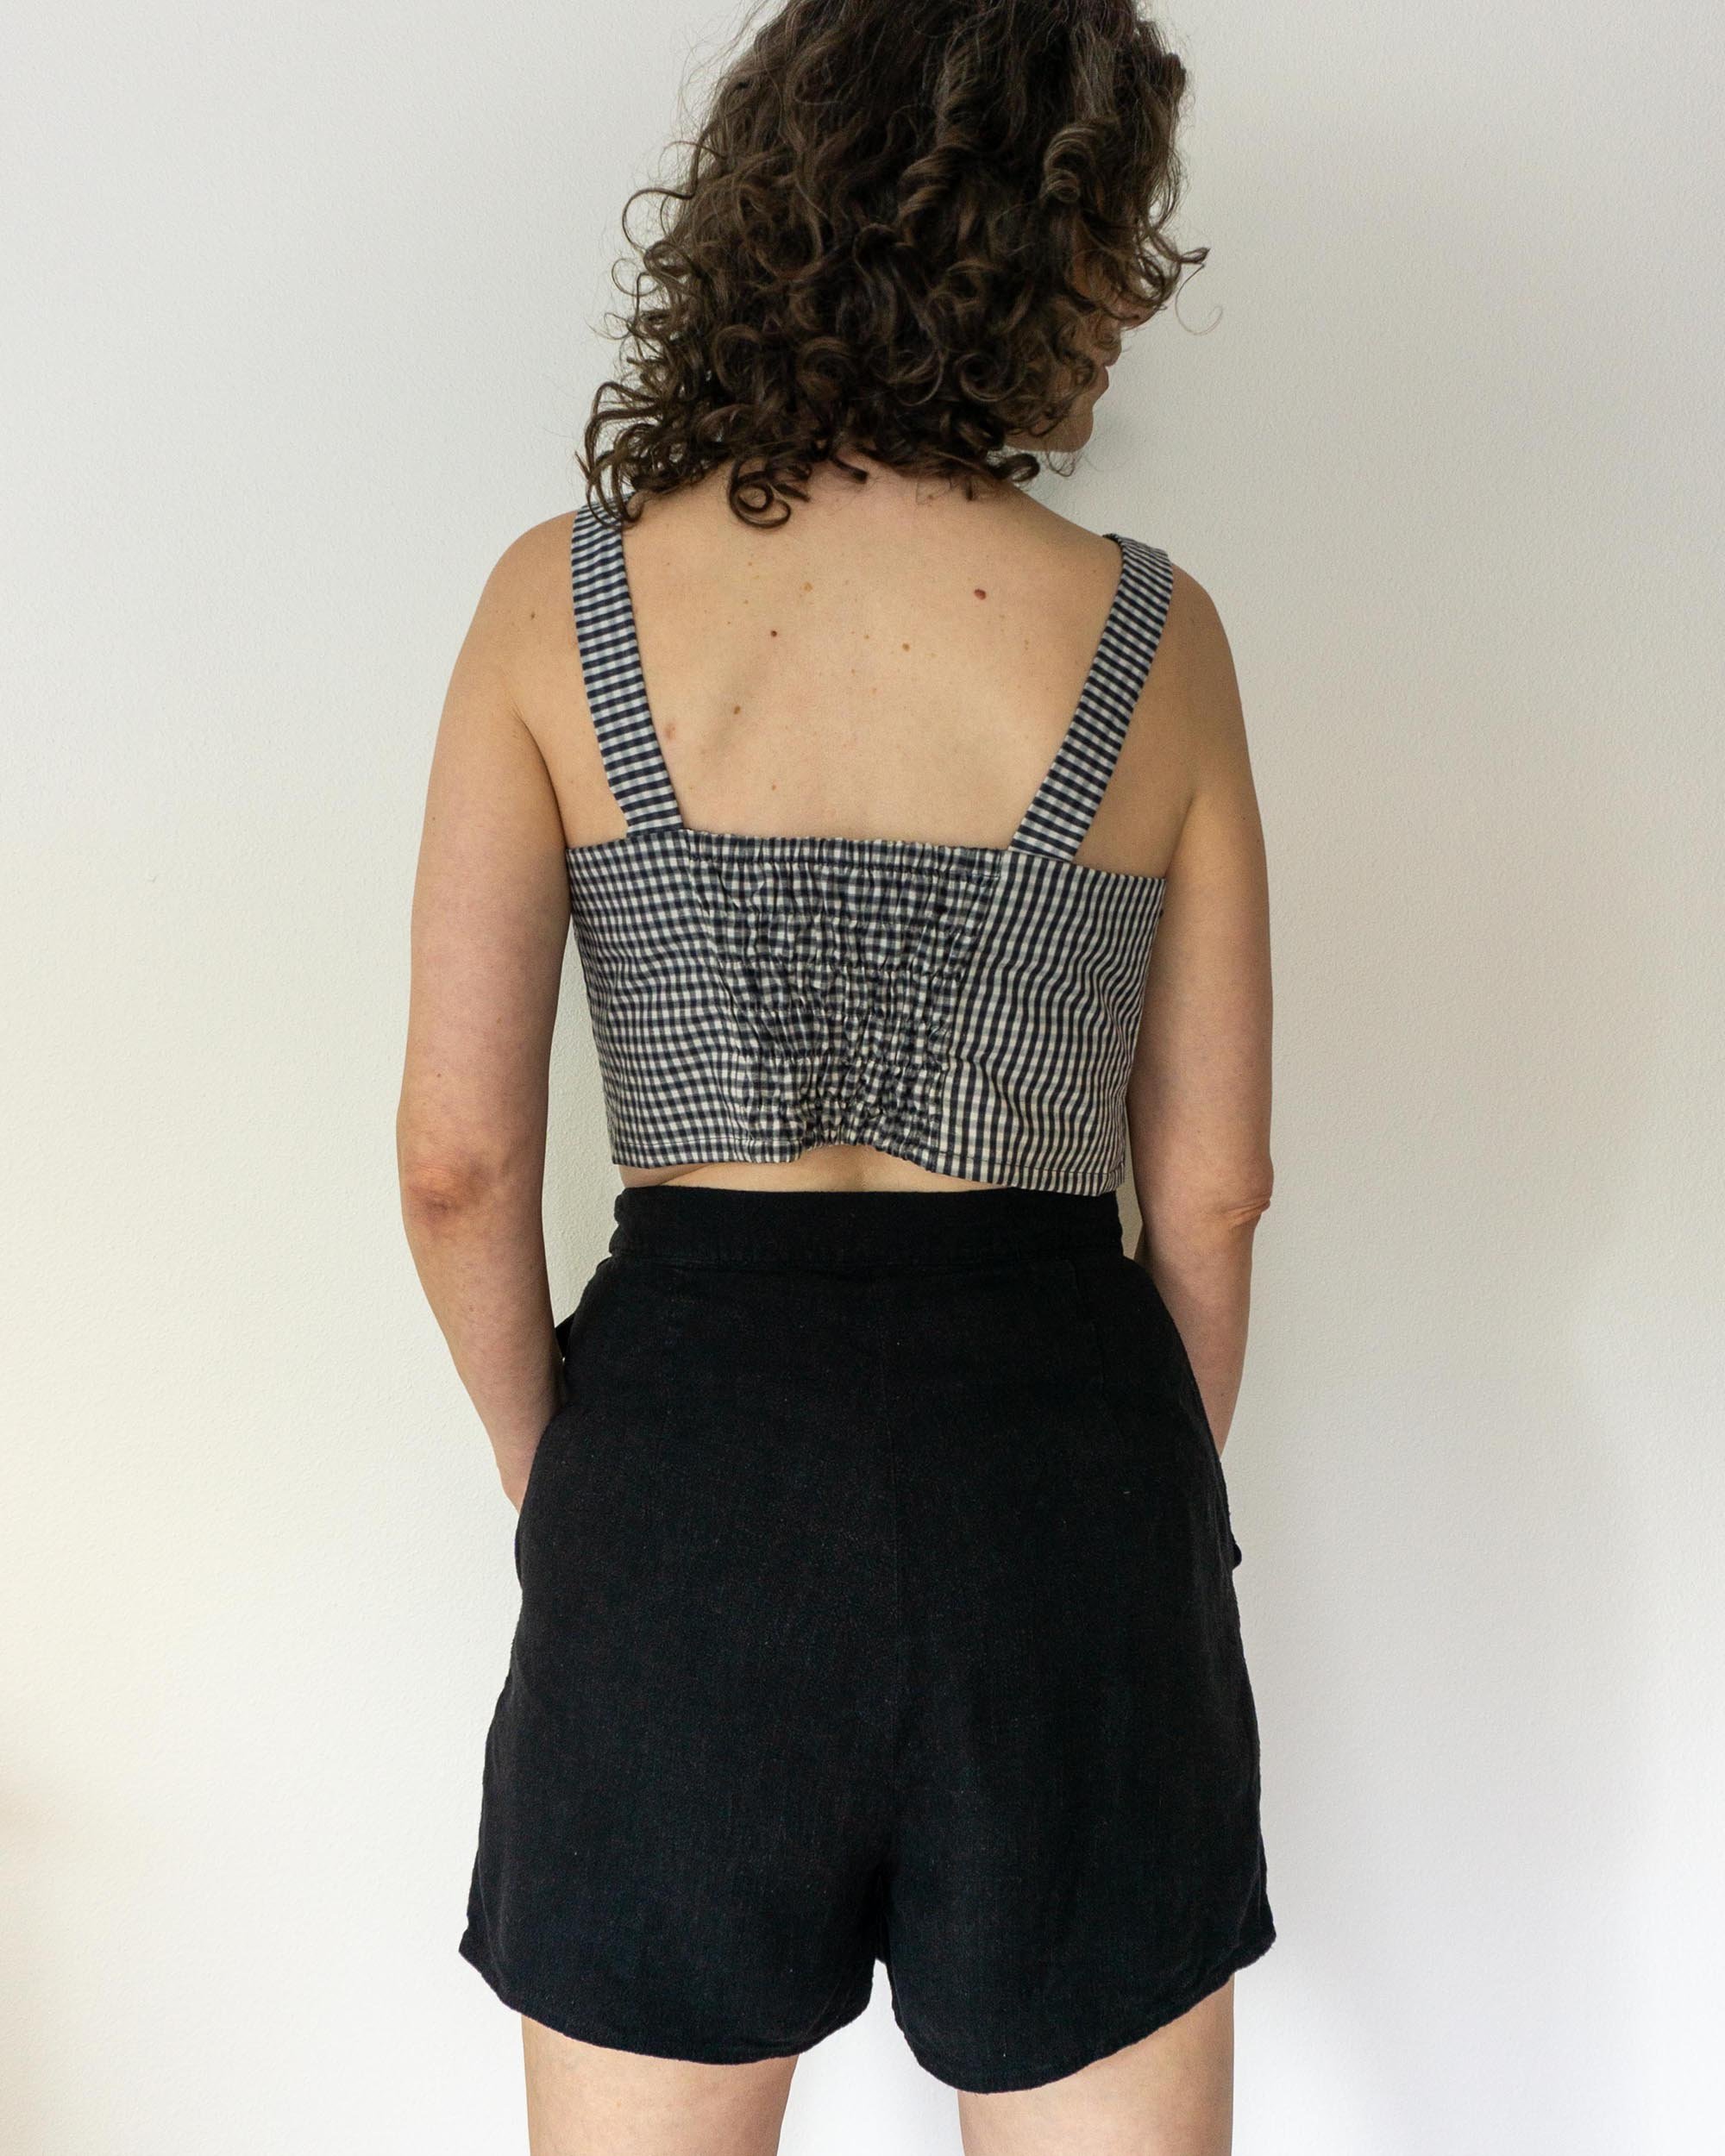
I really love this top and think it’s so fun for hot, summer days. In this photos, I’ve paired it with me-made Flint Shorts (pants version blogged here). The Flint Shorts hit at the natural waist and are fitted with a tie at the side. The silhouette feels very vintage and reminds me of some vintage patterns in my stash. The gingham fabric just adds to the retro, vintage look. I love it.
I hope that you enjoyed this post. Save the image below to Pinterest to save it for later. Happy sewing!


