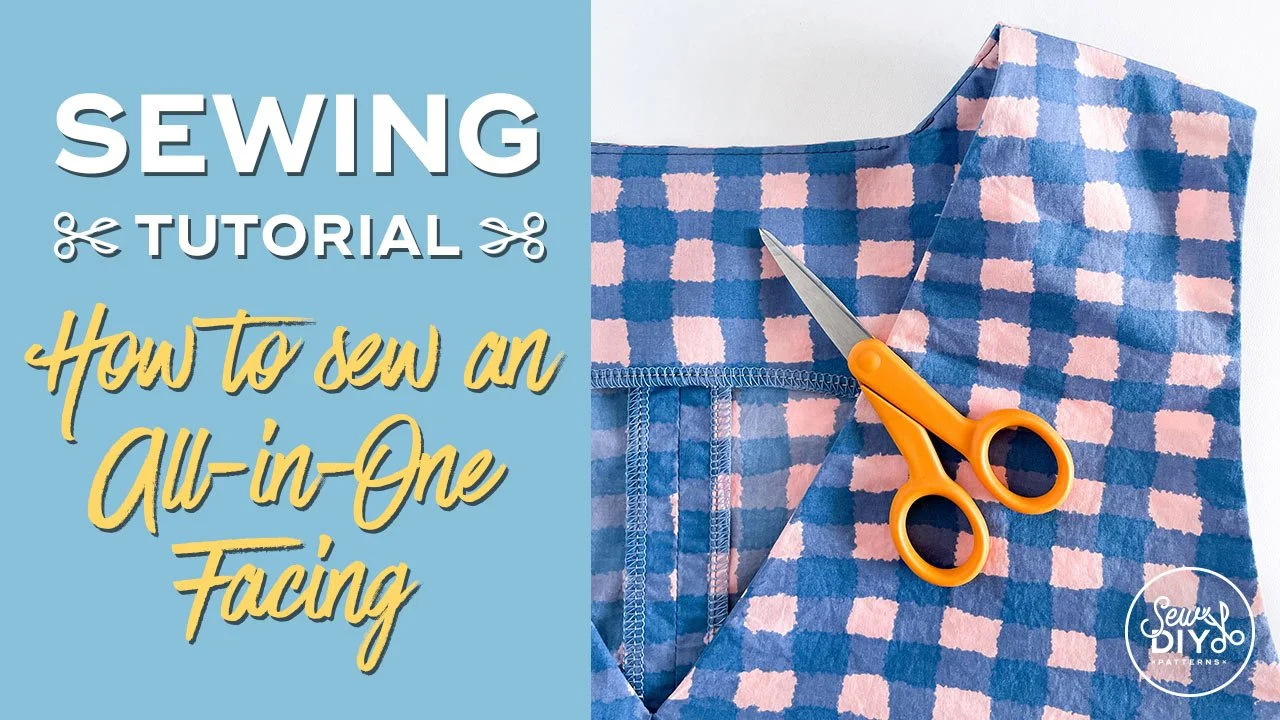
In this video, I'll be sharing the step-by-step process of sewing an all-in-one facing to a tank top. An all-in-one facing is a facing piece that is used to finish both the neckline and the armhole with one piece of fabric, as opposed to a separate facing for the armhole and a separate facing for the neckline. This method of finishing the neckline and armholes of a top or dress, creates a very clean finish and when you take it one step at a time, it's really fairly easy as well. (This method is also known as the burrito method, because we will roll the top when sewing the facing to the armholes.)
In the video, I'm using my Miri Tank top pattern. This is one of my favorite patterns because it’s a great wardrobe builder and it’s very beginner-friendly.
My favorite thing about this pattern though, is that it has cup sizes. You can choose between A/B, C/D and E/F cups for all sizes 0-32. Click here to learn more about the pattern and get your own copy.
Watch the video above or if it's not working, you can watch it on YouTube here. The sewing techniques used in this video can be used with the Miri Tank and with other patterns that have an all-in-one facing.
To sew the facing, there are three main steps. First, we'll sew the neckline to the facing. Then we'll sew each armhole. Along the way, we'll also be grading, clipping the seam allowance, pressing and understitching. All those extra steps will help keep the facing hidden on the inside when you’re wearing it. It's a little repetitive, so if you're already familiar with grading and understitching, I've added time stamps below so that you can skip ahead. If you're new to sewing facings, I recommend watching the entirety of Step 1, to familiarize yourself with the process.
TIME STAMPS
STEP 1: Stitch the facing to the neckline 0:54
Pin the facing to the neckline 1:11
Stitch the facing to the neckline 3:21
Grade and clip the seam allowance 5:03
Press the seam allowance towards the facing 9:19
Understitch the facing 12:23
STEP 2: Stitch the facing to one armhole
Pin the facing to the armhole 14:35
Stitch the facing to the armhole 16:25
Grade and clip the seam allowance 17:34
Turn the top right side out 18:06
Press the seam allowance towards the facing 18:36
Understitch the facing at the armhole 19:34
STEP 3: Stitch the facing to the second armhole 21:26
Turn the top right side out 23:19
Learn how to understitch https://bit.ly/3oElvrQ
TOOLS USED (affiliate links)
I hope that you found this video helpful. If you’d like to support this comment you can visit the pattern shop, or “buy me a coffee”. Happy sewing!


