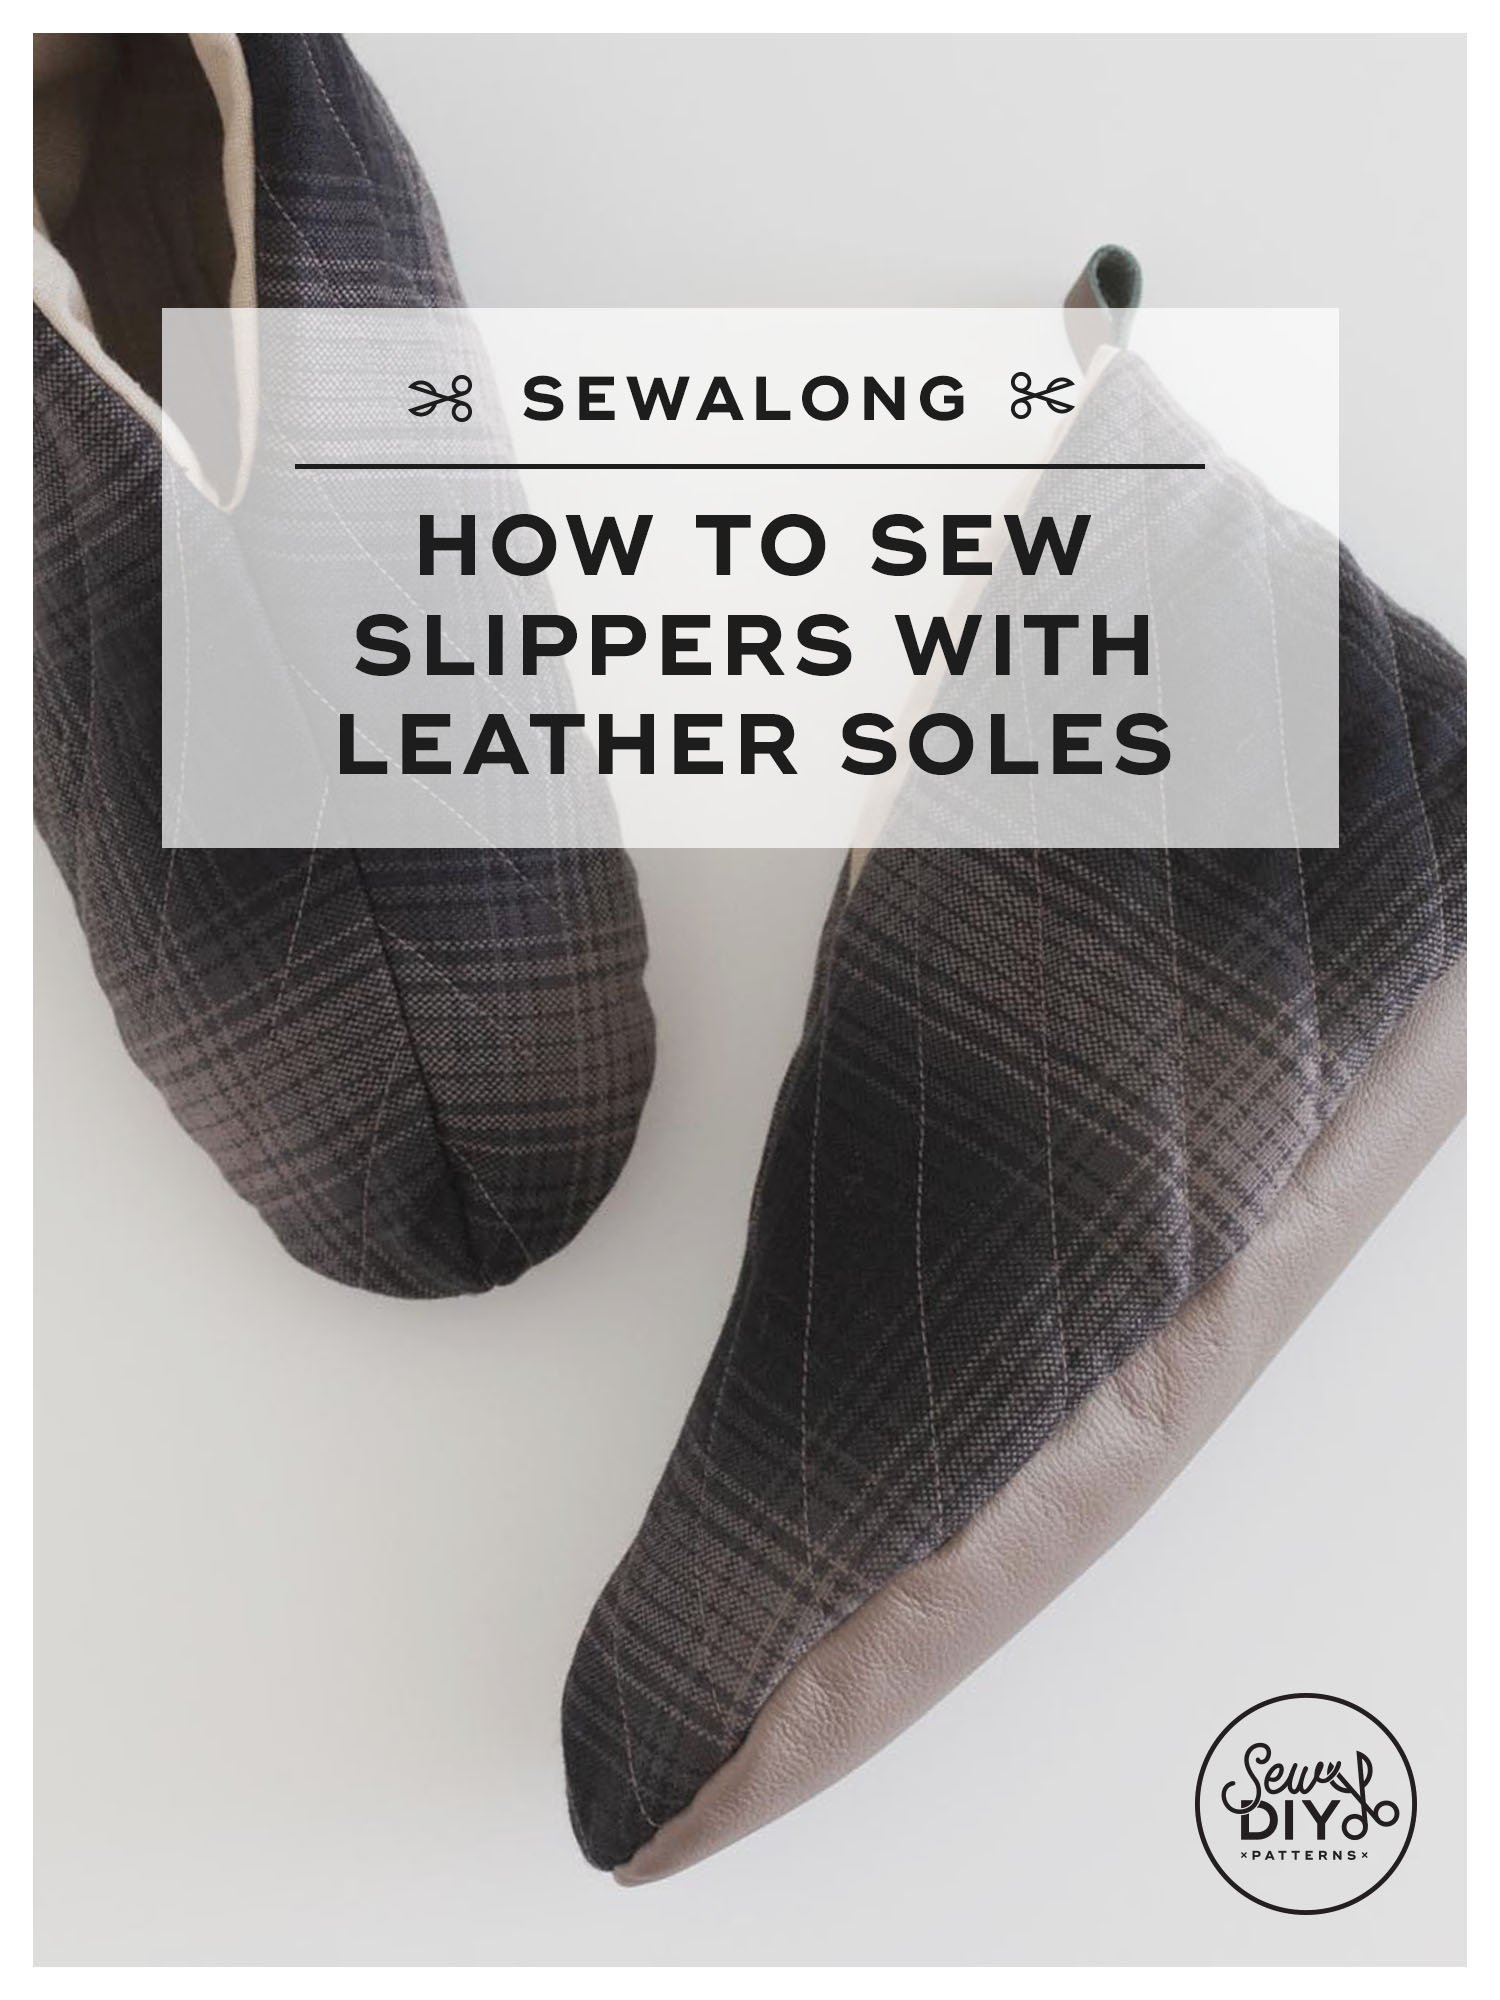
The most frequently asked slippers question I've gotten over the years, is whether you can use leather for the soles. The answer is sure! But, I had never tried it myself. I've honestly been a little nervous to try. So, it was time to put the fears aside and give it a go.
I found a scrap of leather in the LA fashion district that is a medium weight, a little less than 1/8" thick. In retrospect, a thinner piece of leather would have been easier to sew but I'm happy to say that it actually worked! Plus, thicker leather provides more protection from the cold which I absolutely need.
I am very, very pleased to report that the leather soles were a success and that sewing the leather was not hard at all. I thought I’d be battling the leather, that tears would be shed. But it went very smoothly! Phew!
In today’s post, I’ll be sharing the methods and tips I used to make my leather soled slippers with heel tabs. Read on for a list of tools, tips for handling the leather, how I altered the construction (just a little bit) and a video of the construction.
I created this tutorial as part of an email-style sewalong for the Quilted Slippers pattern. The sewalong officially wrapped this week but you can sign up at any time to receive the series of six emails. The sign up form is below.
ADDITIONAL TOOLS
Leather needle
Sewing clips
To use instead of pins because pins will leave permanent holes. Small binder clips also work.
Scissors or craft knife for cutting leather
I used the scissors to cut the sole and the craft knife to cut the heel tabs because it was more accurate.
Ruler
Optional, I used a quilting ruler to help cut the leather heel tabs
Polyester (all-purpose) thread
The tannins in the leather can degrade cotton thread, so polyester is preferred.
TIPS FOR SEWING LEATHER
Use a leather needle. These needles are designed to puncture the leather. That said, be careful when sewing leather because any holes made are permanent.
Use 100% polyester thread, not cotton thread. The tannins in leather can degrade cotton thread so to keep your slippers lasting longer, use polyester, all-purpose thread.
Use a longer stitch length, about 3.5mm
Use clips instead of pins.
CUTTING LIST FOR LEATHER SOLES AND HEEL TABS
I did a couple of things differently when cutting out my slippers with leather soles and heel tabs. First, I didn't want to quilt the leather, so I decided to quilt the lining instead. I cut the leather soles to size and I cut the lining larger to prepare for quilting. Second, I wanted to use only one layer of leather for the heel tab so I cut two rectangles 3" x .75".
LEATHER SOLE CUTTING LIST
Tip: Adjust the pattern to use a ¼" seam allowance to reduce bulk. This will use less leather and require less trimming.
CUT TO SIZE:
Lining body: Cut 2
Leather sole: Cut 2 mirror images
Leather heel tabs: Cut 2 (3" x .75")
CUT LARGER FOR QUILTING:
Lining sole: Cut 2 rectangles, a few inches larger than the pattern.
Exterior body: Cut 2 rectangles, a few inches larger than the pattern
Additionally, cut batting to match the rectangles.
Watch the video above for the process of sewing the bootie style slippers with leather soles, or if it's not working, you can watch it on Vimeo here.
Video Time Stamps
Cutting list 0:00
Assemble the exterior 1:06
Sewing leather tips 4:28
Assemble the lining 8:51
Stitch the lining to the body 11:18
Turn right side out and finish 14:15
Video music credit:
Music from Uppbeat (free for Creators!):
https://uppbeat.io/t/ben-johnson/cant-stop-chasing-you
License code: AGEIRZY5NO17PJXU
SEWING THE LEATHER SOLES
First off, we're going to quilt the sole lining but not quilt the leather sole exterior. (Quilted leather is a thing but I didn't want to take any chances. It could be fun to try it with micro-seude or something similar.)
When you sew the sole lining to the body lining, leave an opening of about 5" just to make sure you have enough room to turn it right side out with the bulky leather sole.
When you sit down to stitch the leather, make sure that you have the leather needle attached, polyester thread loaded and a longer stitch length (3.5). Then, take a deep breath and stitch slowly.
To attach the leather heel tab, I recommend not basting, to reduce the amount of holes in the leather. Instead, clip it to the bootie with the lining and stitch all the layers at once. Use the leather needle and longer stitch length to attach the heel tab and then switch to a regular needle and stitch length to complete the rest of the stitching.
I hope that you found this tutorial helpful. I’ve been very pleased with how these slippers turned out. And, I may have, in part, conquered my fear of sewing with leather. Make sure to check out the rest of the Quilted Slippers Sewalong for more helpful tips and videos.


