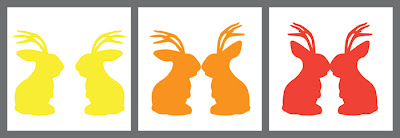
My one-year blogiversary is on Saturday! Wow, what a year. I feel like there are more changes to come. In the meantime, I want to celebrate the super fabulous blogiversary by making some free patterns to give away. Not one to do things the easy way, I'm planning to post a new pattern everyday, starting today and ending on Saturday.
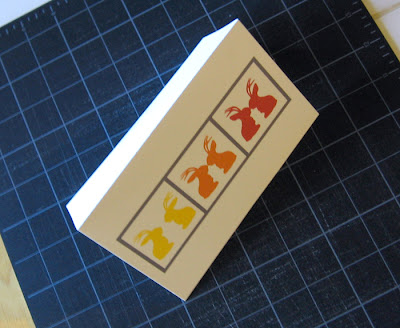
Today's pattern is a downloadable pdf for a greeting card with cute jackalope illustrations. I have a thing for jackalopes. The card is 6 inches wide and 4 inches high when folded. The file has crop marks to show where to cut. Using crop marks prevents printed lines from showing up on the edges of your card. The instructions below detail how to cut out the card using the crop marks, a straight edge and craft knife.
Here's how to make your own Kissing Jackalopes Card:
Supplies:
Computer and Printer
Letter size paper
Straight-edge
Craft knife
Self-healing cutting mat
bone folder (optional)
1. Click here to download the pattern. (Try right-clicking and saving if it doesn't work.) The file size is 60KB.
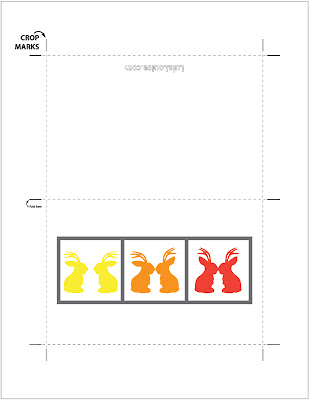
2. Open the file using Adobe Reader. (Download the program for free here.) Print on letter size paper (8.5 x 11 inches). Shown below is the pdf with dashed lines added to show where you will cut and fold the card. The solid lines on the outside of the card are the crop marks.
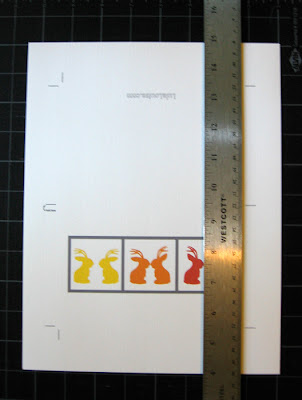
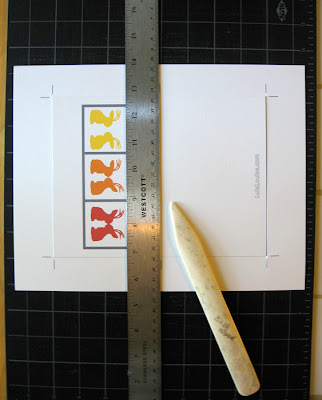
3. Place the print out on the self-healing cutting mat. Line up the straight edge to the left of the crop marks, on top of the artwork. (If you are left handed, reverse this.) Placing the ruler on top of the artwork, keeps cutting mistakes in the margins.
To line up the ruler, place the blade of you craft knife on the top crop mark and slide the ruler next to the blade. Hold the top of the ruler in place. Put the blade on the lower crop mark and slide the ruler against it. Hold the ruler with your left hand and cut between the crop marks with your right hand.
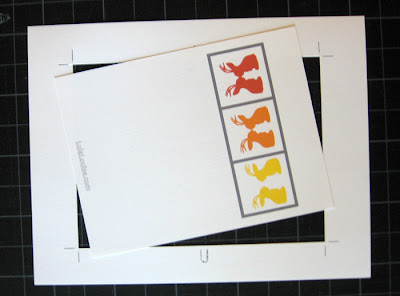
IMPORTANT: Don't cut off the entire margin. You'll cut off your crop marks. When finished cutting, you want to have only two pieces of paper left.
 4. Turn the paper 180 degrees and cut the opposite side. Follow the same procedure to cut the two remaining sides.
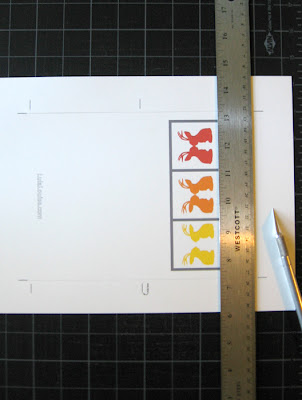
When finished cutting, you'll have two pieces of paper left.
5. Score the center of the card using a bone folder and fold.
 6. All done.
 Please let me know if you have any questions.


