Seam finishes for the Tasi Robe and Jacket

Seam finishes for the Tasi Robe and Jacket

One of my intentions with my new Tasi Robe or Jacket pattern was to create a garment that embraces the ethos of slow sewing. When appropriate I recommend doing hand finishes and today, I’ll be sharing tips for finishing your Tasi with French seams or a Hong Kong finish. Both methods take more time but they create a really beautiful finish. The one big-ish challenge with using these finishes on the Tasi is the right angle of the underarm seam. But, I've figured out some modifications to make these techniques work for this pattern and minimize any bulk at the underarm.

These methods are not appropriate for all fabric. I recommend using French seams when sewing lightweight fabrics like rayon, cotton or silk. Generally, these would be used for the robe, view A. The jacket (view B) works well when sewn in medium to heavy weight fabrics which makes it a great opportunity for using the Hong Kong finish. To learn more about my fabric recommendations for these patterns, check out this blog post. Let’s get started!

VIDEO How to sew a Hong Kong seam finish

VIDEO How to sew a Hong Kong seam finish

In today’s video, I’ll be showing you how to sew a Hong Kong seam finish. The Hong Kong finish is a variation of a bias bound seam finish. This method works will with medium to heavy weight fabrics. This seam finish is similar to a bias bound seam except that the raw edge of the bias tape is not tucked in on the back side, creating a very flat finish. It’s a simple seam finish to sew and creates a really beautiful look on the inside of your garment. It’s also a great opportunity to use your most beautiful bias tape.

Fabric and supplies for the Tasi Robe and Jacket

Fabric and Supplies for the Tasi Robe and Jacket Draft-it-yourself sewing pattern

Welcome to the second installment of the Tasi Robe and Jacket sewalong. Today, I’m sharing some suggestions and recommendations for fabrics to use with this pattern. One of the great things about this pattern is that you can use a wide variety of fabrics. The pattern also lends itself to piecing leftover fabrics for a color blocked look. The robe shown on the right above, is made from scrap fabric and constructed with French seams. Later this week, I’ll be talking more about special seam finishes for the Tasi. But first, let’s talk about fabric.

CHECK OUT THE TASI ROBE PATTERN IN THE SHOP

Selecting fabric for the Tasi Robe

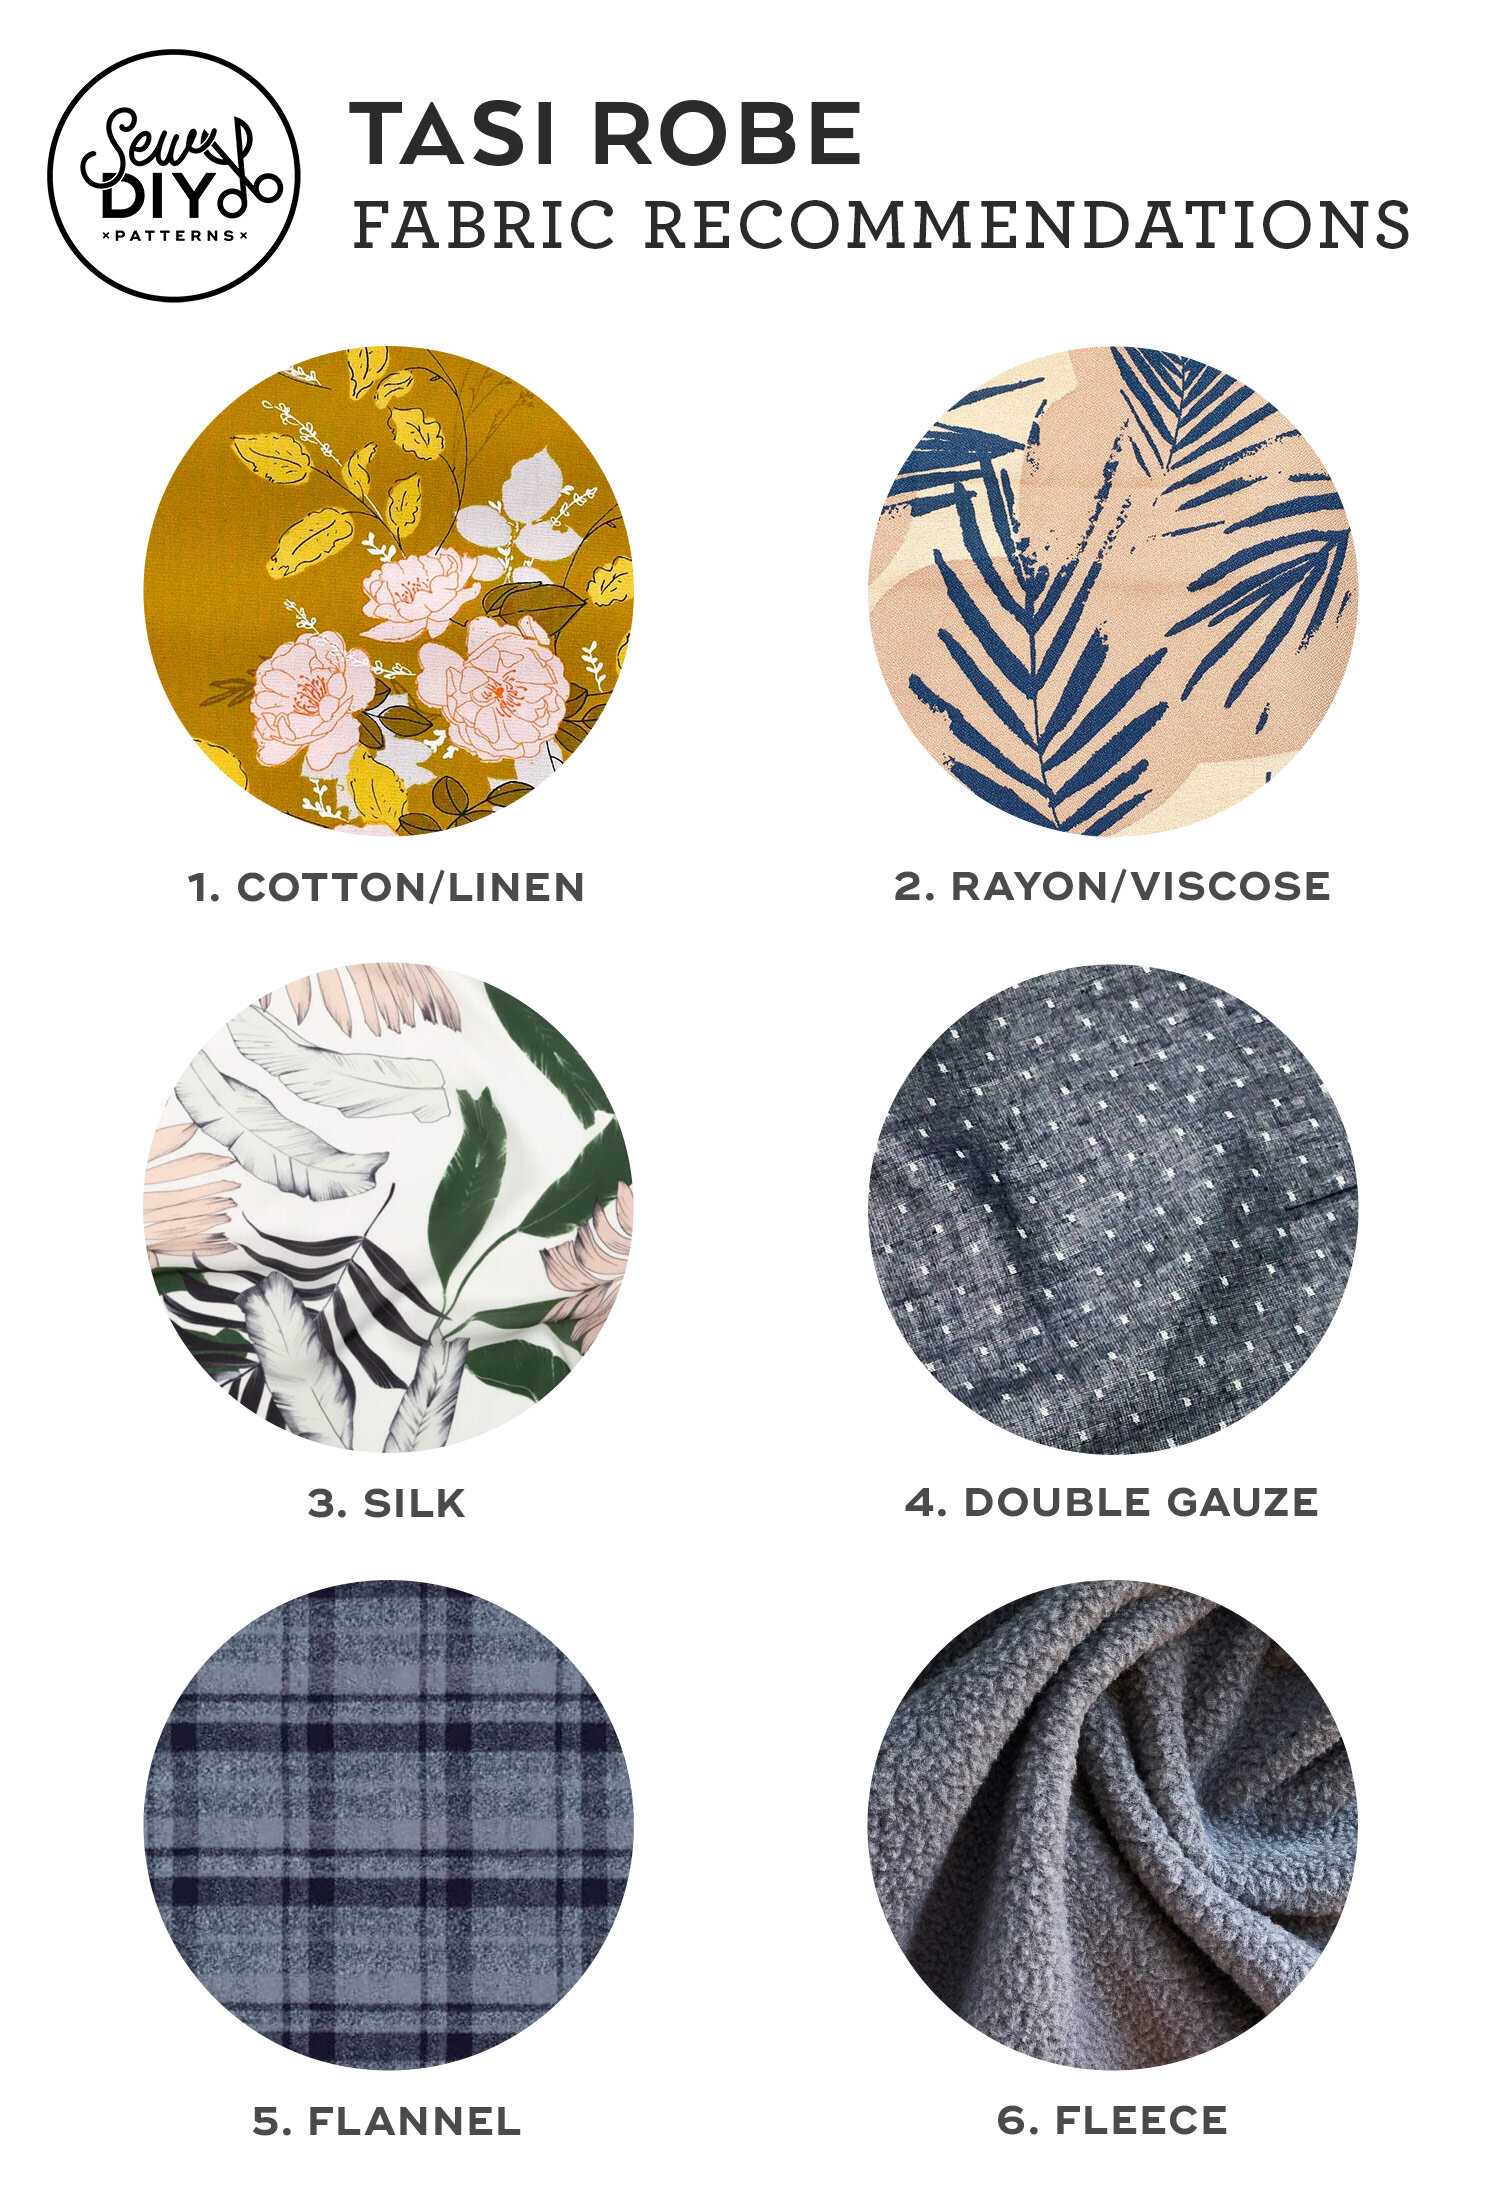
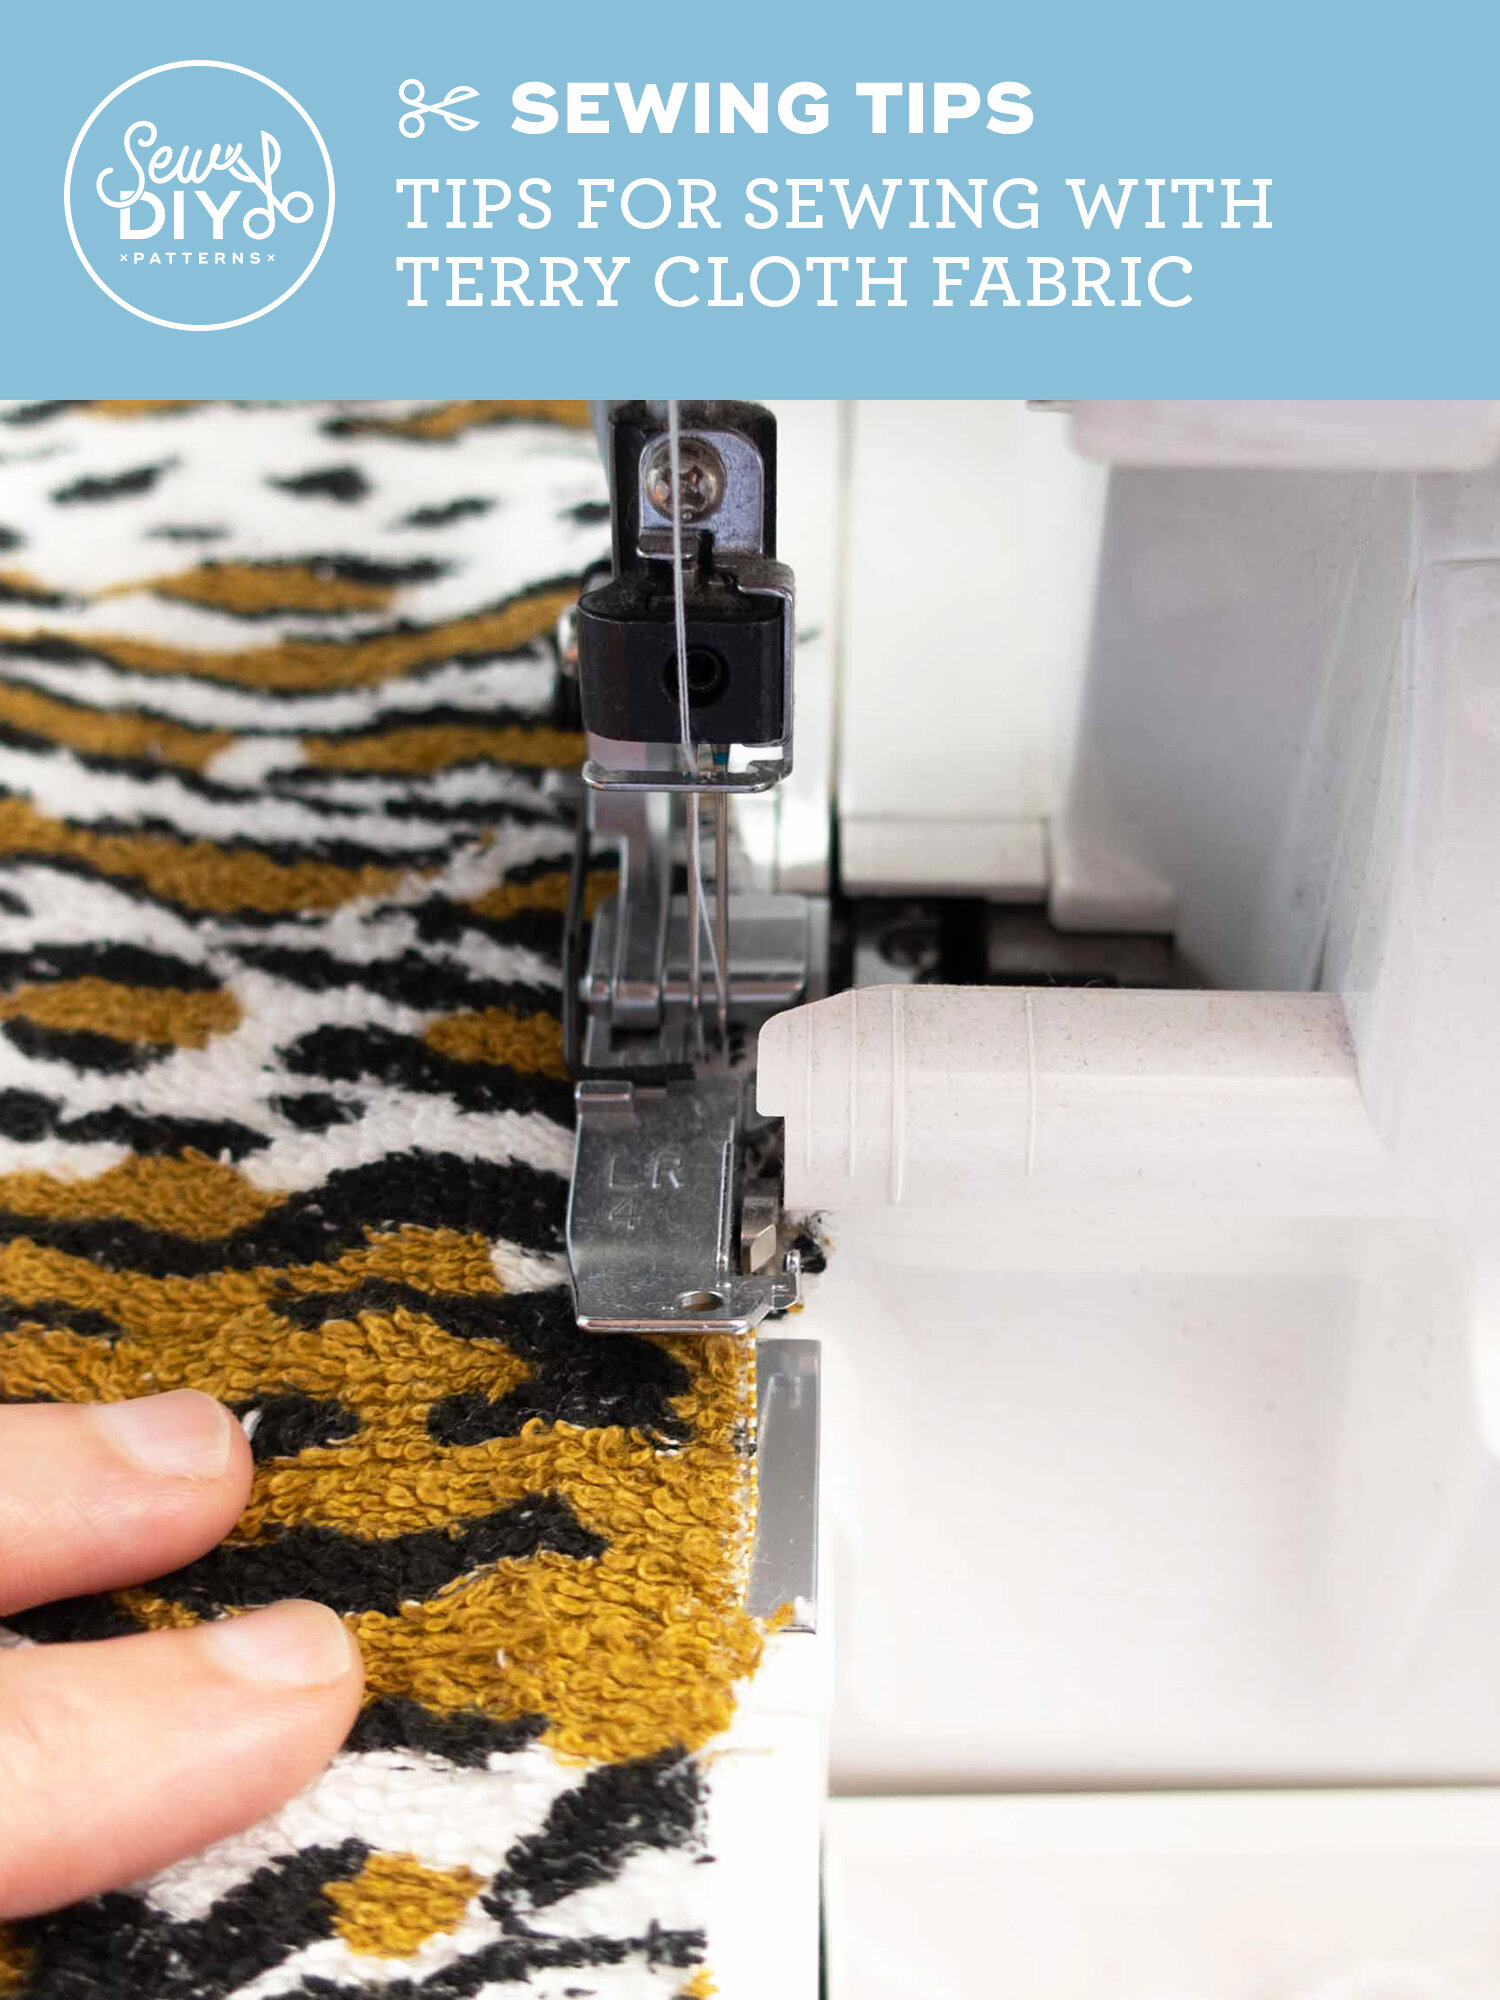
To make the Tasi Robe you can really use any fabric that you’ve seen used for a robe. For a lighter robe, you can use cotton, linen, rayon, silk or double gauze. This robe is especially luxurious (and perfect for lounging at home) when made in silk or rayon crepe. For winter, you can make a warm and cozy robe, using heavier, soft fabrics such as flannel, fleece or terry cloth. Terry cloth would also work as a short robe to wear poolside (I just might have one of these planned! :).

You can also use knit fabric such as sweater knit or a medium-weight knit jersey to make the robe. The light pink robe shown in the photo at the top of the post is made from a medium-weight rib knit fabric. See below for a little more info on using a knit fabric.

Fabrics shown above, recommended for the robe:

1) Cotton mustard floral from StyleMaker Fabrics

2) Rayon crepe from StyleMaker Fabrics

3) Silk Georgette from Mood Fabrics

4) Cotton Double Gauze from Sewing Studio

5) Cotton Flannel from Maker Mountain Fabrics

6) Sherpa Fleece from Stonemountain and Daughter Fabrics

There are currently a few rayon fabrics in the Sew DIY shop that would work well for the Tasi robe. We are currently shipping within about 24 hours on weekdays. At this time we’re only shipping to the US. See below for our picks.

Selecting fabric for the Tasi Jacket

For the jacket, I recommend medium to heavy weight linen, cotton or even a lightweight denim or canvas. If you want to use knit fabric or something that’s lighter in weight, I recommend making the in-hem pockets narrower, to prevent sagging. Alternately, you can use a line of vertical topstitching to divide the pocket in half and prevent it from drooping.

Fabrics shown above, recommended for the jacket:

1) Cotton Ikat from Sewing Studio

2) Mid-weight linen from Blackbird Fabrics

3) Non-stretch denim from Blackbird Fabrics

4) Boiled wool coating from StyleMaker Fabrics

5) Canvas from StyleMaker Fabrics

6) Linen/Rayon blend from Sewing Studio

USING KNIT FABRIC

This pattern also works well for knit fabric and can easily be adapted to a cardigan style garment. The instructions are mostly for woven fabric but they do provide a few tips for constructing the garment using knit fabric. If you have a serger, you can use it for most of the seams, making for a very quick sewing project. Next week, I’ll be doing a video sewalong showing how to use the pattern with a sweater knit fabric. You’ll be able to find that post on the main sewalong page. (Again, if you are sewing the jacket style, I recommend making the in-hem pockets narrower to prevent sagging.)

OTHER SUPPLIES AND TOOLS

For this pattern, the only notions needed are matching thread, hand sewing needles and machine needles. You may also want a small piece of ribbon to make a hanging loop for the robe. Alternately, you can make a loop using a strip of fabric.

For drafting your pattern, it’s helpful to have a few tools. You will need a flexible measuring tape to measure the body of the person you’re sewing for. Plus, it’s helpful to have some large rulers to draw out the pattern pieces. I tend to use a combination of the grid on my cutting mat and a quilting ruler.

In general, I encourage you to use what you have on hand. You can use any kind of paper that you have handy. Tracing paper is nice because you’ll be able to see through it but it’s not necessary. You can use butcher paper, old paper shopping bags or even wrapping paper (sometimes it has a helpful grid printed on the reverse side). If you want to invest in pattern paper, you might try a roll of paper that has a pre-printed grid. I usually buy a roll of tracing paper and it will for a few years. See below for links to some of my favorite drafting tools.

More about the Tasi Draft-it-Yourself Robe and Jacket:

This draft-it-yourself pattern will walk you through each step of designing and drafting your own custom fit pattern. You choose the proportions you’d like and we give you the formulas to draft all the pattern pieces. Because you’re starting from scratch, you can make this garment in any size you like for any human body. If you’re not up for doing the calculations yourself, or just want to double check the math, we’ve created a spreadsheet calculator that does the work for you.

View A is a classic robe with patch pockets, a tie belt and carriers. View B is a casual jacket with turned back cuffs, oversized pockets and a hem band. It’s easy to adjust the design of this pattern to suit your personal preferences and we even give you a few ideas for ways you can customize and adapt this pattern. 

For more help sewing the Tasi, check out the links below, or click here to go to the main Sewalong page. Some of the posts linked are from older sewalongs that use the same or similar techniques to this pattern. If you haven’t purchased the pattern yet, you can get your own copy in the shop. Happy sewing!