I inherited this chair from my grandparents and it sits in the bedroom mostly serving as a place to throw my clothes at the end of the day. If I didn't have this chair my bedroom would probably be cleaner! But I'm rather fond of it's boxy shape and white washed paint job. My grandmother made the original cushion for this. I even have the pattern she created and the leftover fabric. (My family cannot bear to throw anything away!)
She made a cushion perfectly fitted around each corner of the chair and I must say it is perfectly done. But, sometimes it's nice to freshen up your surroundings so I decided to try my hand at making a new cushion for this old chair. In the interest of time and sanity, I made a much simpler cushion, just a square with two rounded corners.
I've been playing around with my Dell Venue Intel tablet for the last few months and one of the features that I've really been wanting to try is the measurement tool. The tablet features two cameras that can take 3D pictures and let you determine the measurements of an object just from a picture. So I took a few snapshots of the chair, then opened the ruler tool and just drew lines on top of the photo. The measurements magically appear on screen. I double-checked with a real ruler and the measurements were correct! Pretty cool!
For this project I was pleased to find two perfectly matched fabrics in my stash. One is a lovely purple-green calico print and the other a heavy home decor in solid dark purple. This chair cushion is super easy to make and only has 3 steps to complete. You can use this method to make a cushion for any size chair.
HOW TO MAKE A SIMPLE CHAIR CUSHION
Supplies:
Fabric
Batting
Thread
2 pieces of ribbon, 20 inches long (optional)
STEP 1: Measure width and length of chair seat. Add 1 inch to measurements. Cut 2 pieces of fabric and one piece of batting to measurements. If desired, cut two front corners with rounded edges.
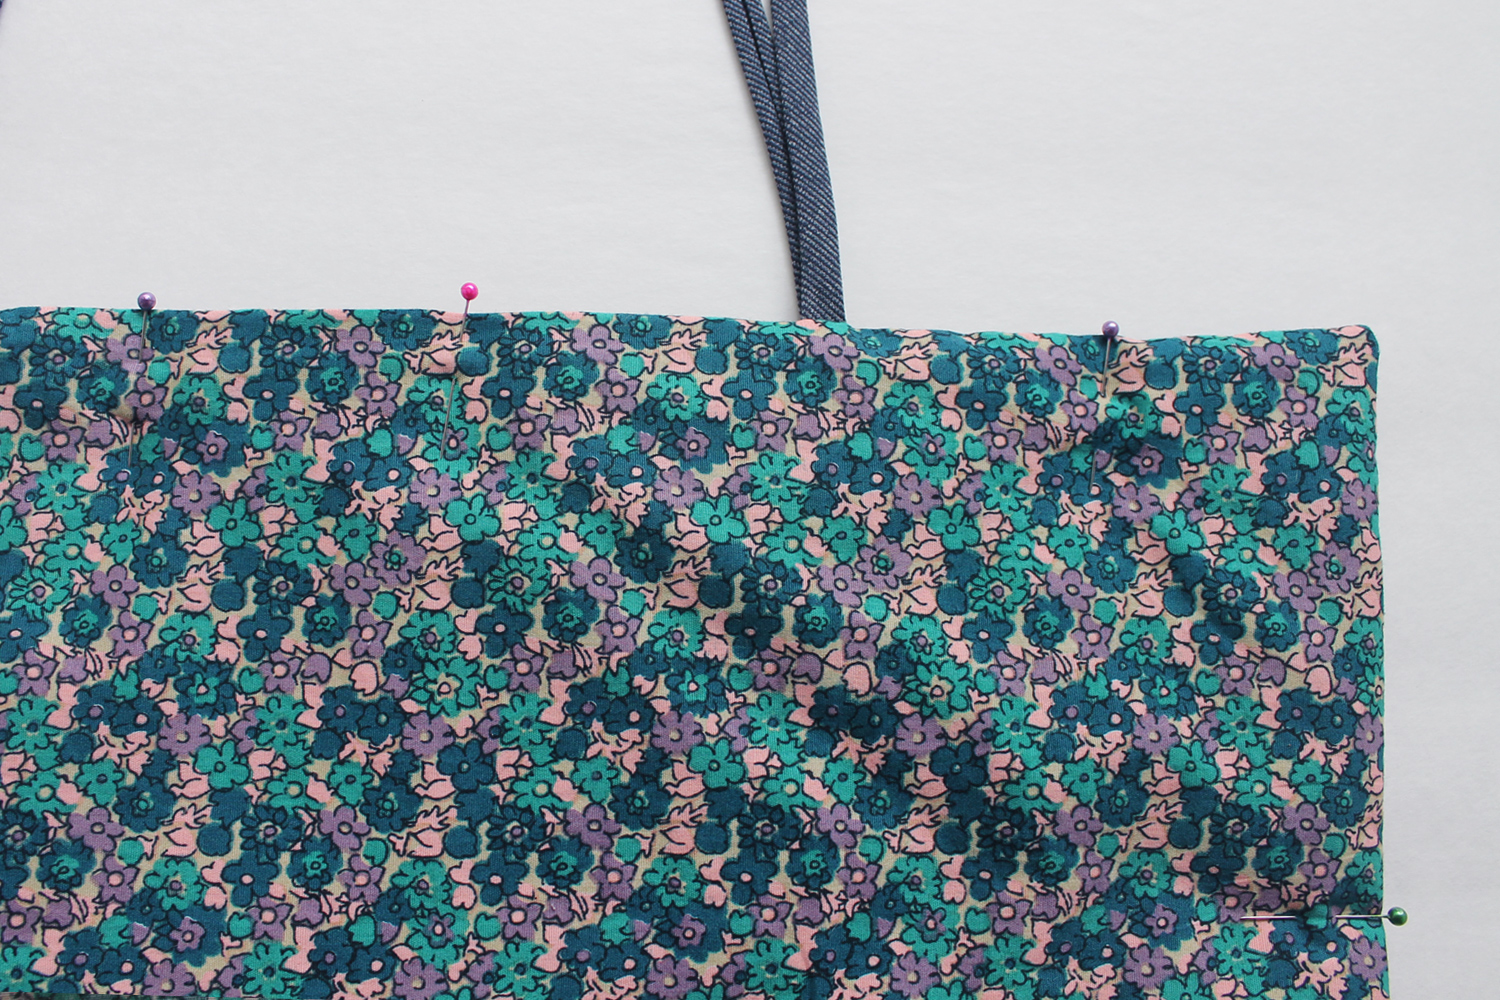
STEP 2: Fold ribbons in half and pin folded edge to right side of fabric along back side, spaced to match chair rails. Layer fabric pieces right sides together on top of batting. Stitch around outside edge using a .5 inch seam allowance, leaving an opening for turning.
STEP 3: Turn right side out through opening. Topstitch around edge. Stitch evenly spaced bartacks through all layers. A bartack is just a wide stitch repeated in the same place like at the end of the buttonhole. It will help keep the layers from shifting around. I like to usee a contrasting color thread for a little pop of color.
And in just three easy steps you have a cute little chair cushion! It's the perfect place to relax with a cup of tea, read a book or play with your tablet. These cushions are a great way to give any room a quick little makeover. It doesn't take a lot of supplies and only about an hour to make.
#spon: I'm required to disclose a relationship between our site and Intel. This could include the Intel Corporation providing us w/content, product, access or other forms of payment.


