I’m super excited about today’s video because it features a very special guest – Melissa from Melly Sews! I’ve been following Melissa for many years now and have found so many of her sewing tutorials to be immensely helpful in my own sewing journey.
A few months ago, I reached out to her because I was going to be in her hometown of Austin for a long weekend. She suggested that we do a DIY holiday gift exchange video and I quite readily said yes. Coincidentally, we both made a zipper pouch but in different styles! It was so much fun to meet irl and exchange these handmade gifts. Today, we are both releasing the video tutorials for how to make them.
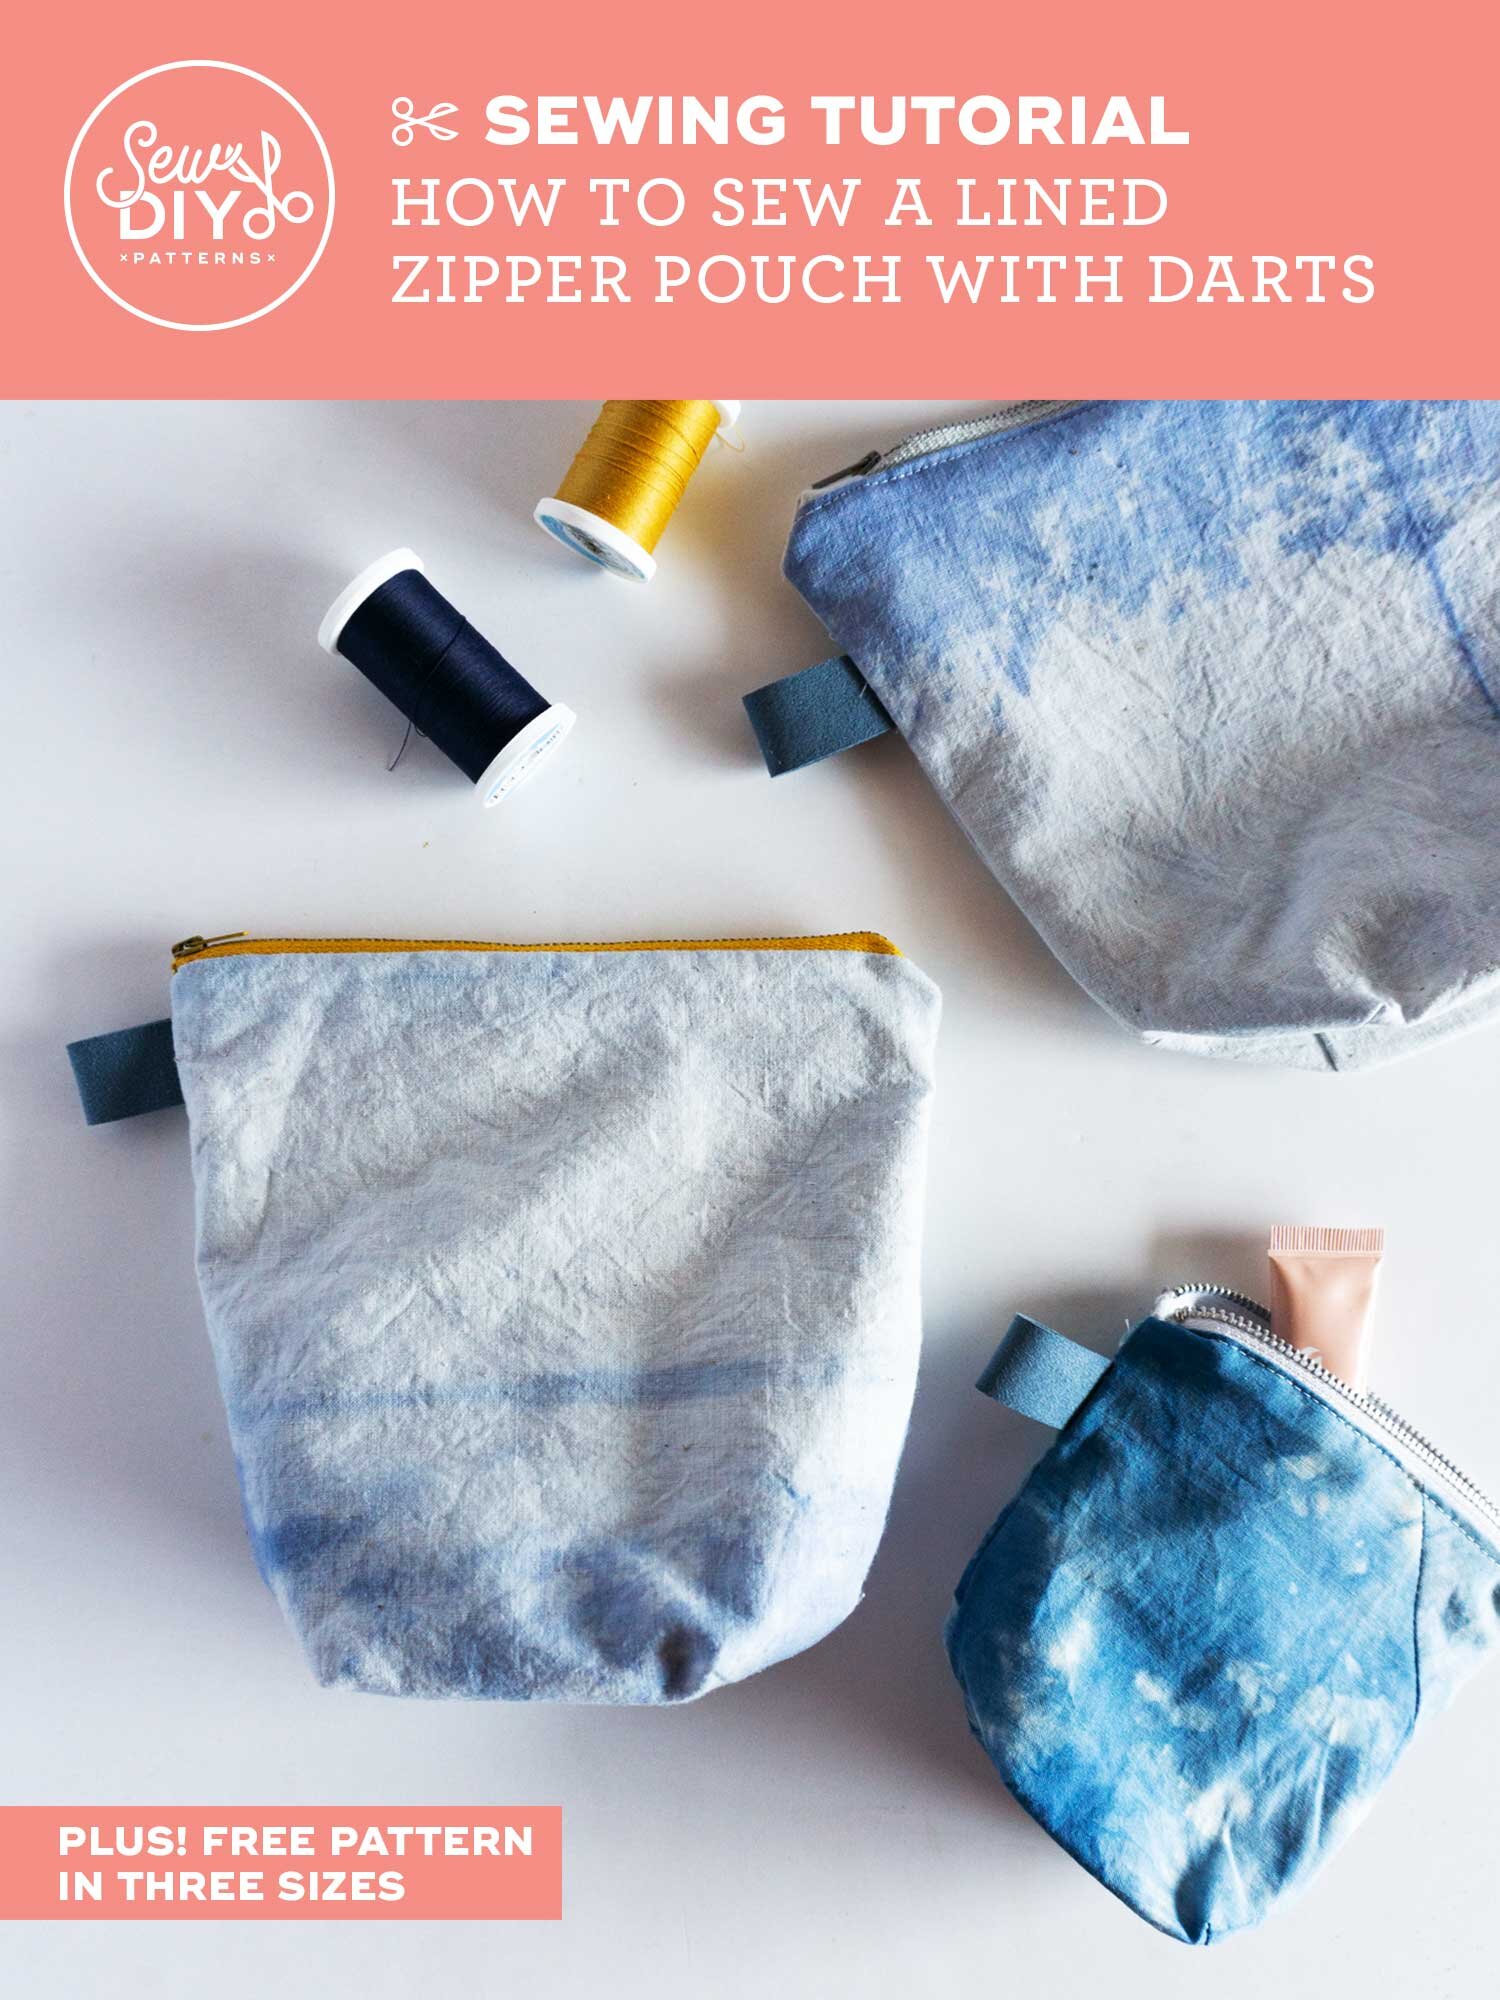
Zippered pouches are such fun little projects to sew and to give. And this one is a great opportunity to practice sewing darts. I find that a zippered pouch is so useful for organizing all the little things I carry around from tech supplies to personal care items. I especially love that they are a great way to use scraps because if you’re anything like me, then you have buckets of scraps just laying about.
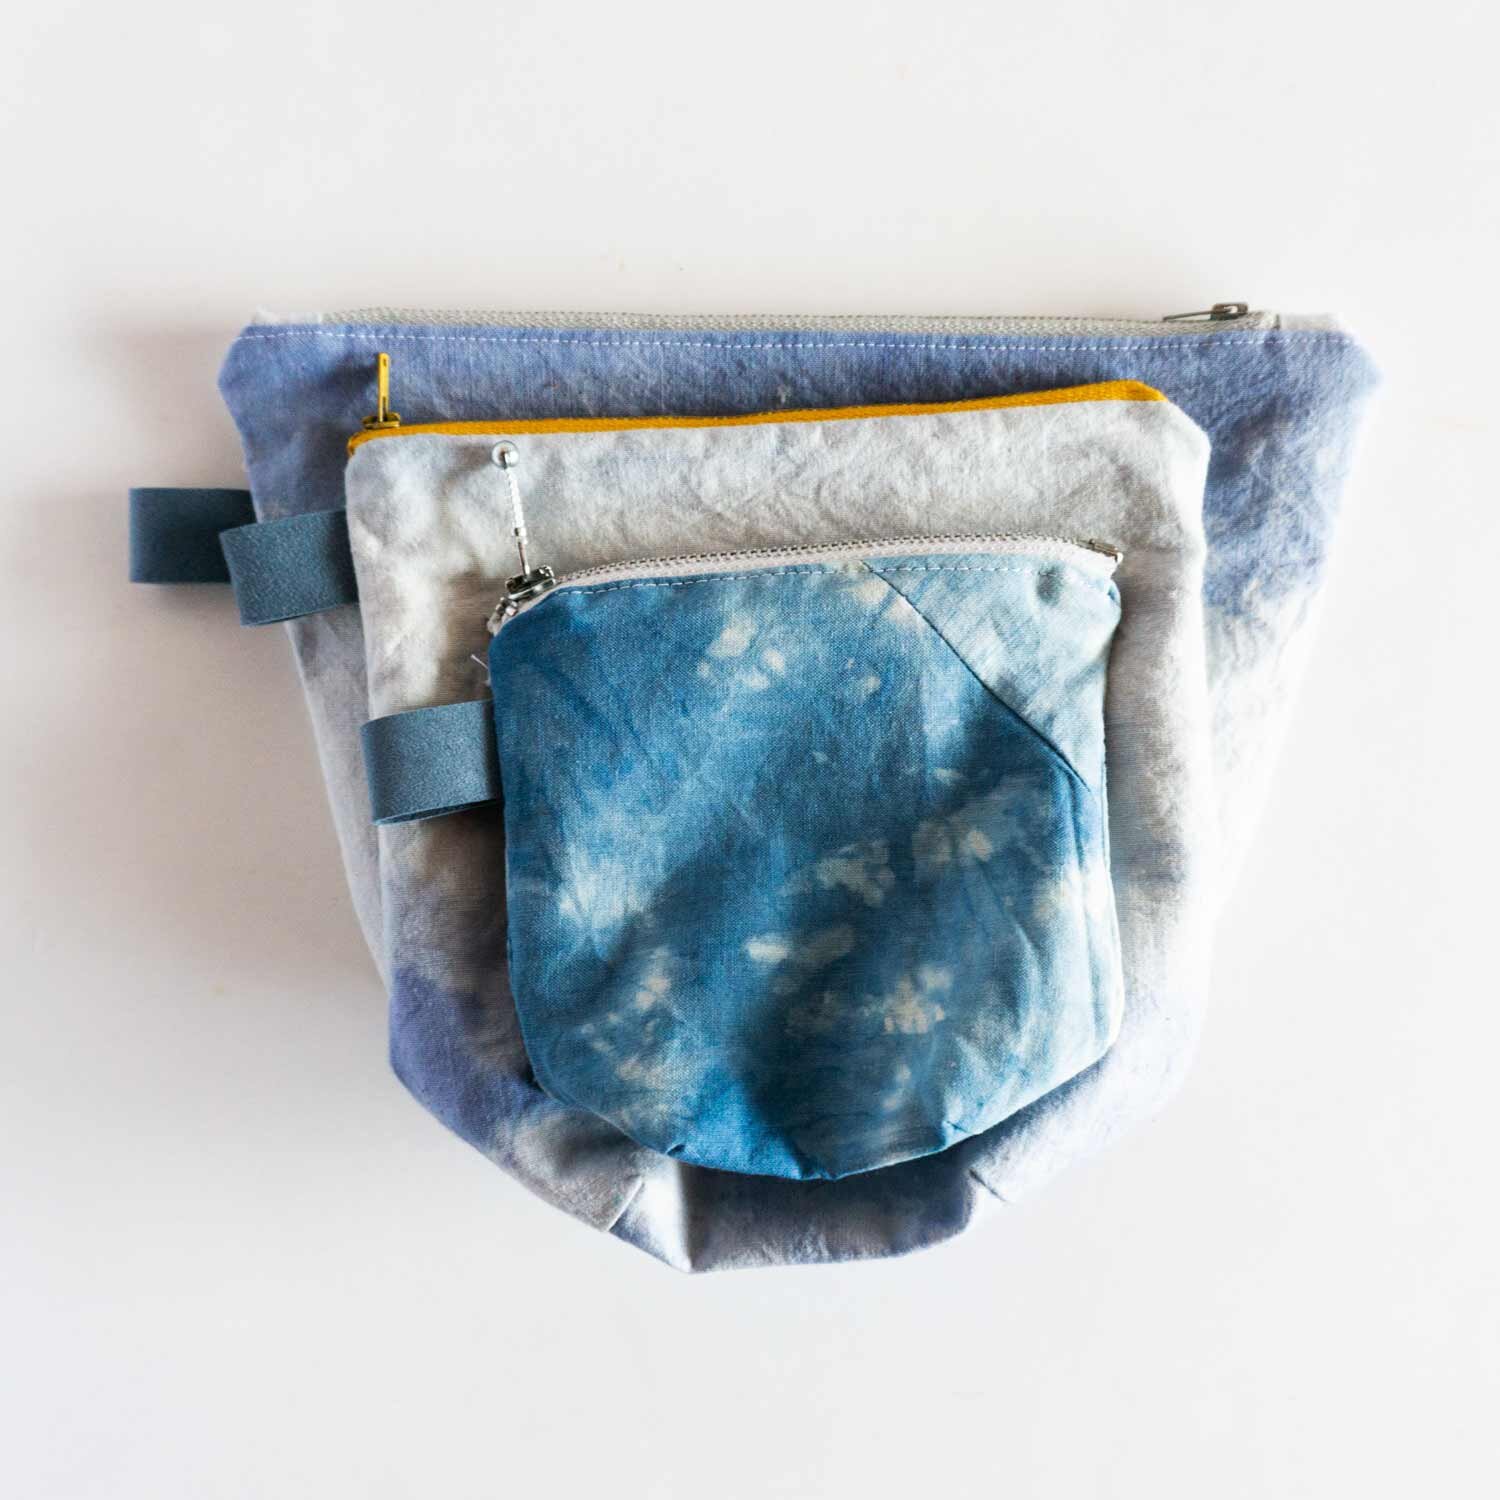
This design was inspired by my desire to use the curved piece of fabric that you get after cutting a neckline opening. From there, the design morphed into a curved bag with darts at the bottom for shape. And because I just can’t help myself, I designed a pattern for three sizes that is free to download. Make sure to also check out Melissa’s video and watch how she upcycled denim scraps to make a different style of zipper pouch. These are both great holiday gifts that are quick to sew and awesome scrap busters.
The video above gives you detailed steps to sew the pouch and even includes some tips for using a rotary cutter and marking and sewing darts. You’ll find a link to the free pattern in the supplies list below. It’s a pdf document with the three pages, one for each size of the pouch. (The medium size is my personal favorite!) Below, is a quick run down of the instructions, the supplies list and a few tips that I forgot to include in the video.
How to sew a lined zipper pouch (Plus a free pattern in 3 sizes)
Supplies
Scrap fabric
Zipper (5” for small, 7” for medium, 10” for large)
Thread
Chalk or other marking tool
Zipper foot
Decorative trim (optional)
Lined Zip Pouch PDF PATTERN (UPDATE 2021: We’ve put all of our pdf downloads on one resource library page. When you sign up for the newsletter, you’ll receive the password and link to the resource library. Sign up is below. You can unsubscribe at any time.)
Instructions:
Step 1: Download the pdf pattern and print the desired size. (The medium is my personal favorite.) Make sure to print at 100% scale.
Step 2: Cut four using your selected size. Two pieces will be for the exterior and two for the lining. Mark the darts using the marking tool of your choice.
Tip: To make an extra sturdy pouch, adhere interfacing to the wrong side of your fabric.
Step 3: Stitch darts.
Step 4: Stitch fabric to zipper. Center one exterior fabric on zipper, with right side against top of zipper and pin in place. Place right side of one lining fabric on back side of zipper and pin in place. Stitch. Repeat for other side of zipper.
Tip: Fold zipper tape back away from the side seam as shown in the photo.
Step 5: Press darts and zipper seams.
Step 6: If desired, attach embellishment to right side of fabric.
Step 7: Open zipper and pin exterior fabric right sides together matching darts. Likewise, pin lining fabric right sides together. Stitch leaving an opening in the lining and with the zipper tape pushed towards the lining.
Tip: Trim fabric and zipper tape at top of bag. This will make the top corners of the bag less lumpy, especially for the smallest size bag.
Step 8: Turn right side out through opening. Stitch opening closed by machine or by hand.
Yay! You’re all done with a cute little (perhaps upcycled) zipper pouch! For the pouches in the photos, I used muslin from an old sewing project that I dyed. It’s so pretty and brings new life to an otherwise ho-hum fabric. I hope that you enjoyed both my and Melissa’s video and are feeling inspired to make some scrap busting holiday gifts this year. If you aren’t already, I would be so honored if you subscribed to my YouTube channel. I post a new video about once a week with lots of fun sewing goodness. Happy sewing!

