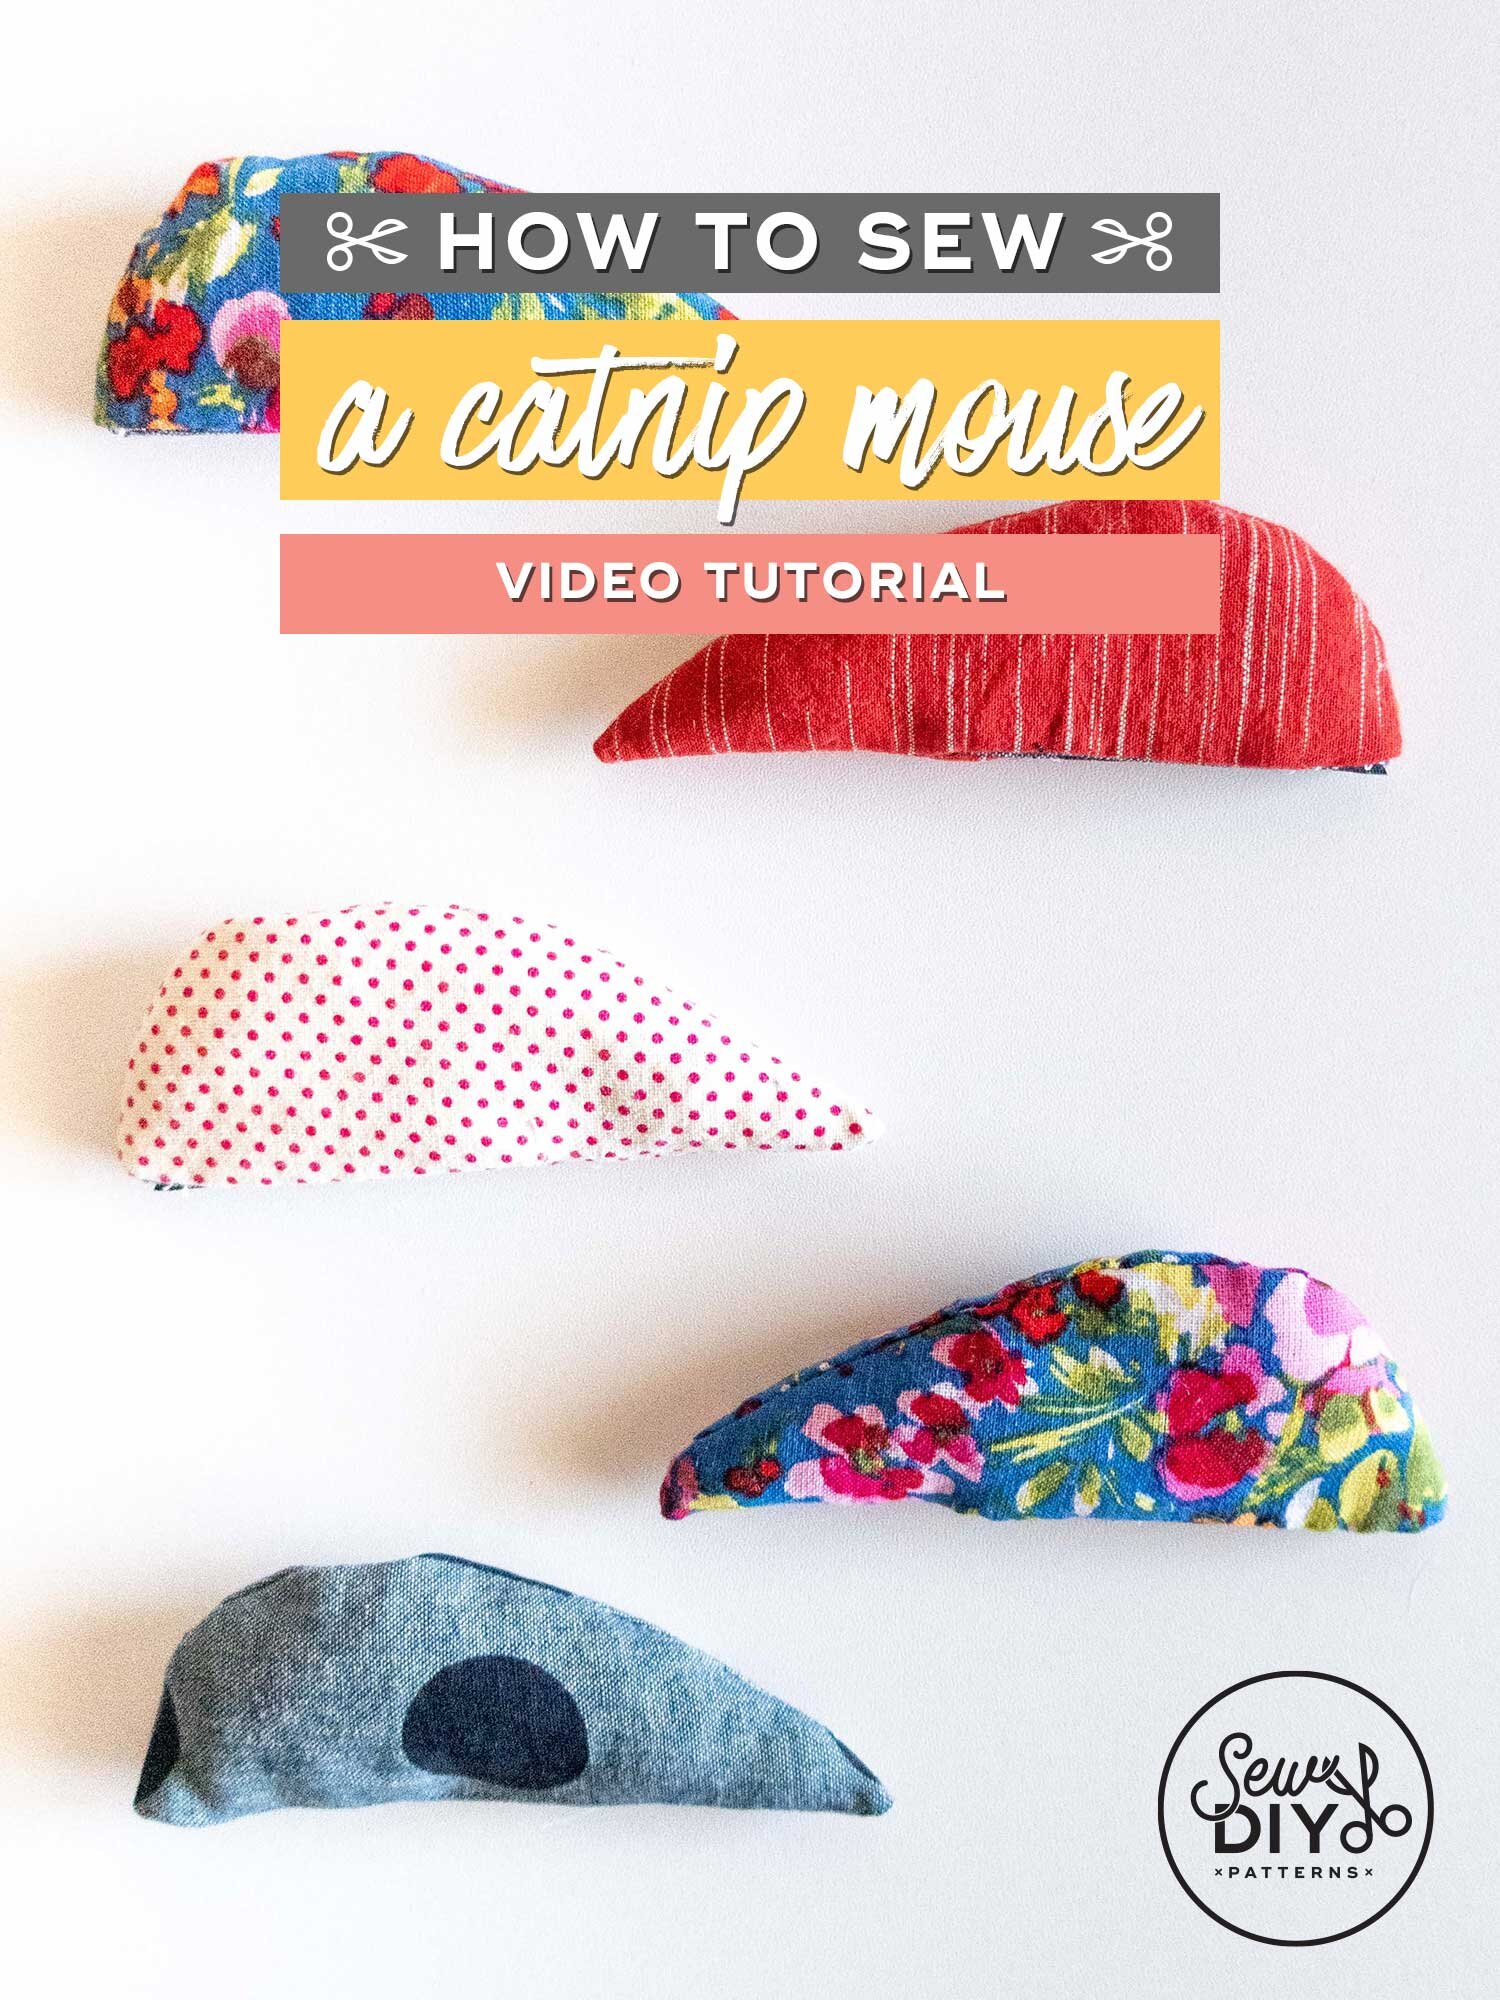
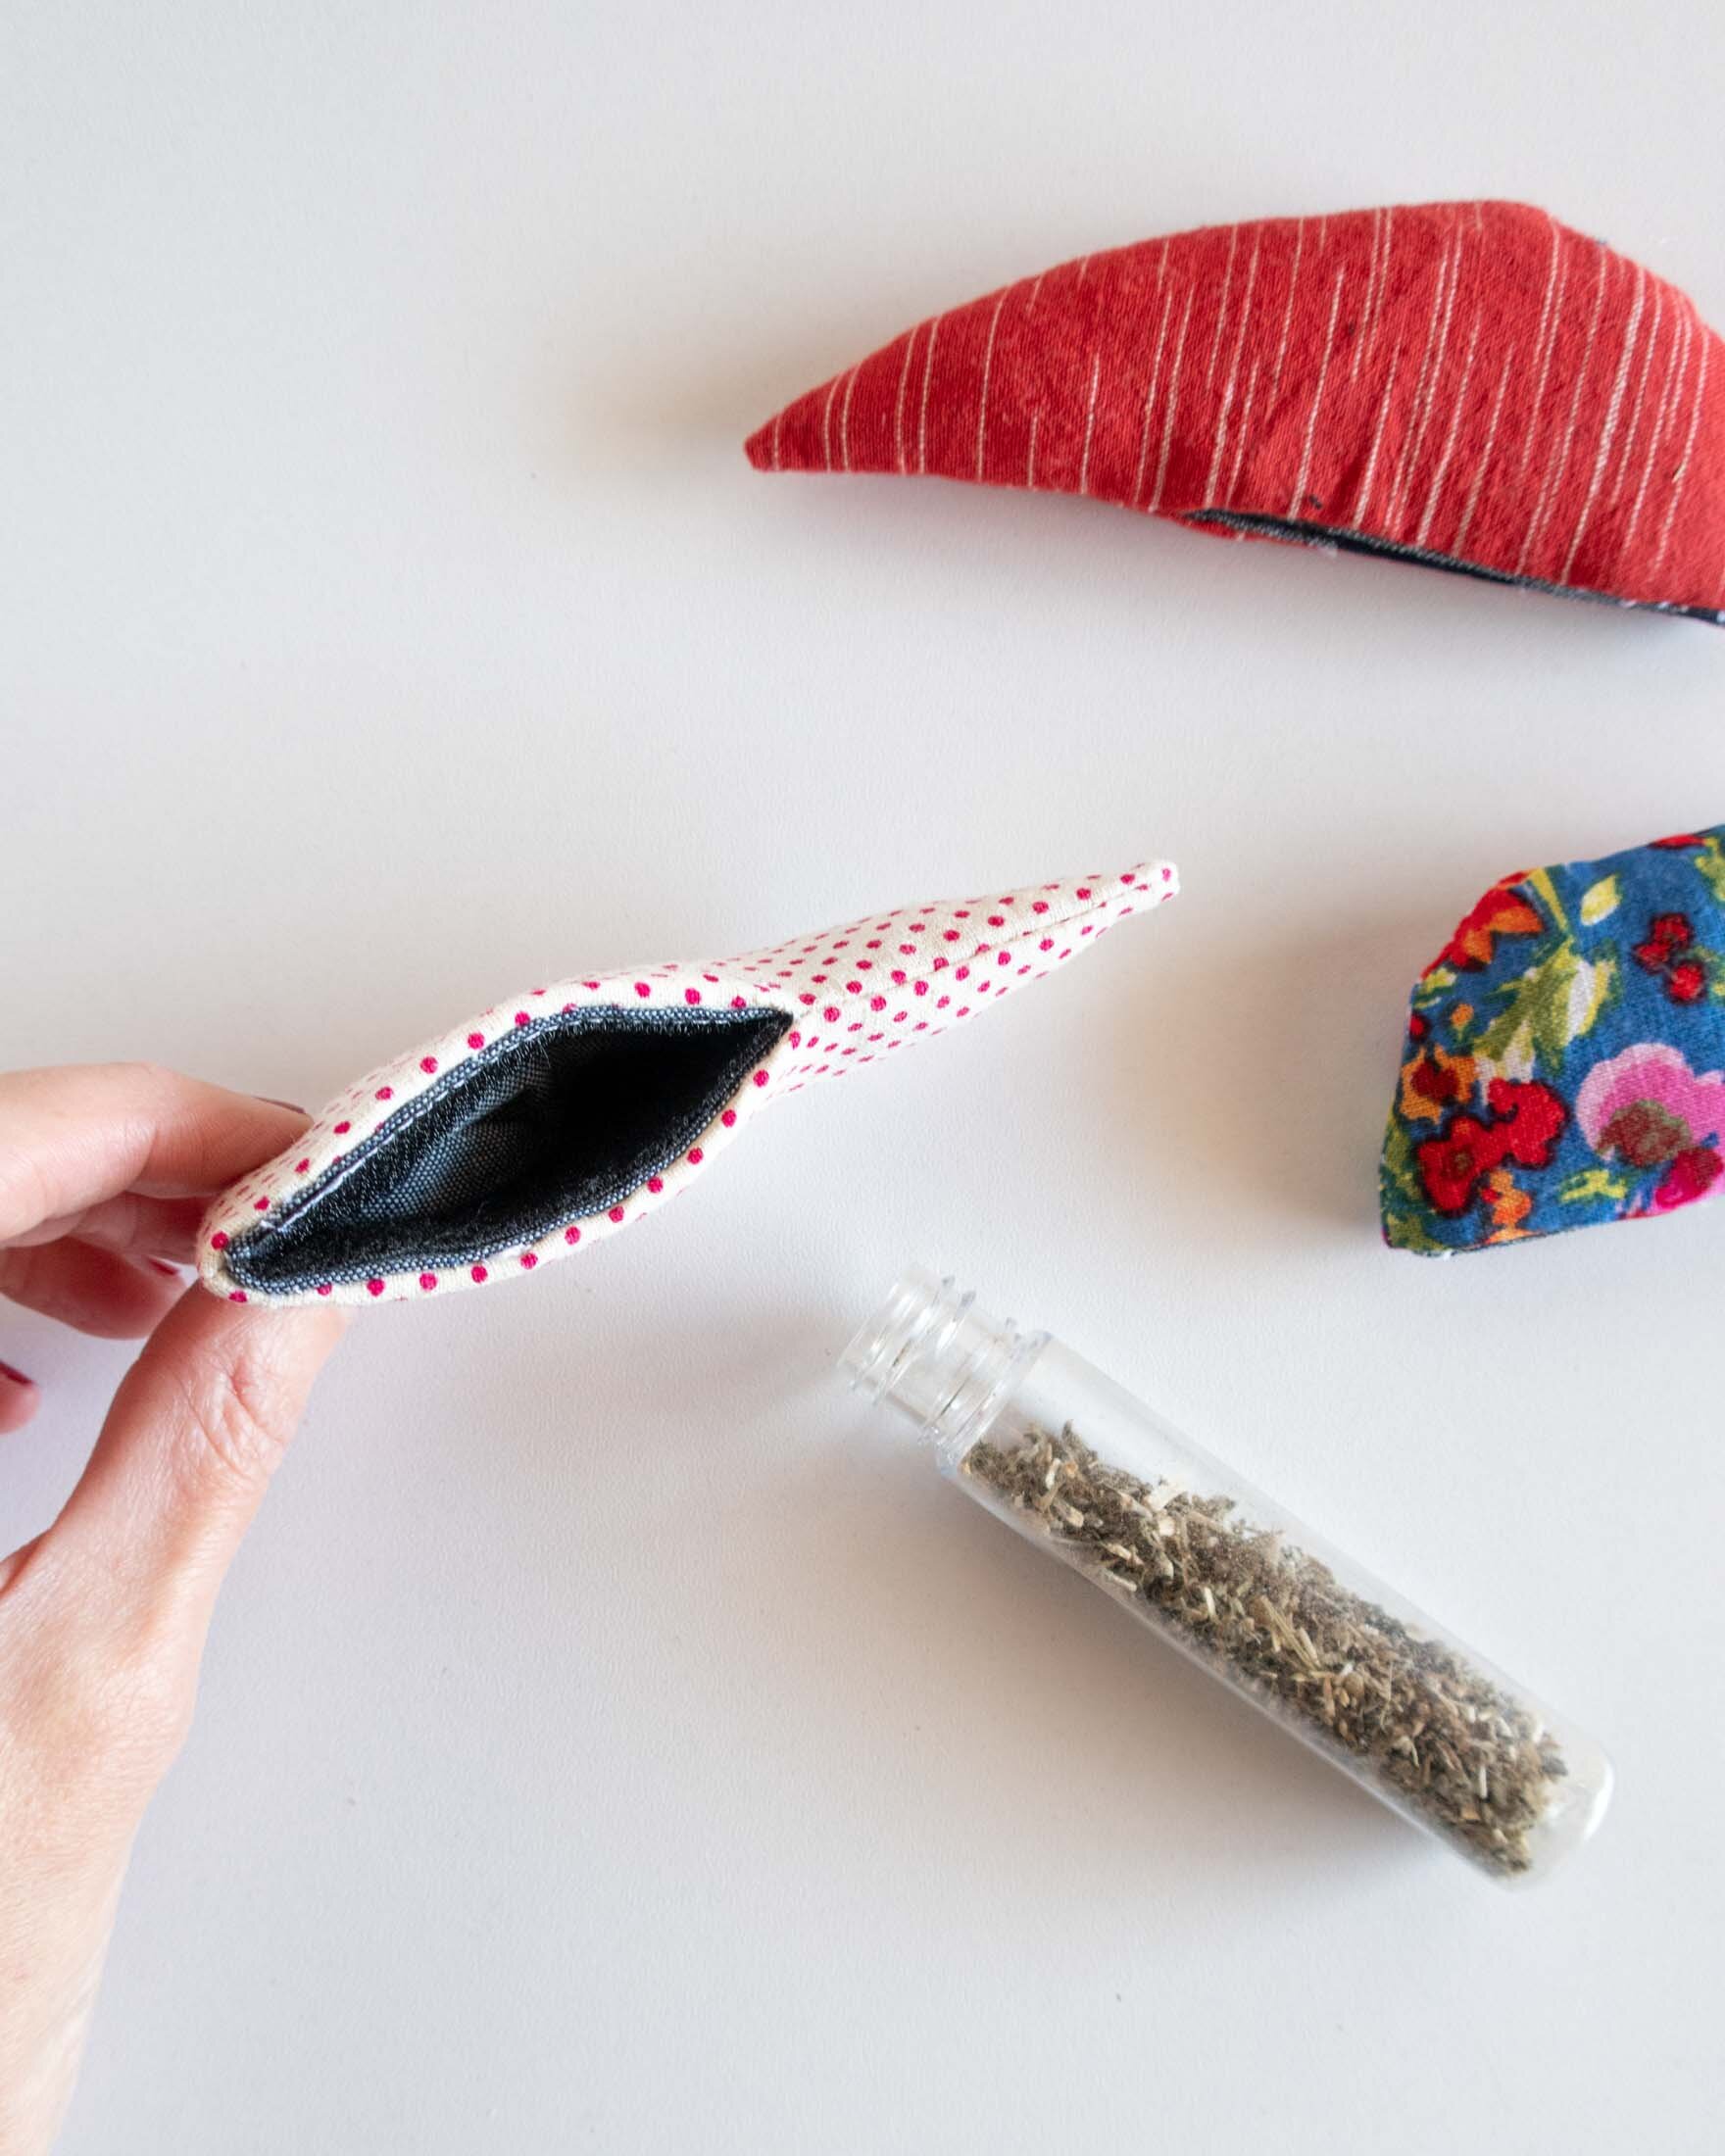
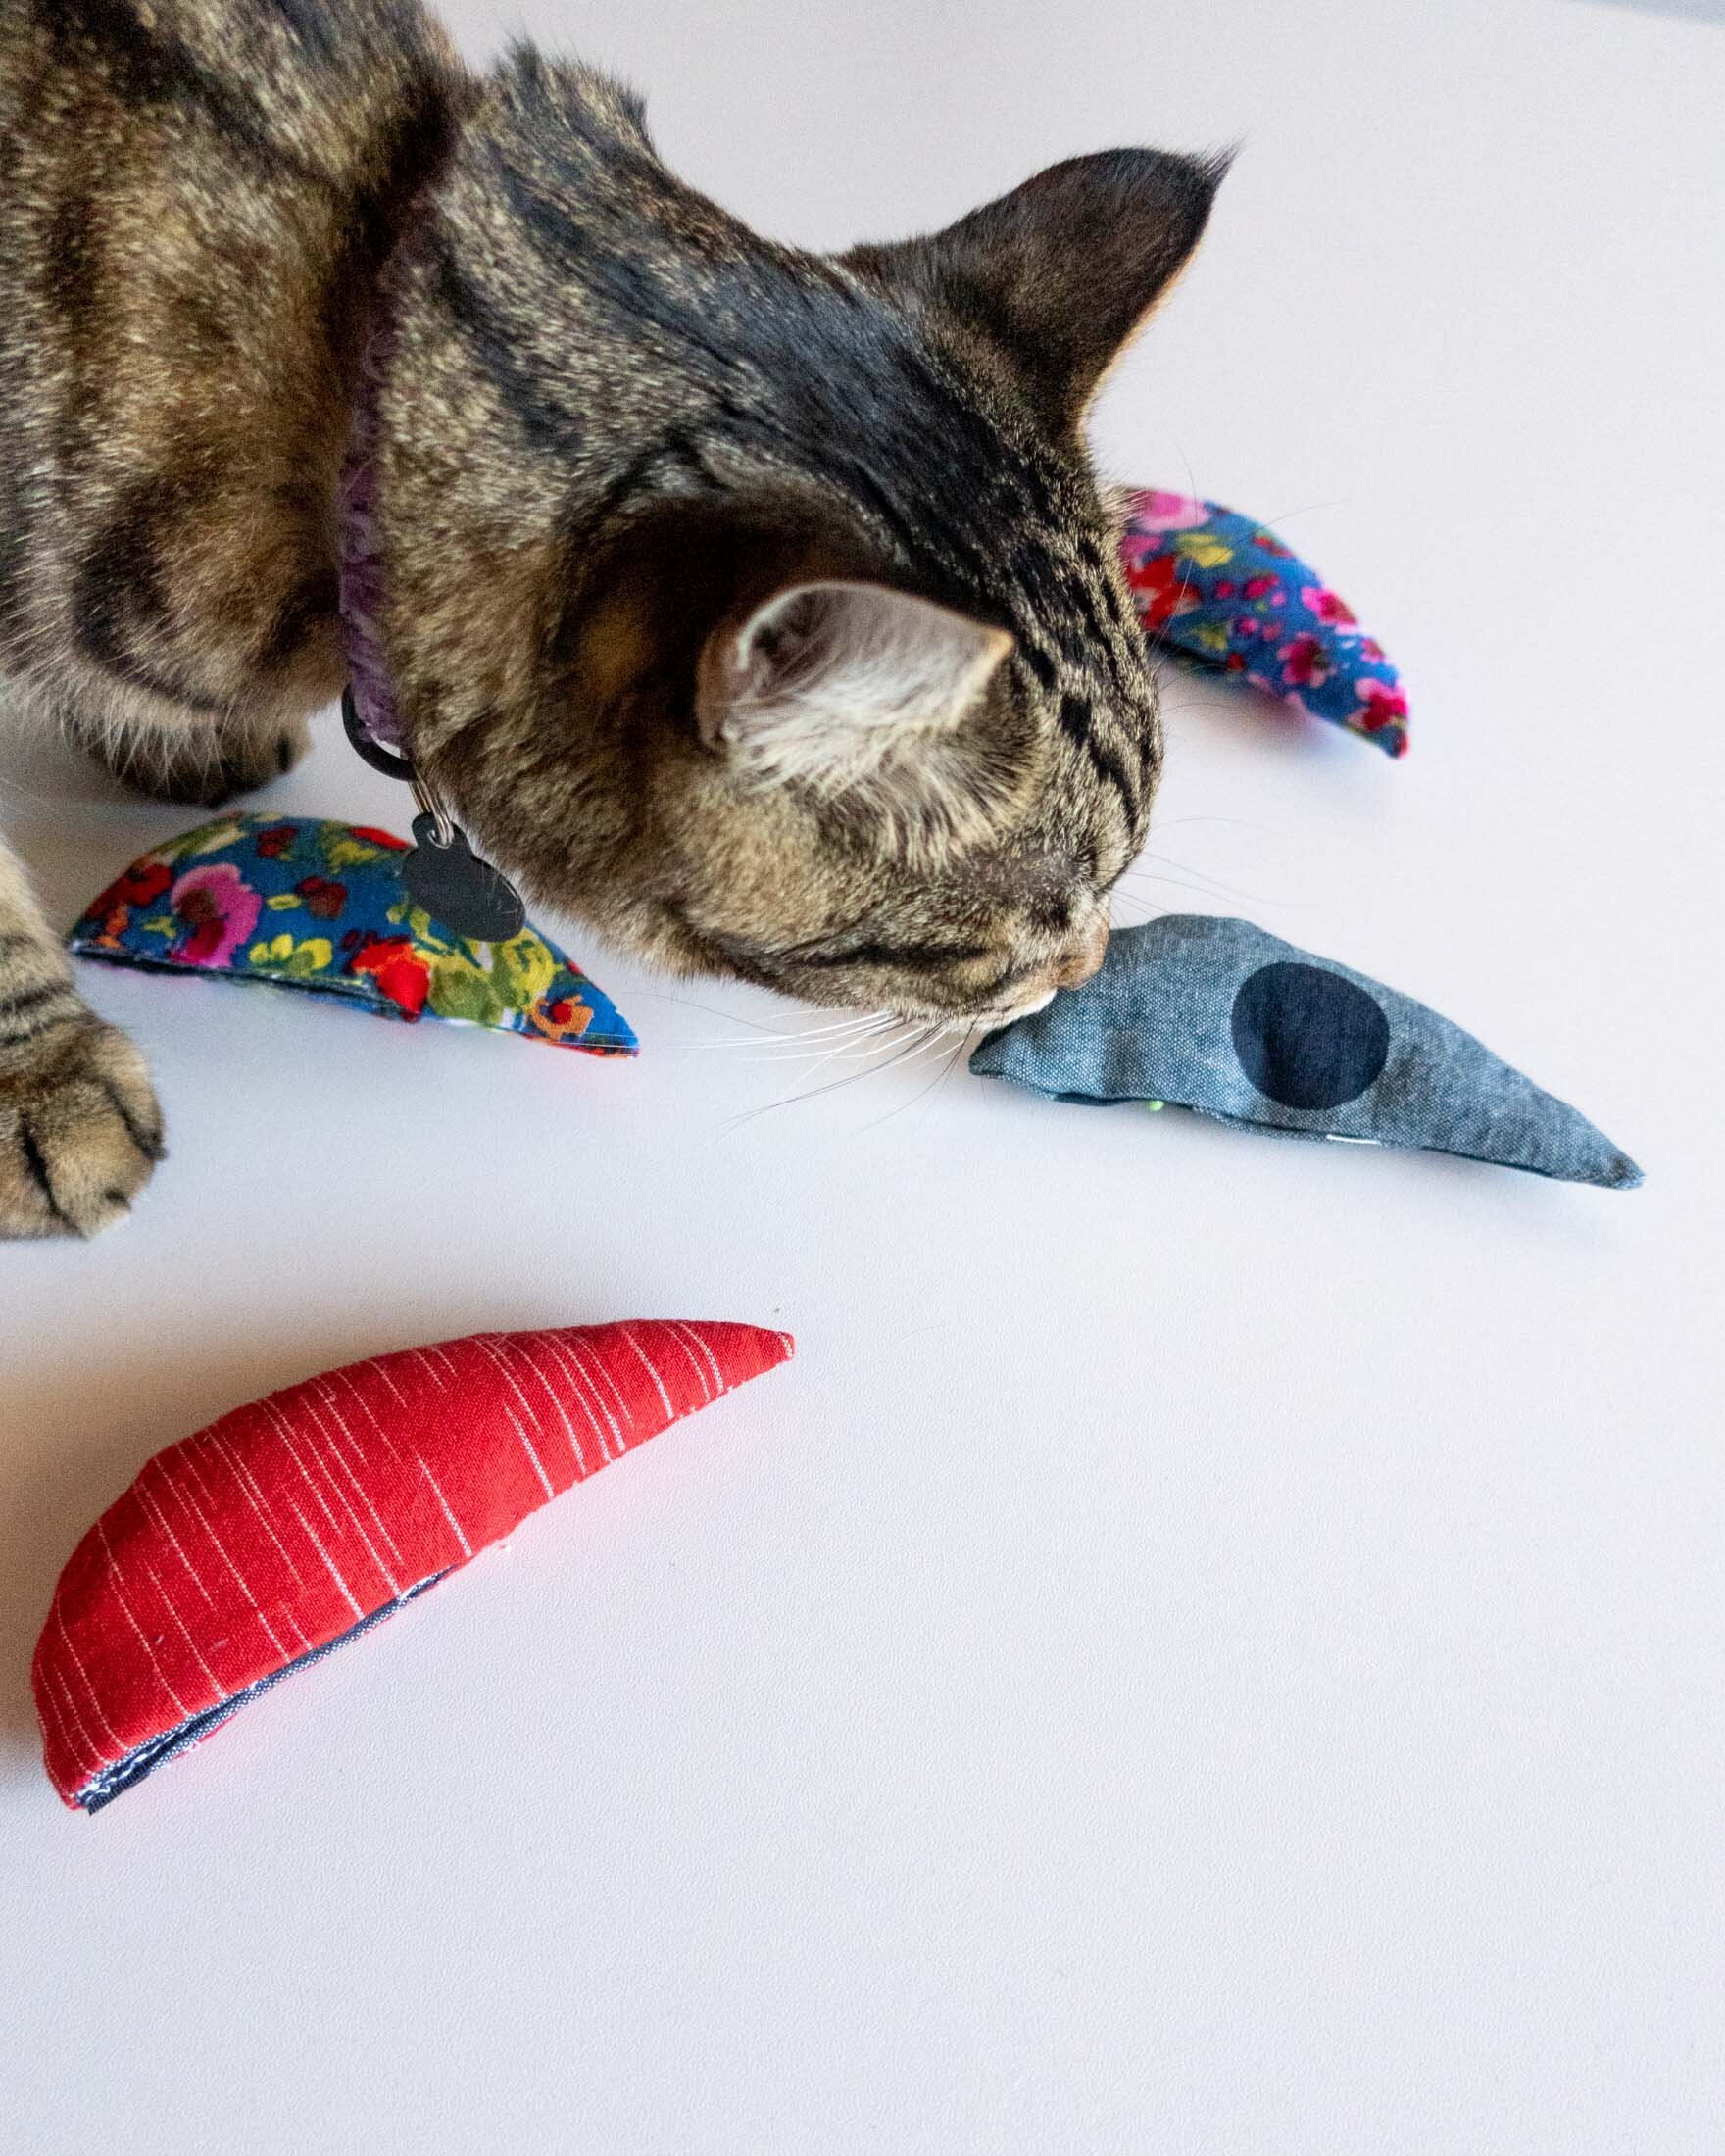
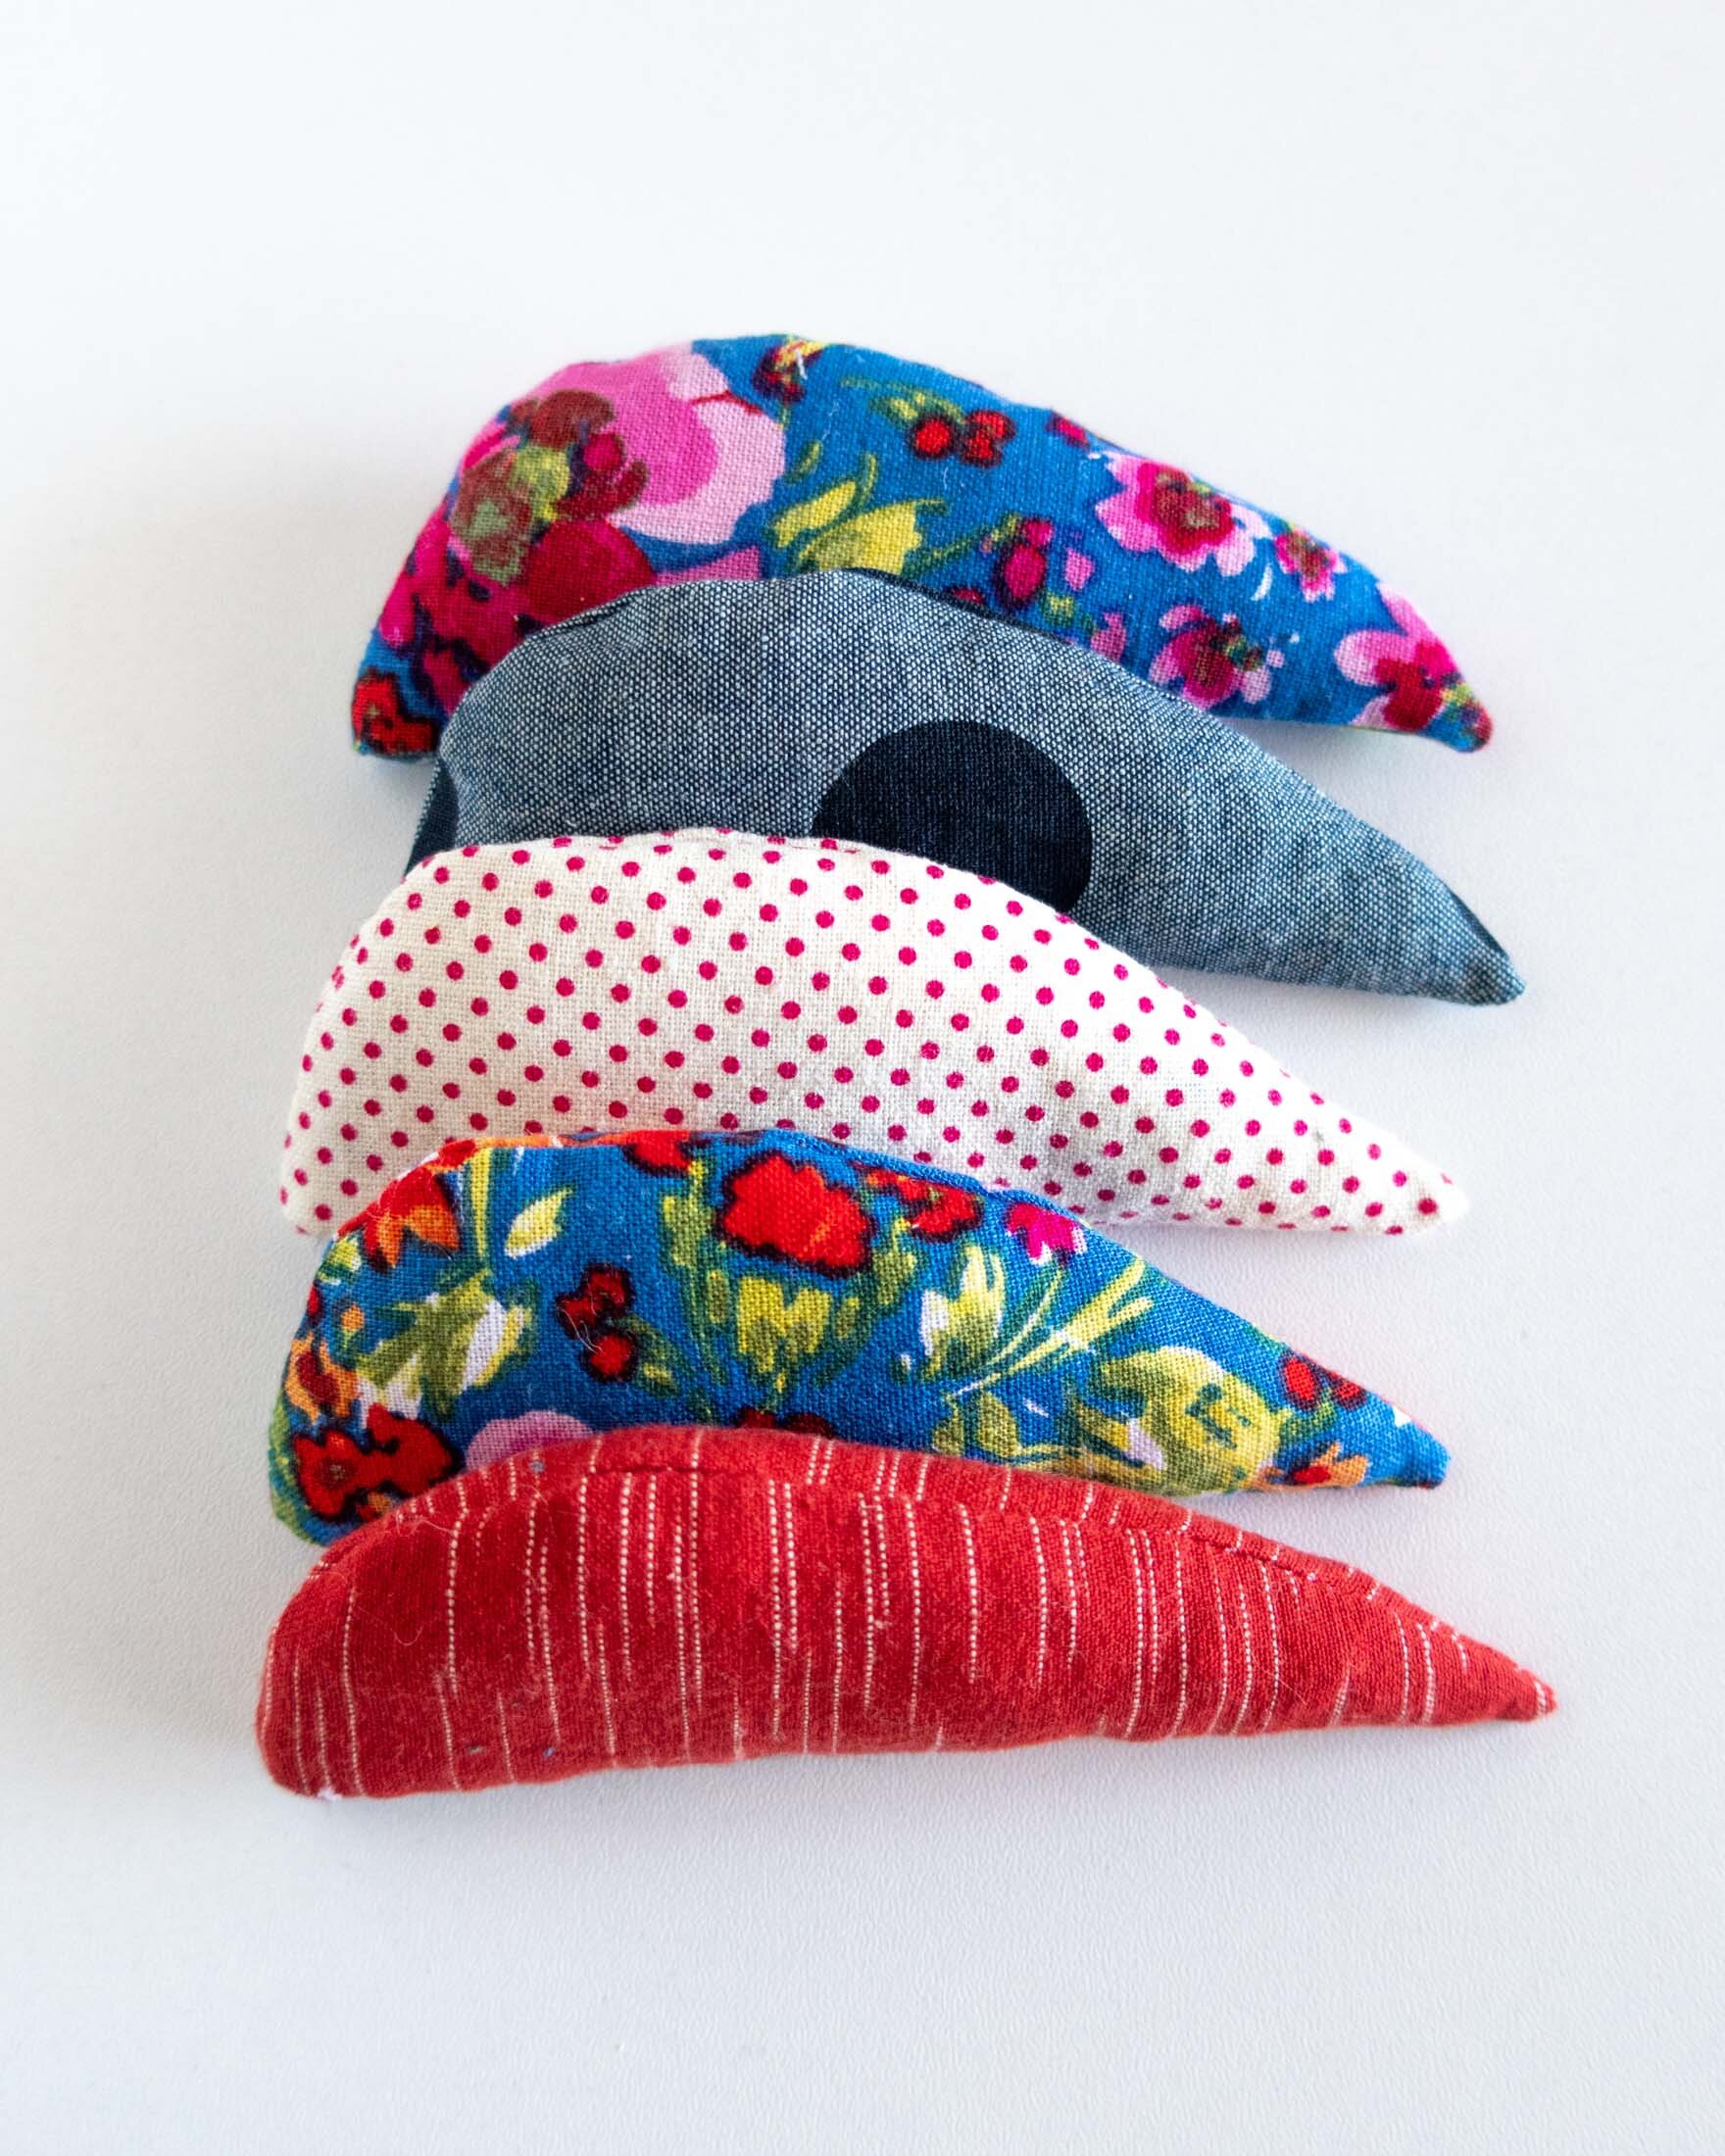
Today, I'm very excited to bring you a tutorial for sewing a cat toy. I love my kitty and he LOVES catnip so catnip toys are very popular in my house. This project is inspired by a couple of toys that I bought that have a pocket that closes with velcro where you can put catnip. The pocket means you can replace the catnip when it loses potency and the velcro means that the catnip won’t fall all over the place while your cat is playing. Read on to download the (free!) template and watch the video.
It took a bit of trial and error to figure out the easiest way to sew this and I’m pretty pleased with my method. It does require hand sewing at the end but trust me, hand sewing is much easier than trying to stitch this little tiny mouse on your machine. By the way, my main goal with all of my tutorials and patterns is to figure out the easiest construction method possible. I don’t think there’s any good reason to do things the hard way if you don’t need to. If there’s a more simple method and you get the same awesome results, then I say take the easy way!
If you’re interested in more ways to use your scrap fabric, I recently launched a new e-course that teaches garment sewists how to make improvisational quilts using their fabric scraps. If you’re interested, you can learn more about the course here. It’s a really fun and comprehensive course and that will change your perspective on your fabric scraps and teach you how to make a quilt from start to finish.
SELECTING FABRIC
I recommend using a medium weight fabric that will stand up to being bitten and kicked around by a cat. Natural fibers like cotton would work well for durability and would wash well too. For the filling, I used scraps of batting leftover from making a quilt. You can also use another stuffing like poly fill or even scraps from a sweater knit if they feel nice and squishy.
Watch the video above to learn how to draft and sew this simple apron. (You can also watch it on YouTube here.) Scroll down for the template and written instructions.
How to sew a refillable catnip mouse toy
SUPPLIES NEEDED FOR THIS PROJECT
Catnip Mouse PDF pattern (UPDATE 2021: We’ve put all of our pdf downloads on one resource library page. When you sign up for the newsletter, you’ll receive the password and link to the resource library. Sign up is below. You can unsubscribe at any time.)
fabric scraps
matching thread
scraps of batting or other soft filler
TOOLS USED IN THIS VIDEO
INSTRUCTIONS
NOTES: SEAM ALLOWANCE IS .25 INCH, UNLESS OTHERWISE NOTED. Download the template by clicking below. Print this template at 100% scale on letter or A4 size paper. The dashed line is the stitching line.
STEP 1: With right sides together, stitch catnip pocket pieces along one curved edge for about 1.5 inch. Press seam open. Fold straight (opening) edge to the wrong side 5/8 inch and press.
STEP 2: Use velcro template to cut two pieces of velcro. Topstitch velcro to right side of opening with longer edge at the opening. When the fabric is right sides together, the two pieces of velcro should fit together.
STEP 3: With right sides together, finish stitching the rounded edge of the catnip pocket.
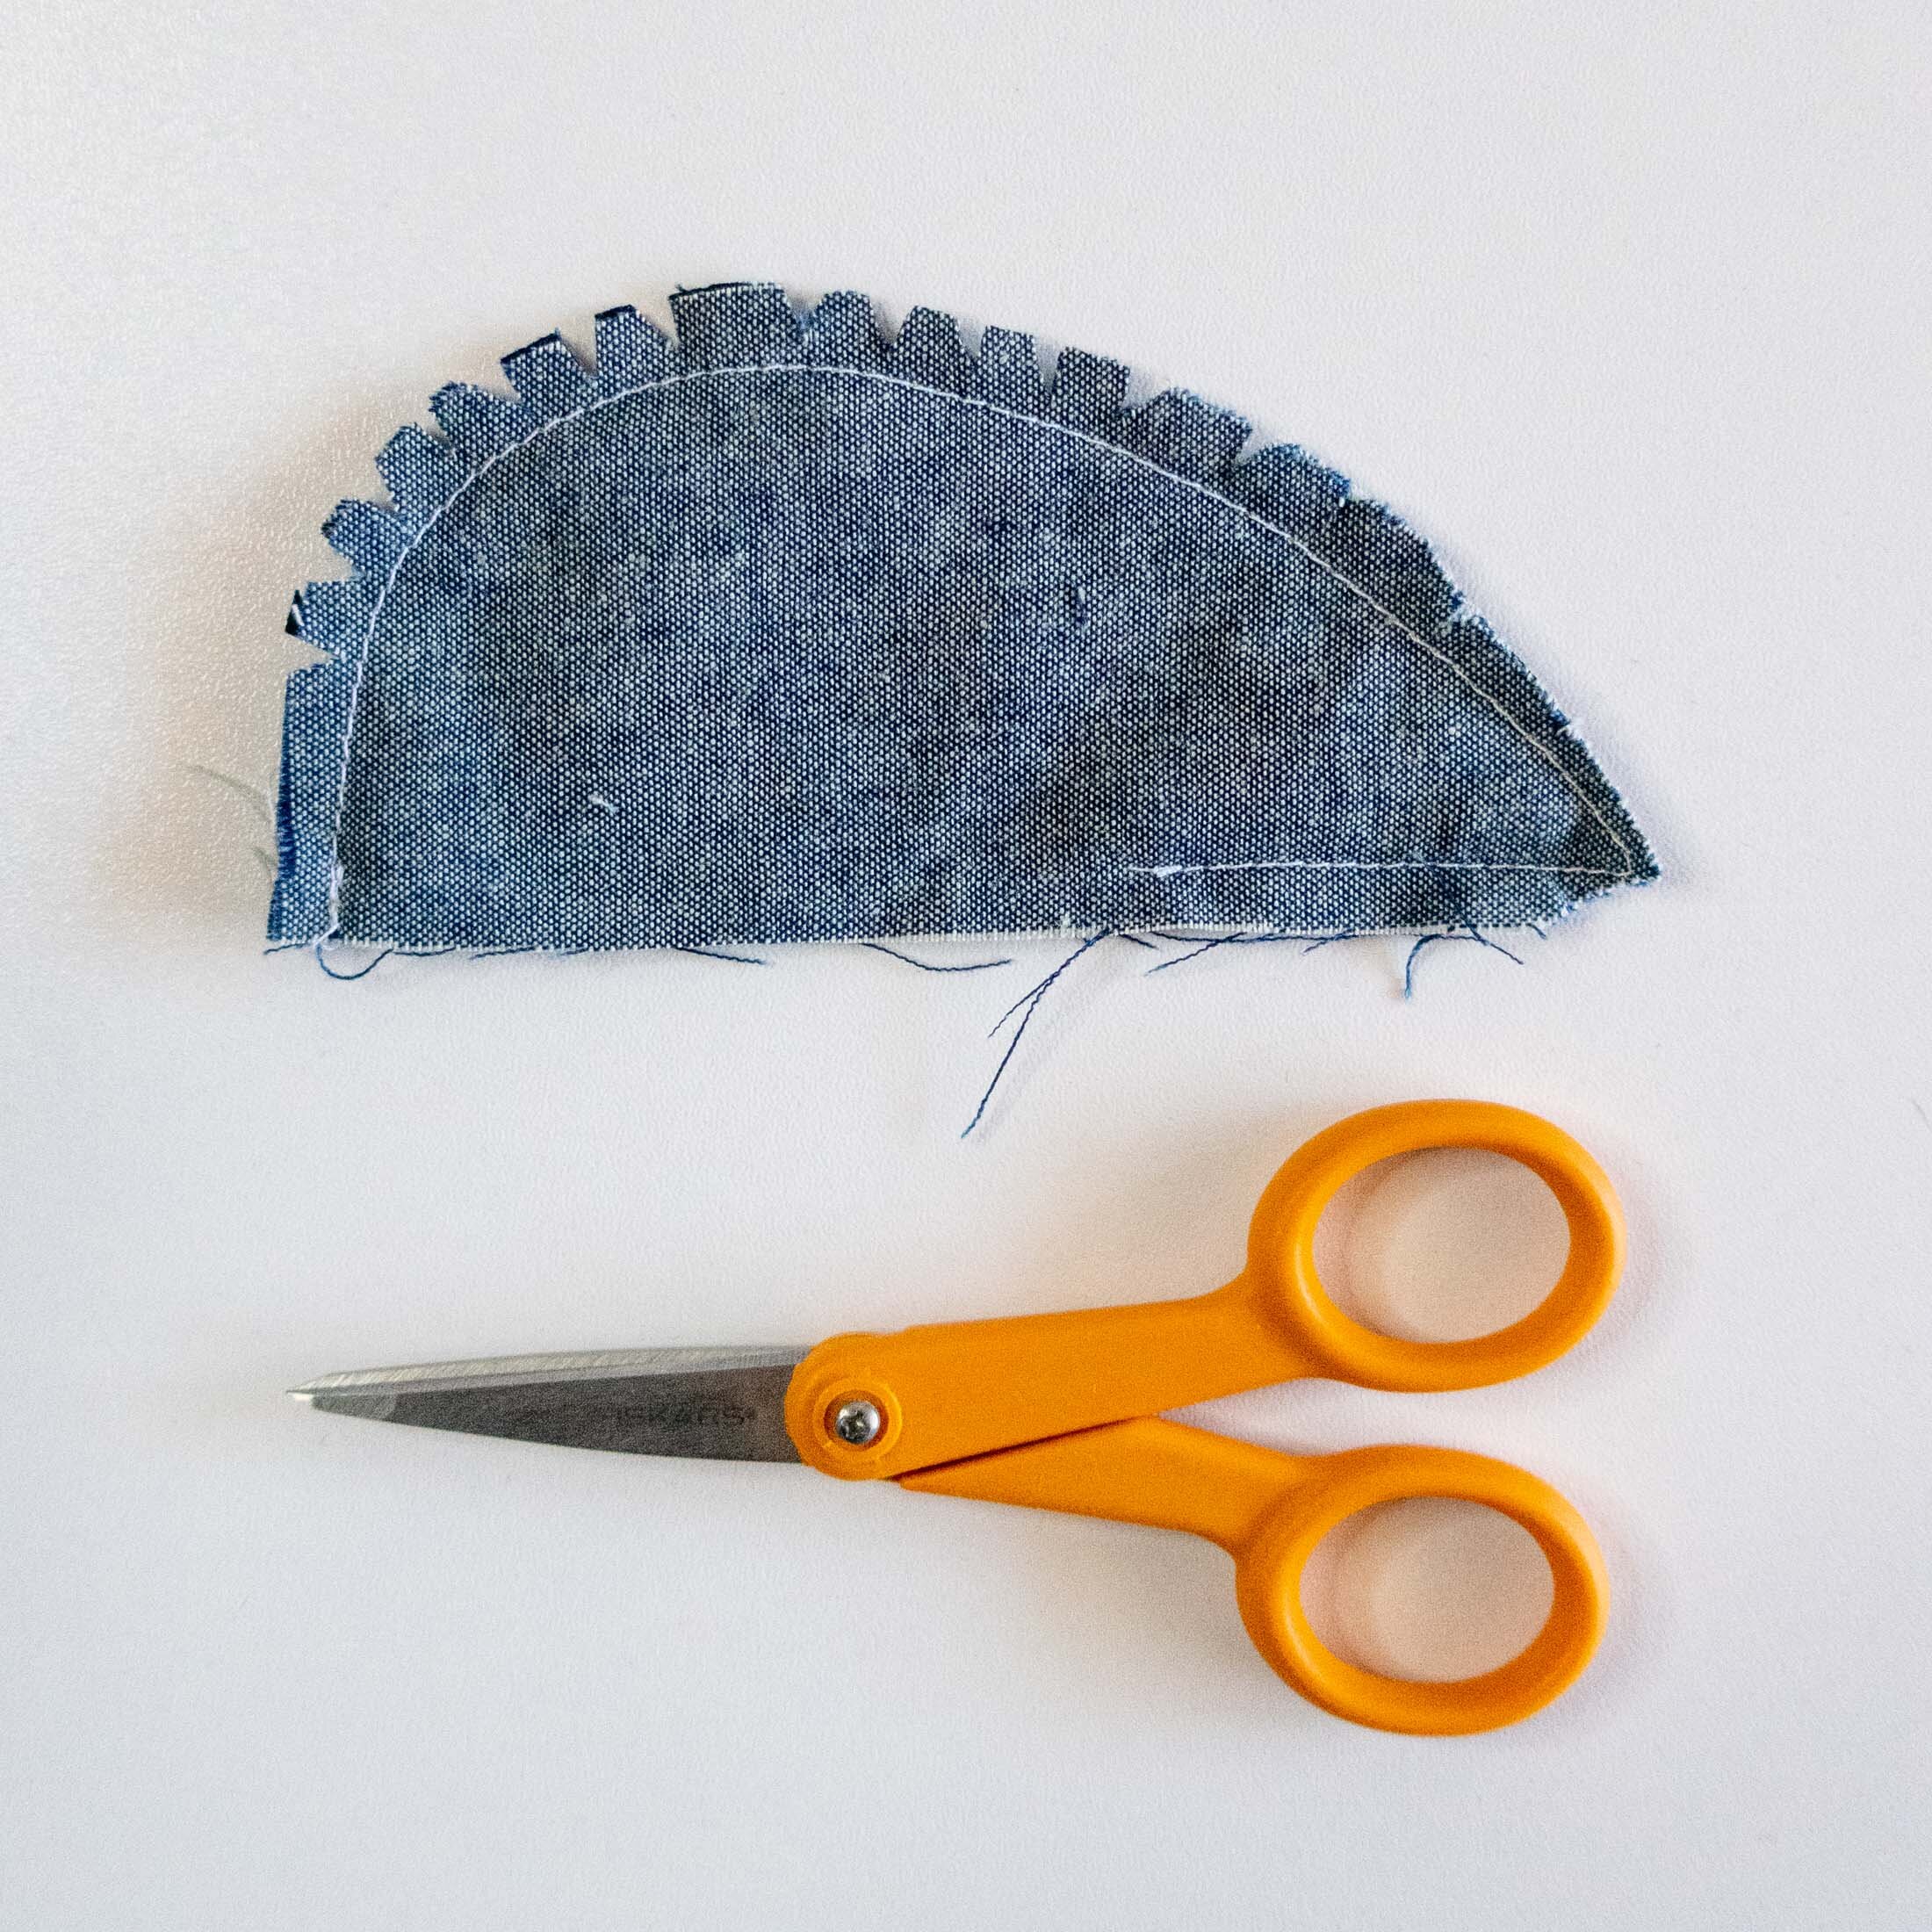
STEP 4: With right sides together, stitch exterior pieces along curved edge, starting and stopping at dots. Trim and clip seam allowance and finger press open.
STEP 5: Turn mouse right side out and gently poke out the nose. Press raw edge to the inside. Line the interior with scraps of batting or filling.
STEP 6: Put catnip pocket inside mouse with wrong sides together, aligning folded opening edges. Slip stitch in place. See this video to learn how to sew a slip stitch.
This tutorial is the sixth in my series of tutorials for holiday gifts that use scrap fabric. Make sure to check out my tutorials for mitered corner napkins, a 3D style face mask, a flower tote, a simple apron and quilted slippers. I also have a new e-course that will teach you how to turn your fabric scraps into beautiful and useful improvisational quilts. You can learn more about it here.
You can save the image above to Pinterest for future reference. And, if you’d like to support this free content, I invite you to explore the shop below or donate to the channel by “buying me a coffee” at ko-fi. Happy sewing!

