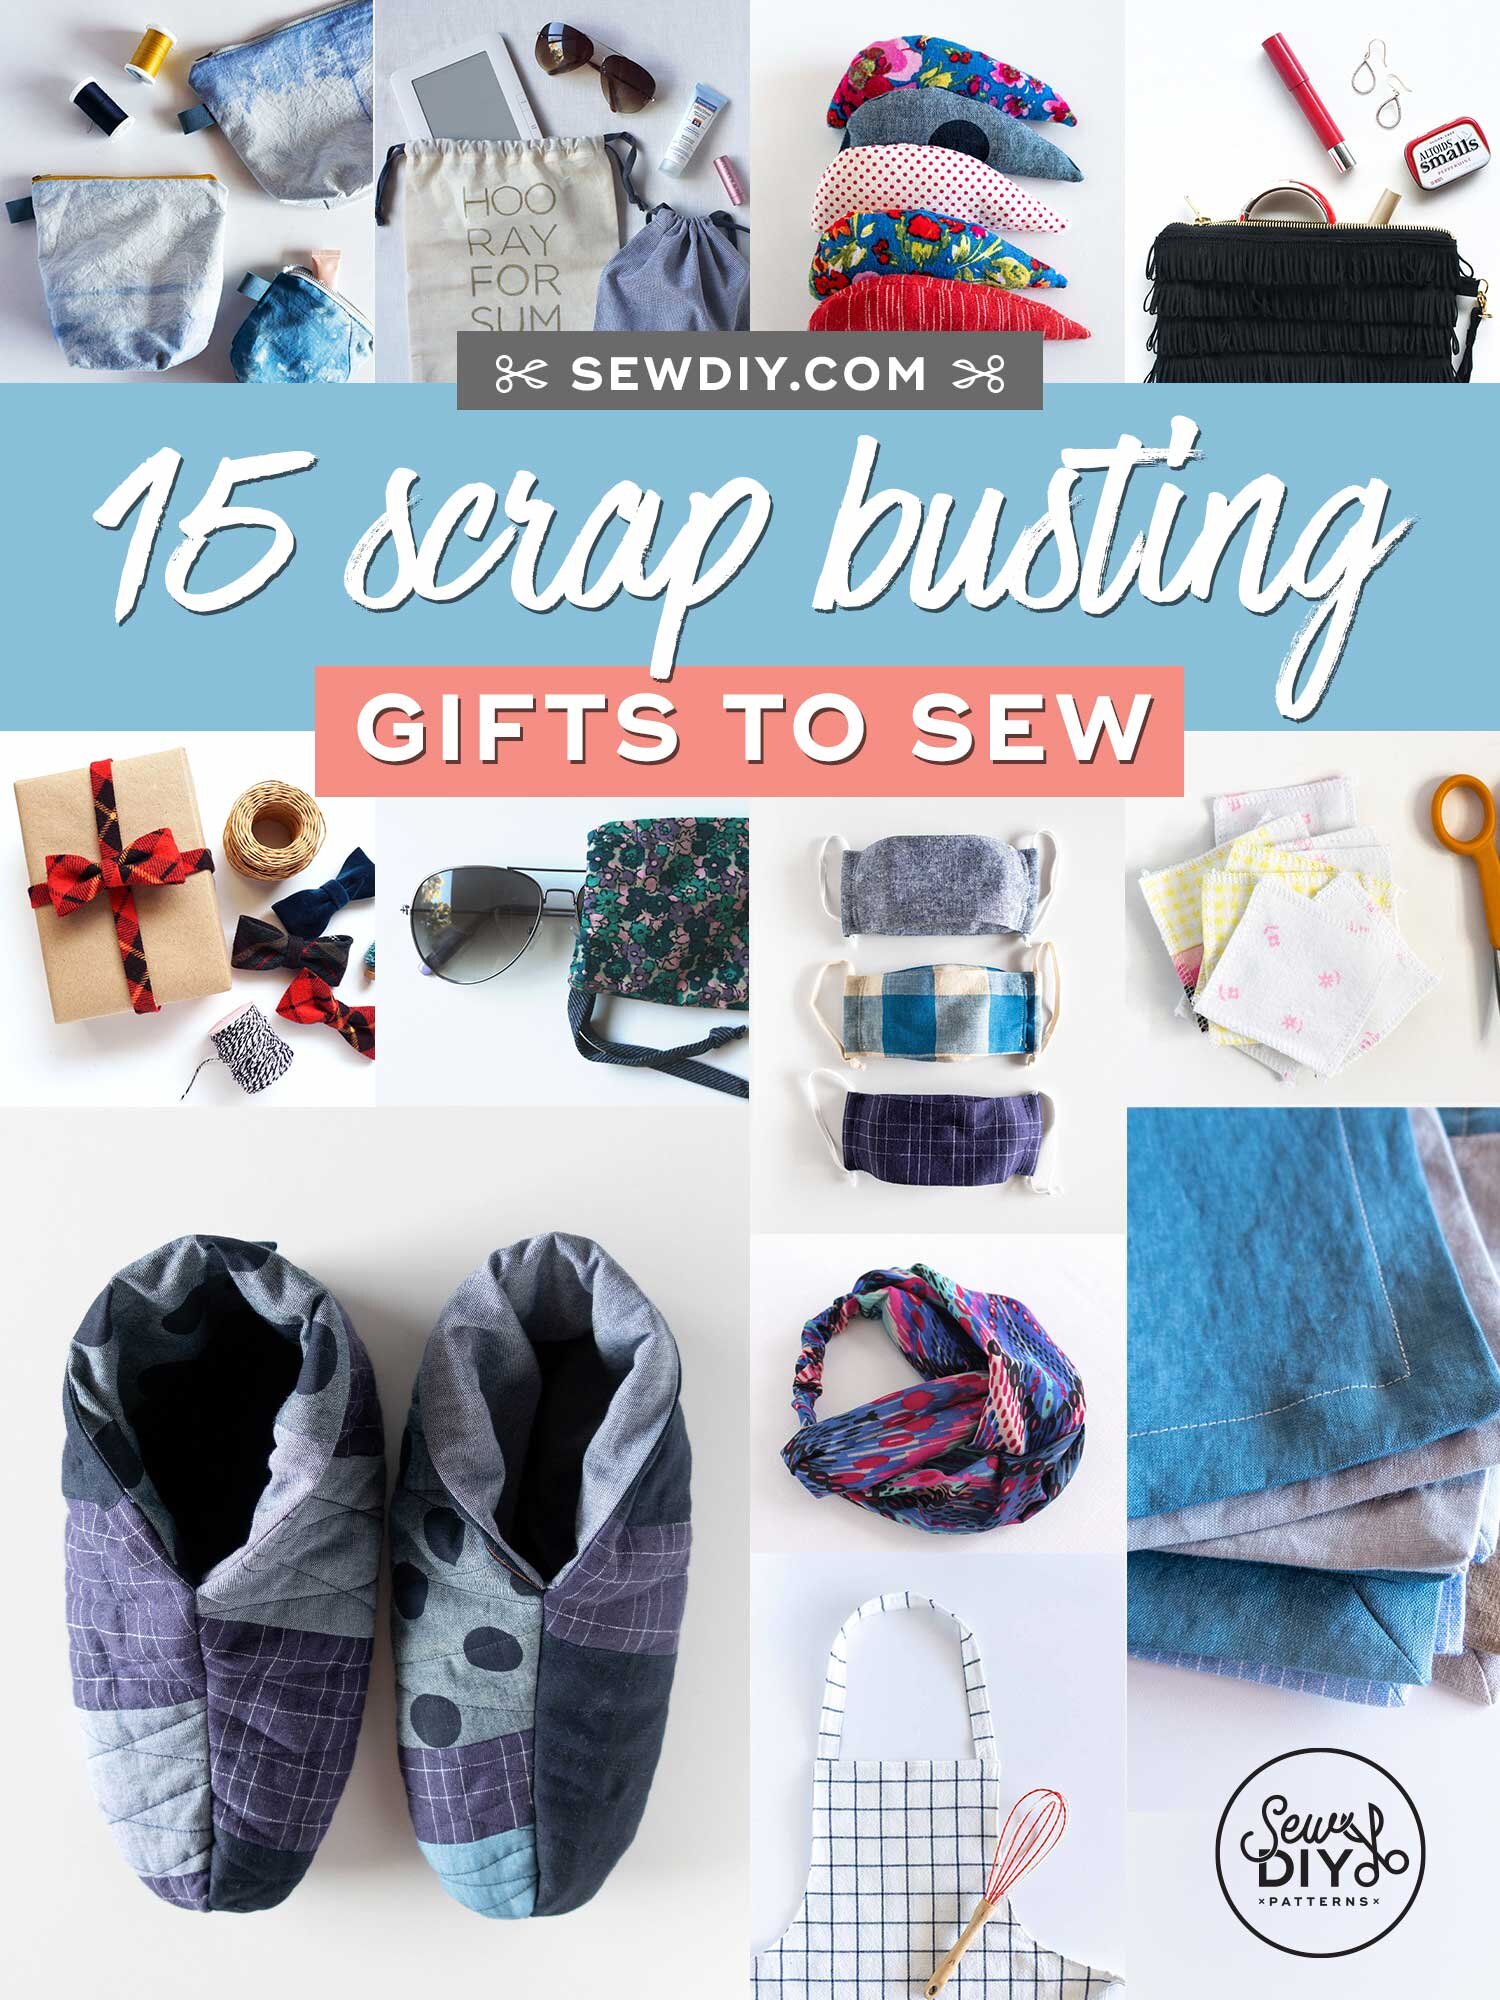
Hello and happy holidays! Last week, I wrapped up (lol! ;) my video tutorial series of scrap-busting gifts to sew for the holidays and I thought it would be nice to have all the tutorials (plus a few more) rounded up in one place. I often like to give handmade things for the holidays and this year I've been focused on using fabric that's already in my stash. It's economical and sustainable to use fabrics and even fabric scraps that I already have. Plus, it's so satisfying to see my stash slowly shrinking. Read on to check out a few of my sewing tutorials for handmade gifts.
15 Scrap-Busting Gifts to Sew for the Holidays
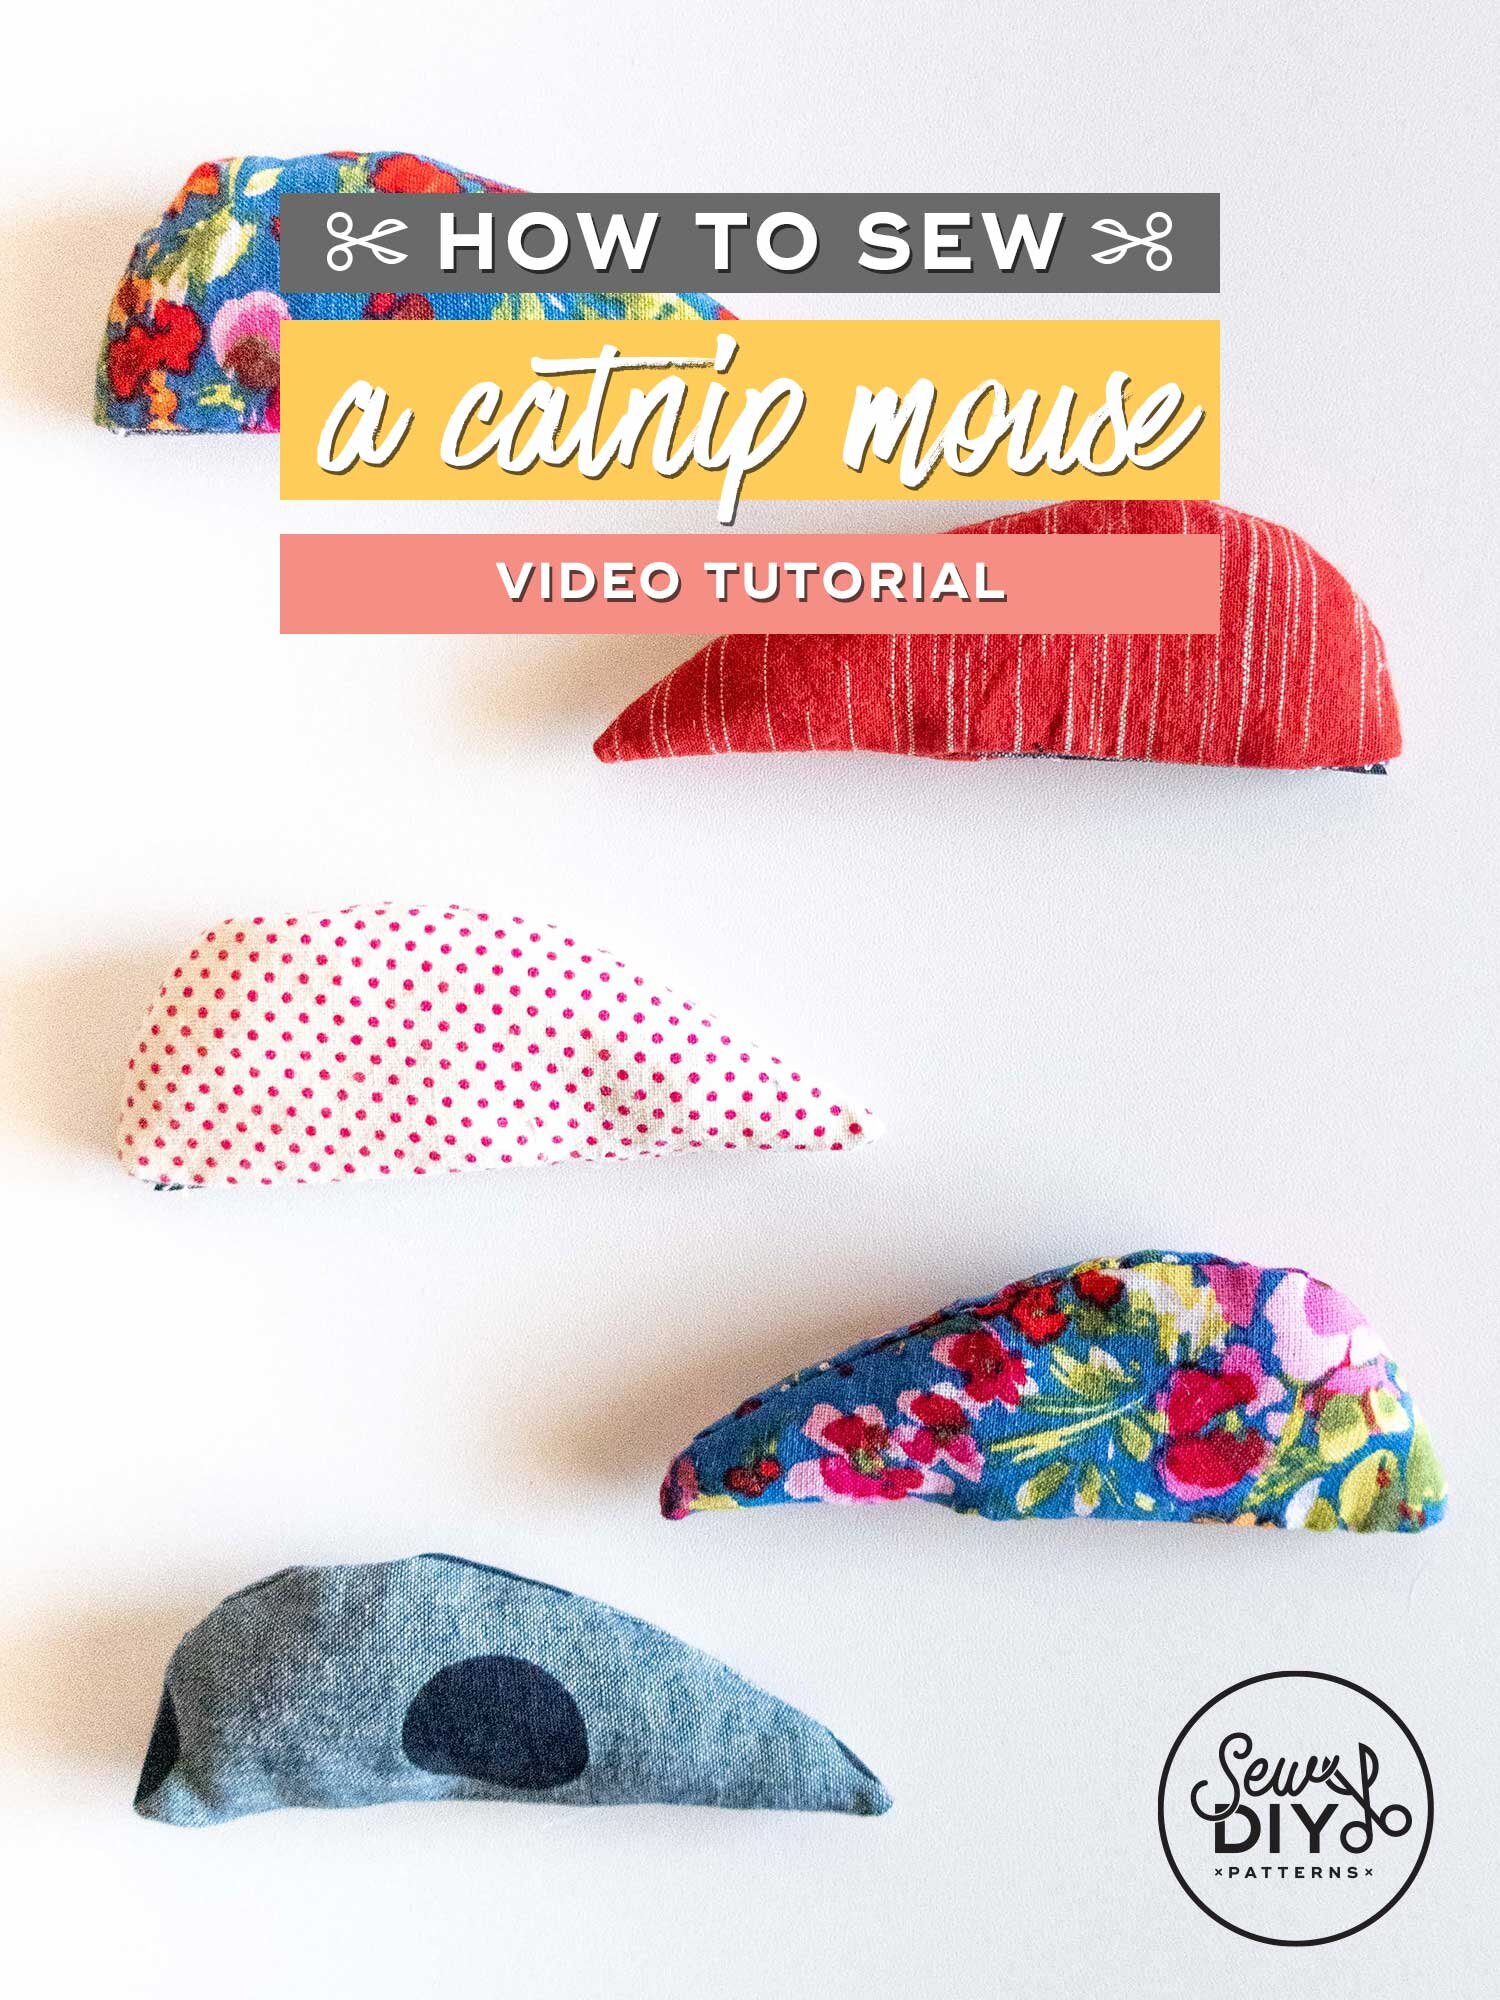
Today, I'm very excited to bring you a tutorial for sewing a cat toy. I love my kitty and he LOVES catnip so catnip toys are very popular in my house. This project is inspired by a couple of toys that I bought that have a pocket that closes with velcro where you can put catnip. The pocket means you can replace the catnip when it loses potency and the velcro means that the catnip won’t fall all over the place while your cat is playing. Read on to download the (free!) template and watch the video.
In this video tutorial, I’ll show you how to sew a pair of quilted bootie-style slippers with a lining. I’m using my Quilted Slippers pattern which I released back in June. It’s been one of my most popular patterns and it’s a really fun one to sew. It’s a small project and great for using scrap fabric, like I did here. This project also makes a great gift. The pattern is drafted for a wide range of sizes from US Women’s 4 up to a US Men’s 14.
Today, I'm very excited to bring you a tutorial for the apron that first got me obsessed with sewing way back in the '90s. I learned how to sew this simple apron in my high school sewing class when I was about 15 years old. I immediately fell in love with sewing and made an apron for all my relatives that Christmas. I still have the apron I first made, way back then. I'm happy to say that I still use and wear that original apron and it's held up remarkably well. You can get a peek of it in the video below.
In today’s YouTube video, I'm continuing my series of videos using fabric scraps to sew handmade gifts, with a tutorial for sewing a reusable flower tote. This is a great tote to take to the farmer's market and reduce your plastic use. Plus, it's also a really nice way to wrap flowers as a gift. Use this tote to give flowers as a hostess gift or, because it's 2020 and we're all social distancing, you can also leave the flowers wrapped in this tote at your friend's door. After the flowers are spent, they'll still be able to use and reuse the tote.
In today’s YouTube video, I’ll be showing you how to sew a 3D style face mask quickly and easily. I know there are a million mask sewing tutorials are out there and that I’m basically 8 months late to the game. I was really intrigued by the 3D face mask design but not thrilled with the lengthy construction process that a lot of tutorials use. I want to sew these masks as quickly as possible so that I can move on to sewing more fun things. So, after reading a lot of blogs, watching videos and doing some experimenting, I figured out the fastest process for sewing these masks. These masks have just one pattern piece and an optional nose bridge. Along the way, I’ll let you know the steps you can skip and why you may not want to skip them.
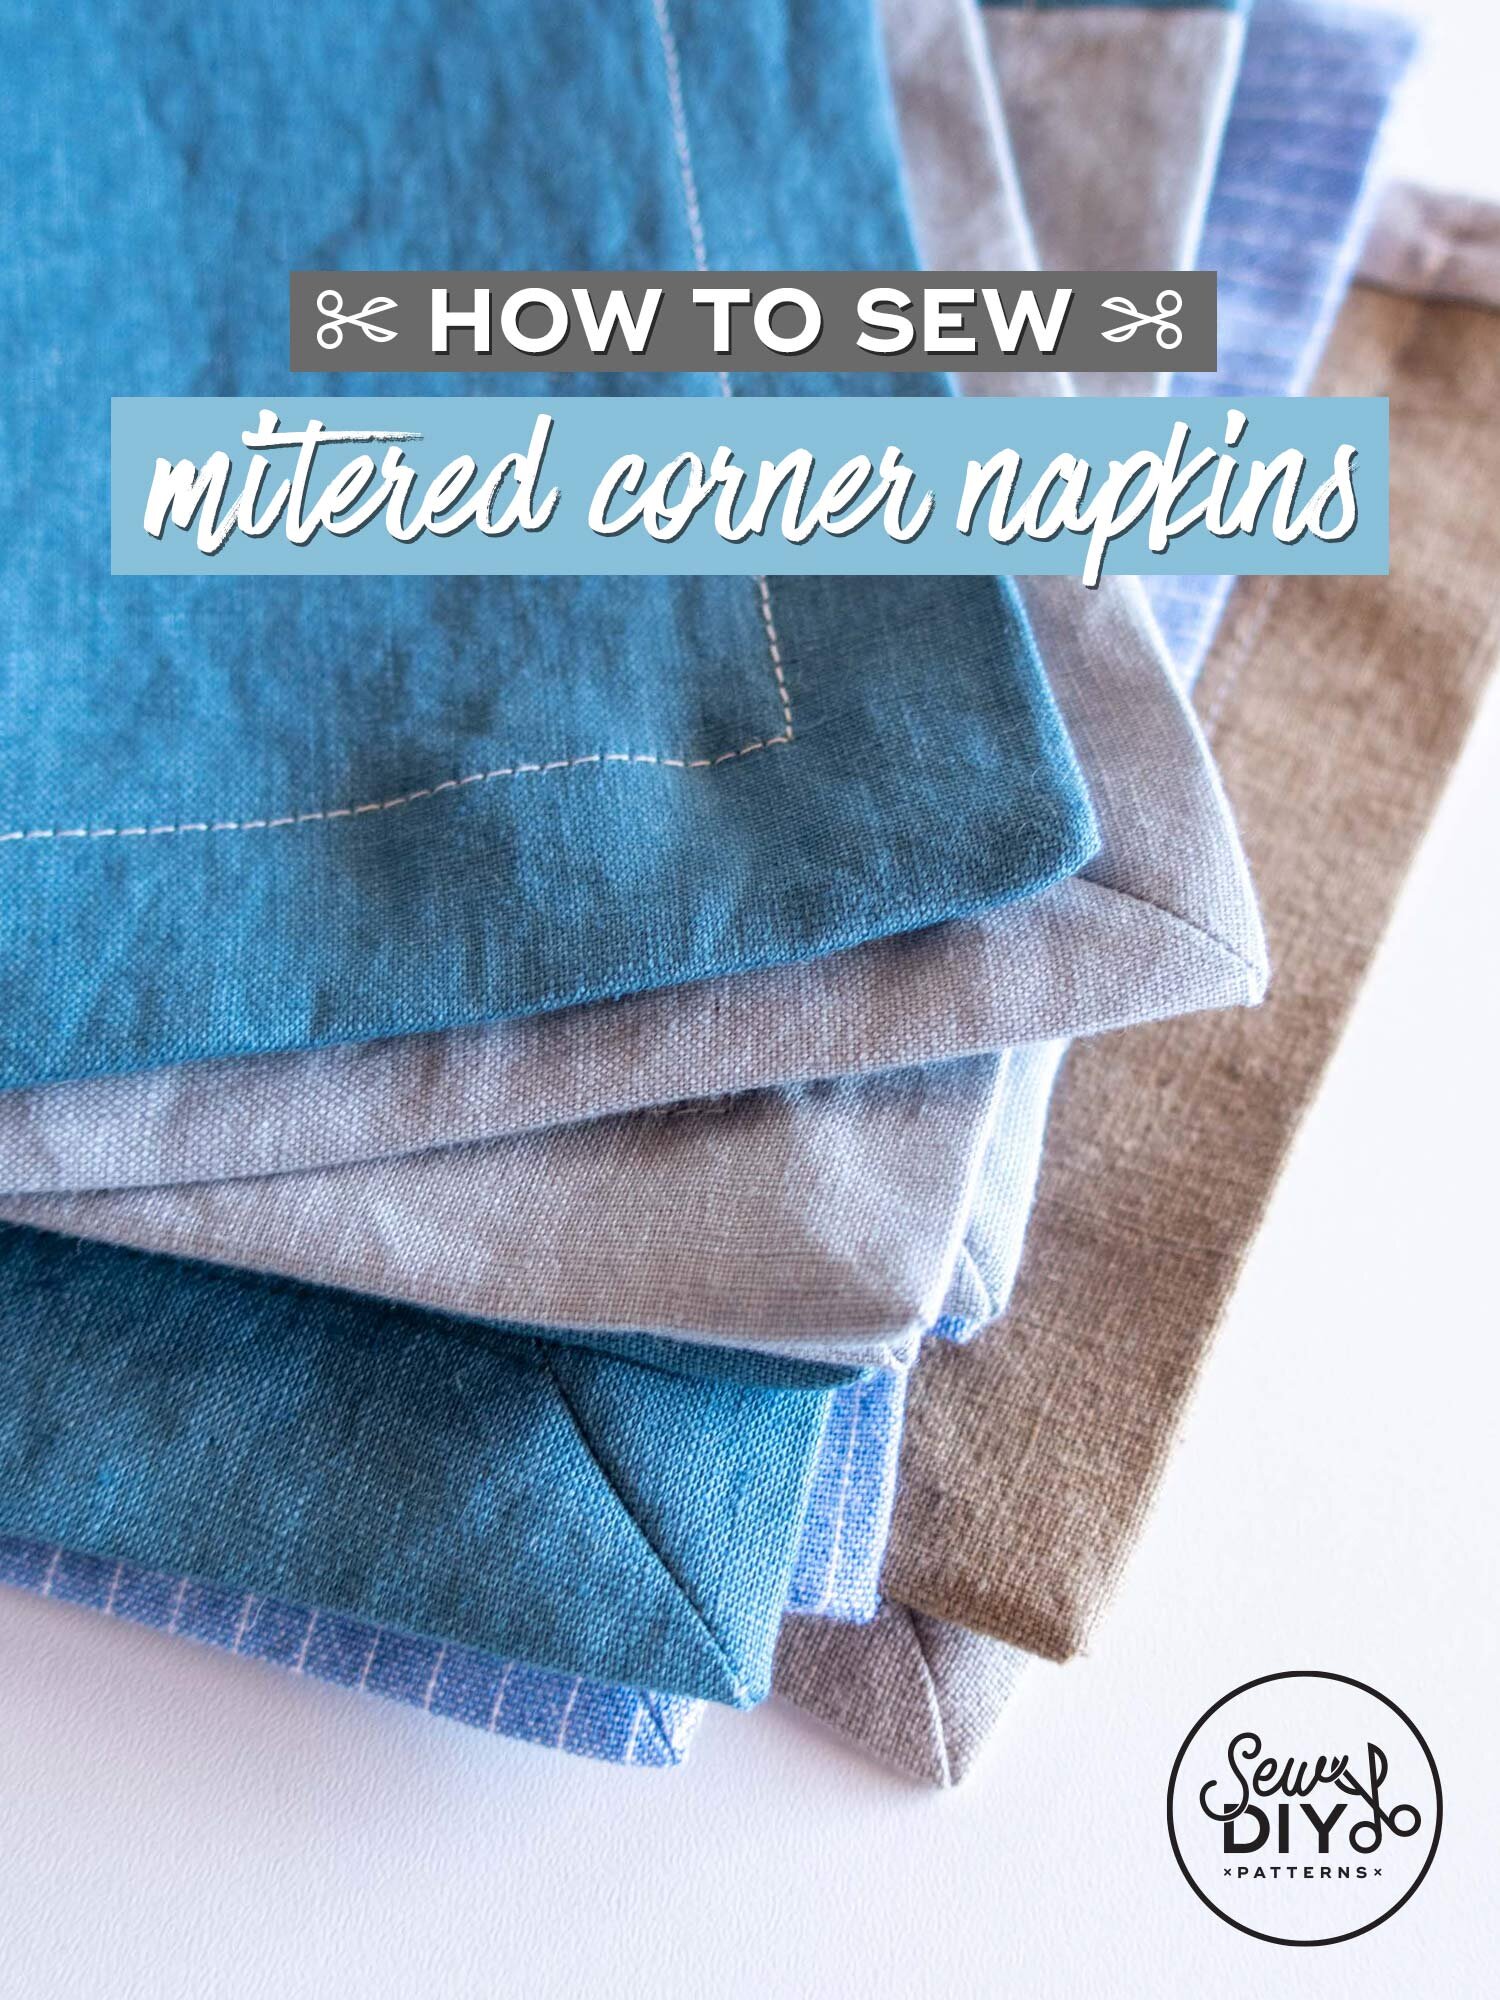
Leading up to the holidays, I’m going to be sharing a few tutorials for sustainable and useful scrap busting projects that are perfect for gift giving. Today’s video tutorial is the first in the series and it’s probably the most simple and most useful of all the projects. In this tutorial, I’ll be showing you how to sew your own mitered corner napkins using scrap fabric. Using a cloth napkin instead of paper disposable napkins is a great way to reduce waste and live a more sustainable lifestyle. Plus, when you use scrap fabric, these napkins are basically free to make. Read on to watch the video and learn how to make these luxurious and earth friendly napkins.
I’m super excited about today’s video because it features a very special guest – Melissa from Melly Sews! I’ve been following Melissa for many years now and have found so many of her sewing tutorials to be immensely helpful in my own sewing journey.
A few months ago, I reached out to her because I was going to be in her hometown of Austin for a long weekend. She suggested that we do a DIY holiday gift exchange video and I quite readily said yes. Coincidentally, we both made a zipper pouch but in different styles! It was so much fun to meet irl and exchange these handmade gifts. Today, we are both releasing the video tutorials for how to make them.
Today I'm so excited to be sharing one of my favorite holiday sewing projects on the BERNINA We All Sew blog. Quick and fun to sew these bows can be used just about anywhere you like from gifts and garments to home decor and even your hair. I'm planning on putting one on my cat's collar for a festive holiday catfit. And if you want to become an extreme-crazy-cat-lady like moi, you can match your cat's bow to your holiday dress.
A few years ago I ended up with a bunch of clear vinyl material and it's just been sitting in my closet ever since. I couldn't bear to throw it out because I knew that one day I'd find a use for it. Then a few weeks ago, I suddenly had the idea that it would make a fun and easy to sew zippered pouch. Reminiscent of the pouches we used to put in our three ring binders to hold all of our pens, pencils and erasers (gotta have the big pink eraser, right?) this is a flat pouch with a zipper running down the front. I love that this pouch can feature a show-stopping zipper and that the clear vinyl makes it really easy to find just what you're looking for.
A few months ago, I got a bunch of black leather fringe in a bargain bag of trims. I didn't have any plans for it (impulse purchase!) until one day the idea of a clutch covered in layers of fringe popped into my head. So of course I had to make one and share how to do it with all of you!
Perfect for summer picnics from the park to the beach, this blanket will protect and cushion you from the hard, wet ground and can stand in as a towel when you take a quick splash in the water. I like to think of it as a blanket-towel hybrid–the summer essential you never knew you needed. With one side terry cloth and the other a sturdy ticking stripe, this blanket is ideal for picnics, outdoor concerts poolside afternoons and beach adventures.
I'm pretty good at taking care of my things except when it comes to sunglasses. Somehow, they always end up scratched, broken or lost. So to help me in my plight, I made this little drawstring case, just the right size for a pair of sunglasses. I took one on my trip to Chicago last week and it did the job very well of protecting my sunglasses.
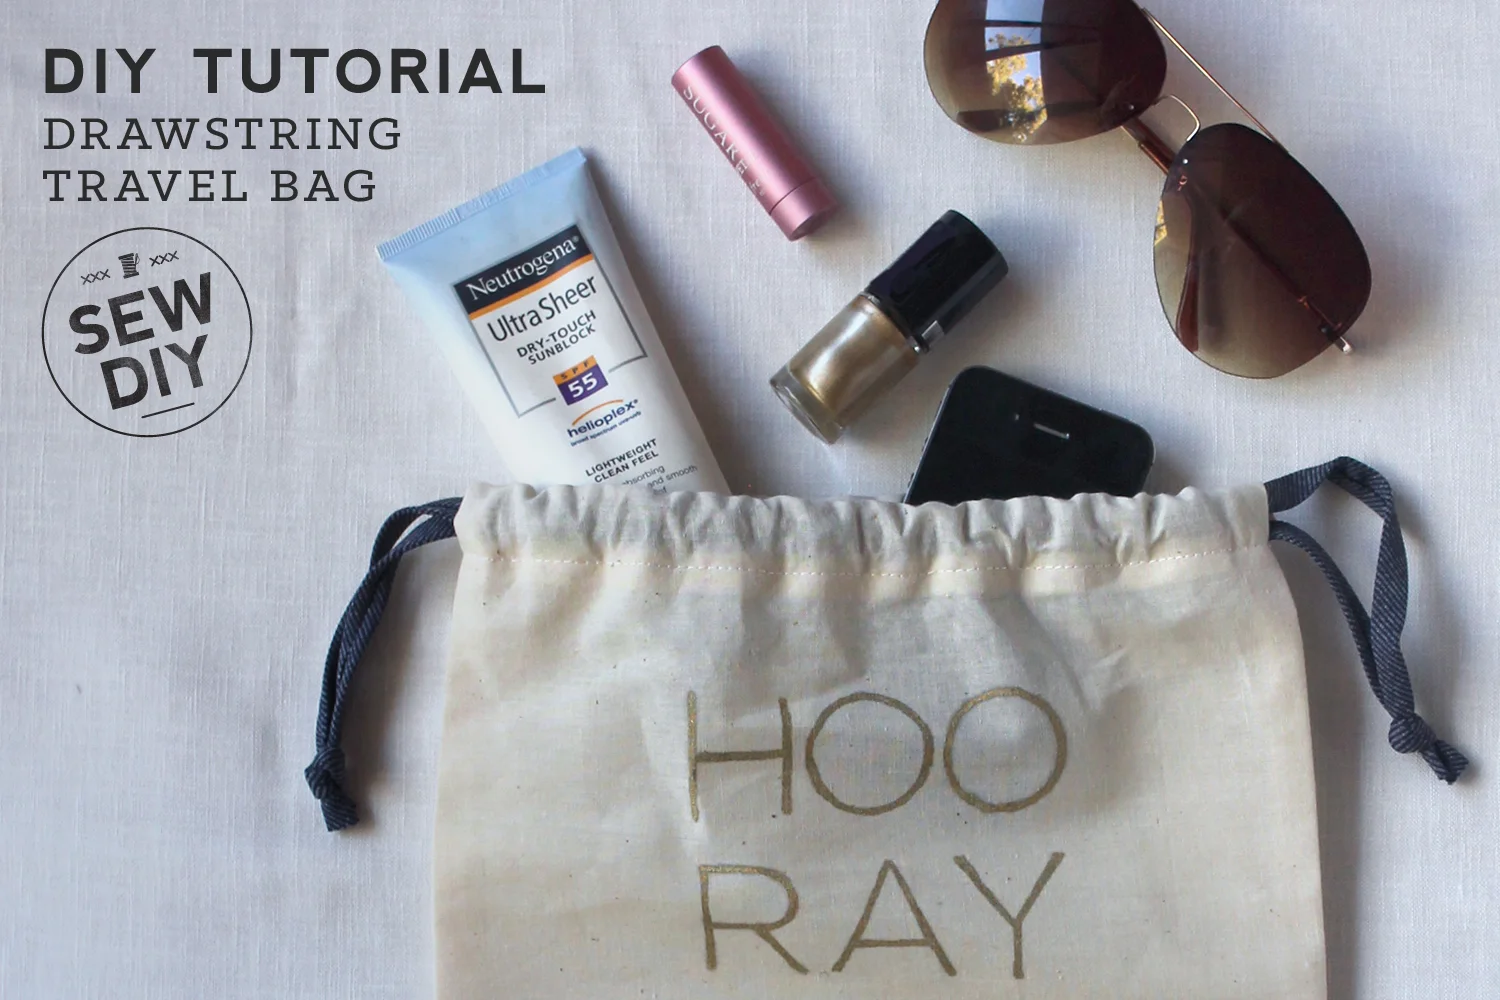
Drawstring fabric bags are so convenient when traveling. They can be used to hold and organize a myriad of items such as shoes, swimsuits, craft projects and even dirty laundry. Use one to hold all your power cords and small electronics or organize your carry-on bag. This bag is really easy to make – even if you're just a beginner. All you need is about 1/3 yard of fabric and some ribbon.
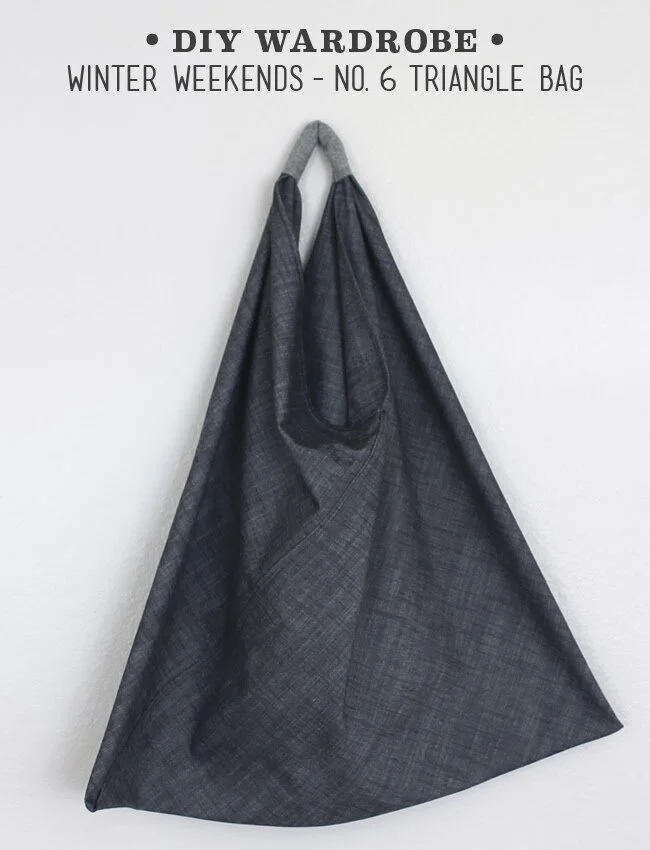
A while ago, probably more than a year ago, I was in this hip boutique that featured Japanese products in a very hip area of town, when I spied a very cool tote bag. It was sewn on the bias and made a triangle shape. It was so cool and looked deceptively simple. I went home and started playing around with fabric and even paper. And then I found this tutorial from Between The Lines and thought "wow! she's really figured it out!". And now at last I've made my own Triangle Bag.
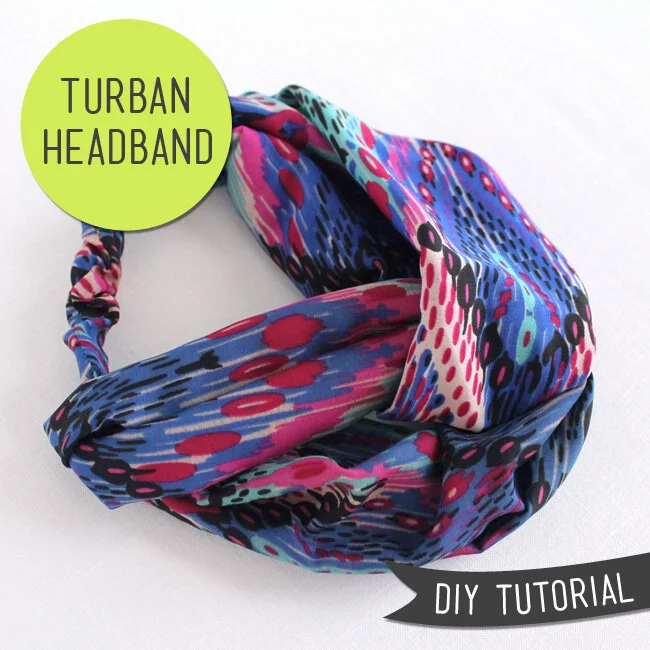
You know those days when your hair looks less than stellar (as in a tangled funky mess) or you desperately need a haircut and just want it off your face (me right now)? Those are the days when you need a chic turban headband to cover up the mess and make you feel like a 1940s movie star.
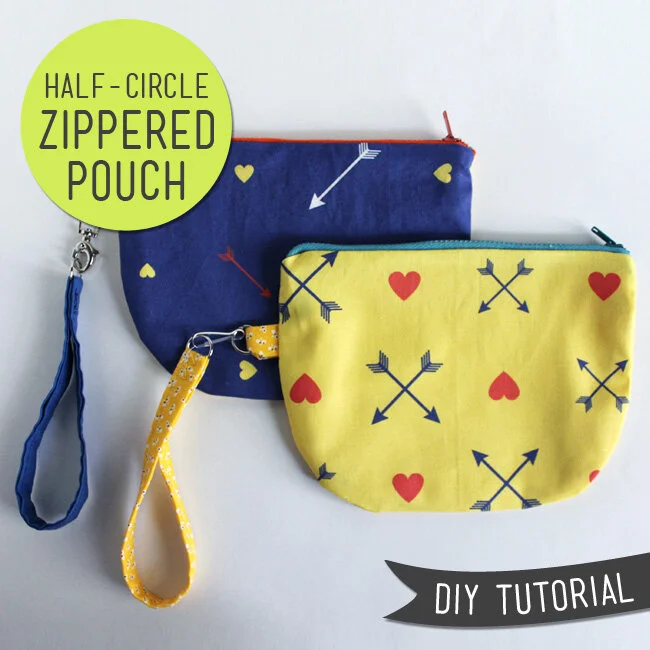
Whether hitting the road or hitting the town, every girl needs a little pouch or two or three to carry all of life's little necessities. Fill them up with with jewelry and makeup, your favorite art supplies or a few snacks, then throw it in your purse and you're ready for the day. Everything you need will be easy to find and readily accessible. These fun little pouches use just a few pieces of fabric and can be made very quickly. This is a great project for featuring a little swatch of fabric that you love so much but just can't figure out where to use. I used swatches for fabrics I designed on Spoonflower. Head on over there and you can purchase your own fabrics in this arrow and heart designs.
Whether you pile them on or wear one at time, these casual braided bracelets are a great addition to your spring wardrobe. They take an hour or less to make and you can use any fabric you want (as long as it will be comfortable on the skin) making this project a great way to use up fabric scraps. So let's get started!
UPDATE 2022:
This year, I released a multi-size Christmas stocking pattern. They make great gifts as well as holiday decor. The medium size of the pattern is free to download when you sign up for the newsletter (click here to learn more).
I hope that you enjoy sewing and giving these handmade items. A number of these tutorials are from many years ago, and a few are even from my old blog. But I think they stand the test of time.
After you sew and wrap your handmade gifts, you can adorn them with my free pdf printable gift tags. These gifts tags are free to download when you sign up for the weekly newsletter. If you’re already signed up, check your latest email for a link and password to the freebie library. Click here to read more about the hangtags and sign up for the newsletter.
If you'd like more ways to use your fabric scraps, I have a new e-course that will teach you how to turn your fabric scraps into improvisational quilts. It's a really fun and comprehensive that will teach you everything you need to know to make a quilt and my unique method of improvisational piecing. You can learn more about it here.







In today’s video, we are going to be assembling the skimmer style slippers, using my Quilted Slippers pattern. It’s been one of my most popular patterns and it’s a really fun one to sew. It’s a small project and great for using scrap fabric. This project also makes a great gift. The pattern is drafted for a wide range of sizes from US Women’s 4 up to a US Men’s 14.