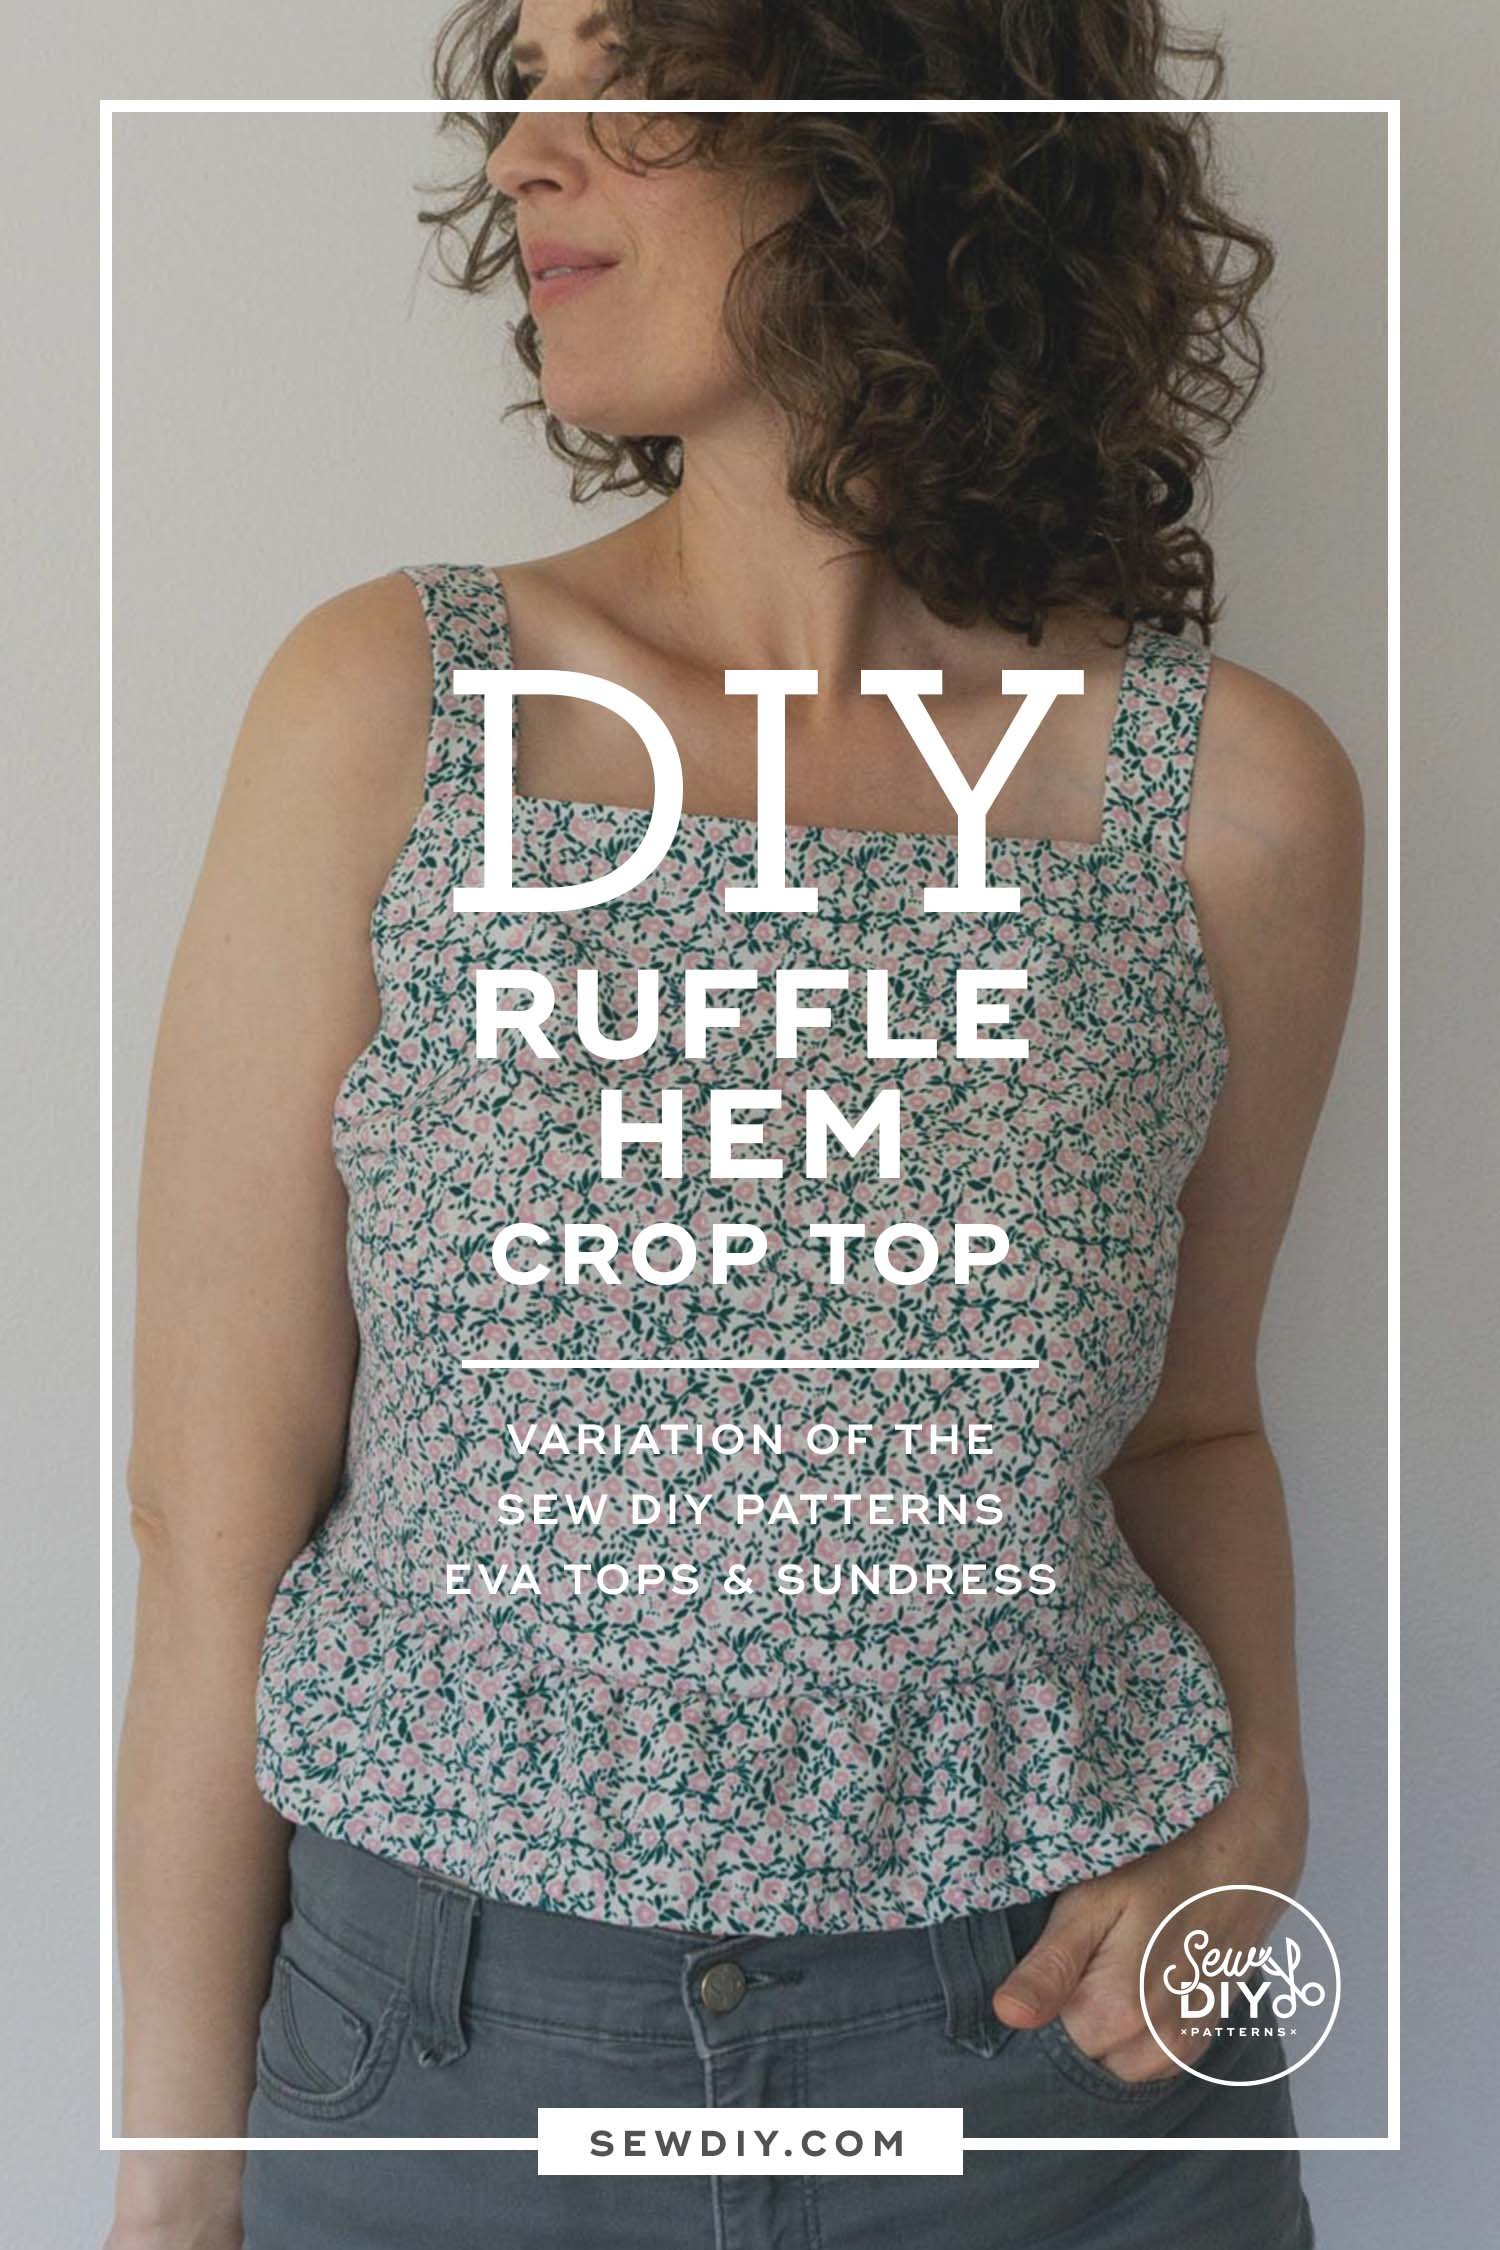
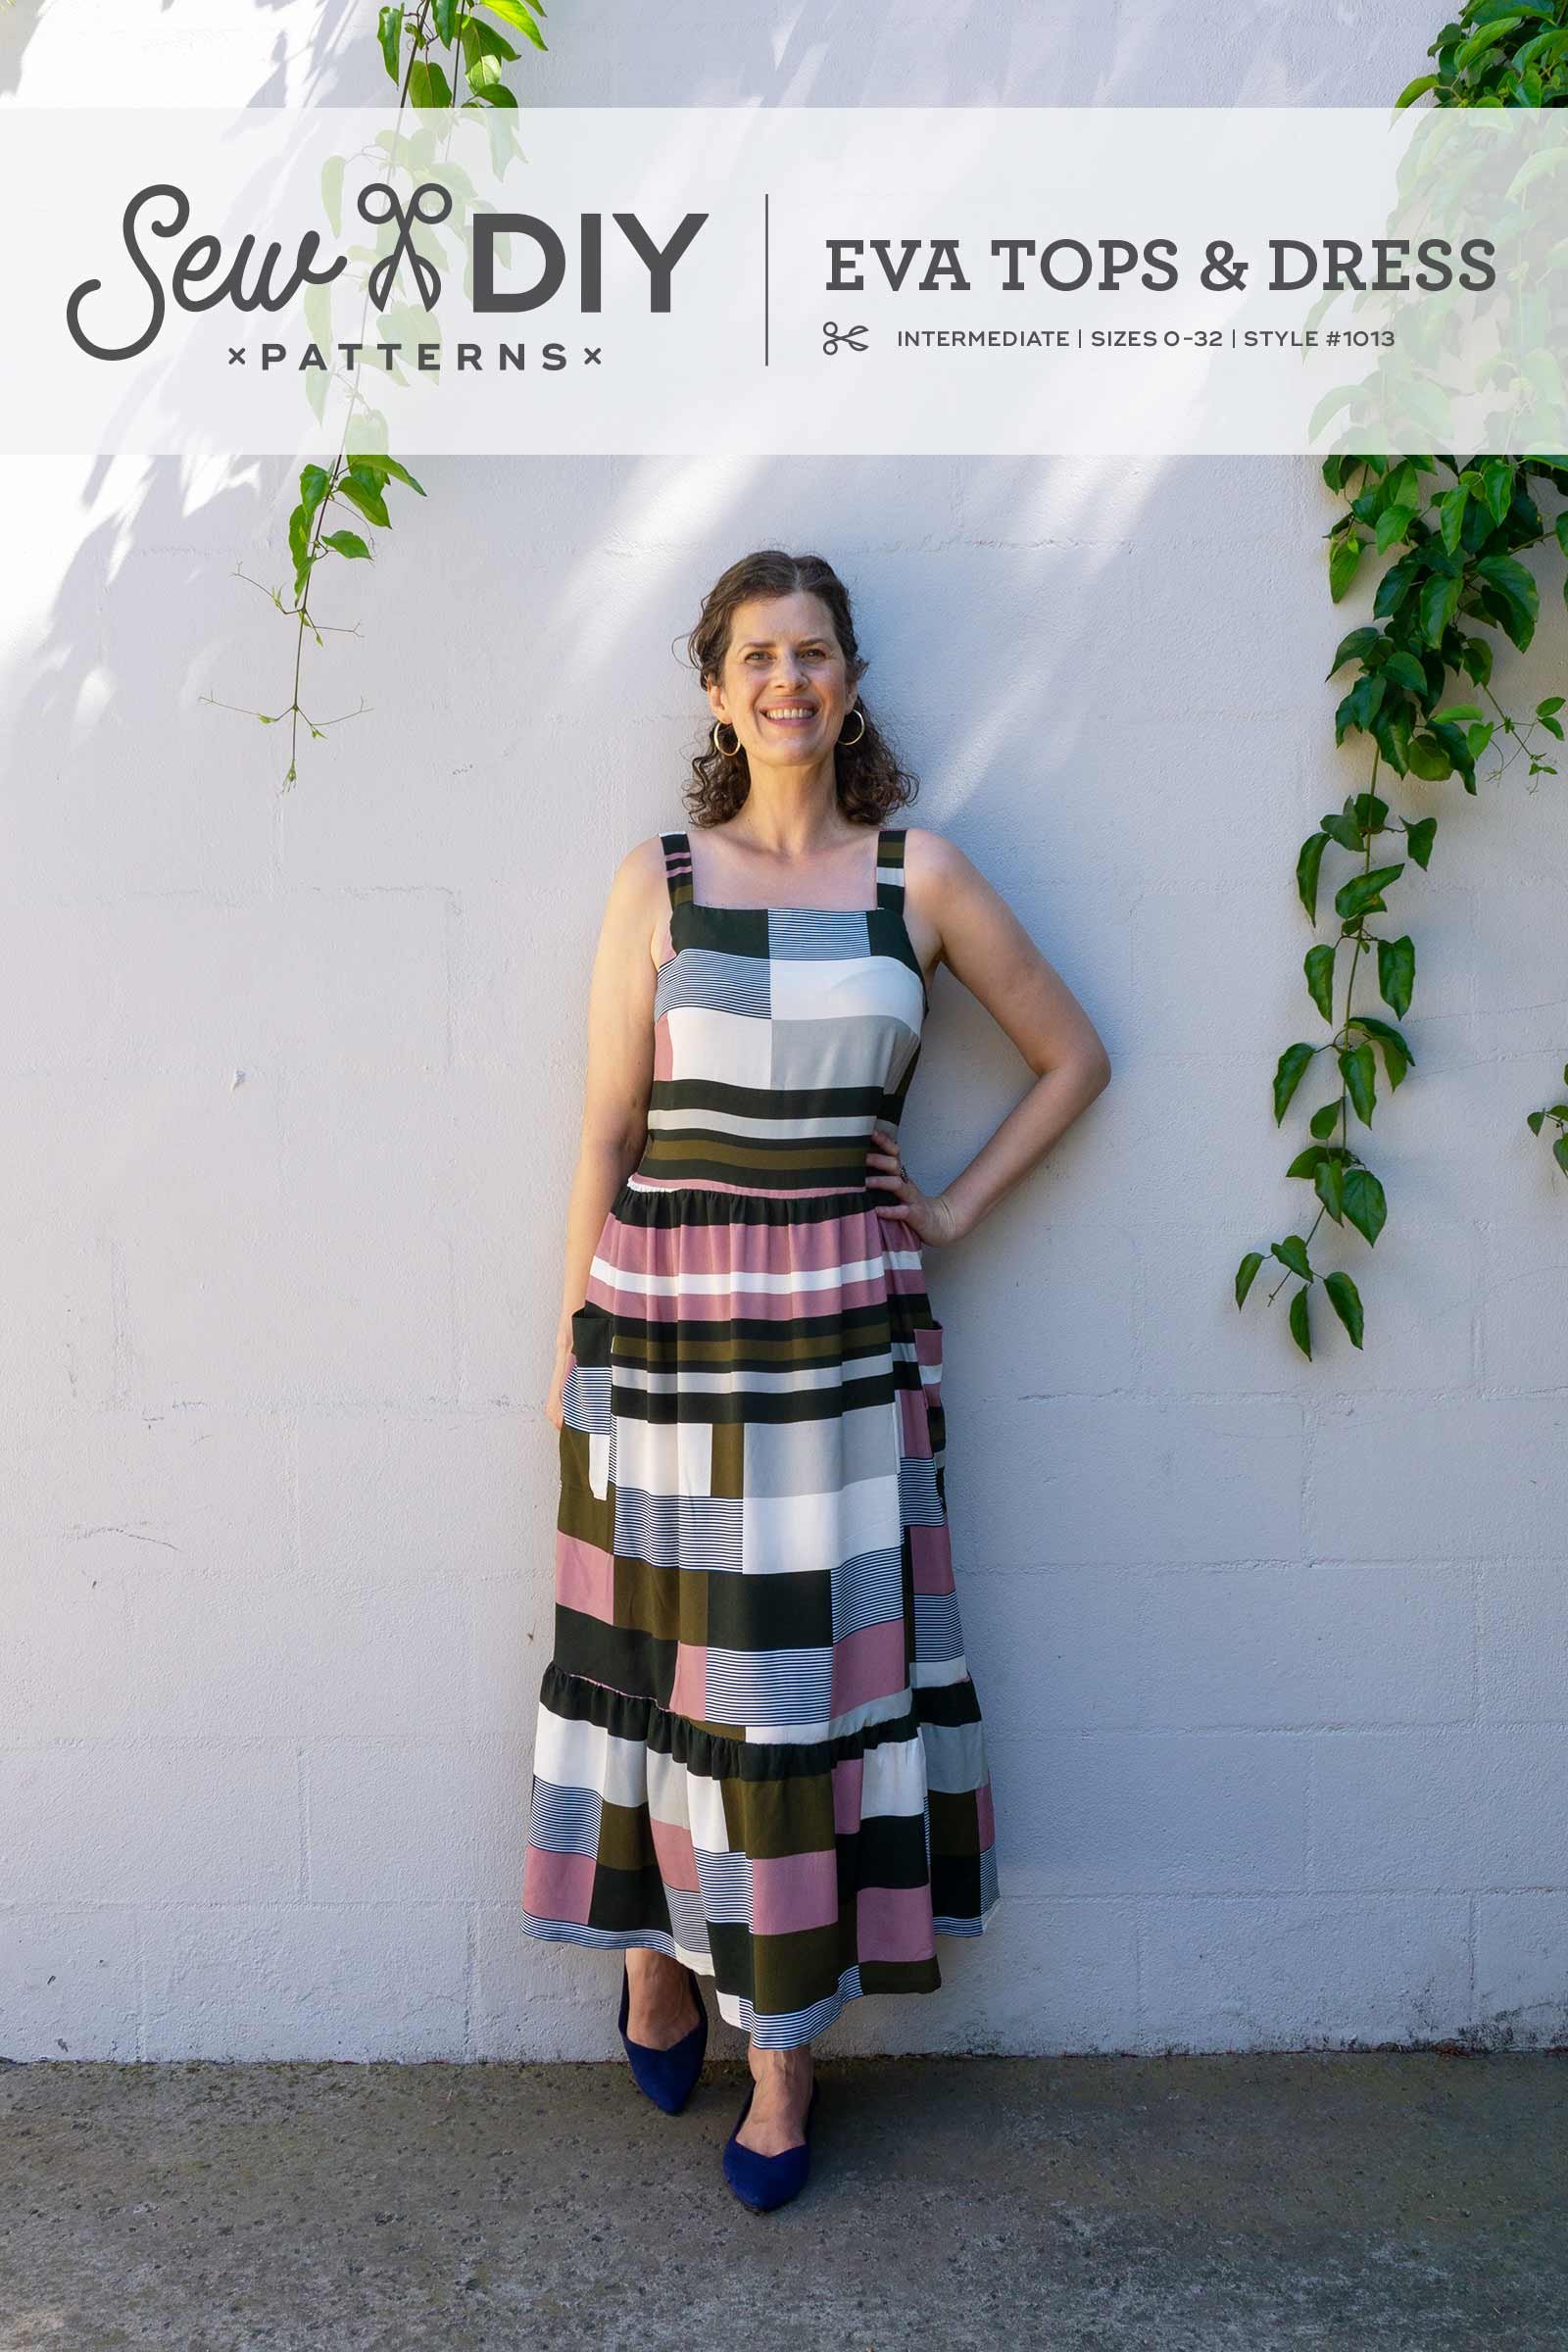
Welcome to the third installment of the Sew DIY Eva sewalong. In today's post, we will sew the Eva bodice, from start to finish. This pattern has three views, a crop top, a peplum top and sundress. If you are making the peplum top or sundress, you will need to come back for the next installment when we sew the peplum, skirt and patch pockets. If you are making the crop top, you can follow along with this video, then hem the bottom, add the lacing and you will be finished.. Let's get started.
Watch the video above (or on YouTube) for a step-by-step rundown of sewing the bodice of the Eva Tops and Sundress. See the time stamps below if you want to skip ahead to different sections. There are essentially nine steps covered in this video but some of them have multiple parts, so I’ve broken those out below.
TIMESTAMPS
Intro 00:05
Step 1: Staystitch the armholes 00:46
Step 2: Stitch the darts 01:16
Step 3: Make the back ties and loops
Sewing the ties 02:29
Turning the loops/ties right side out 03:43
Step 4: Baste loops to center back 07:04
Step 5: Stitch side backs to center back 08:39
Topstitch back bodice 09:22
Step 6: Sew bodice side seams 09:36
Step 7: Sew and attach straps 10:05
Press the straps 10:23
Baste the straps to the bodice 11:52
Step 8: Assemble and attach the facing 12:47
Pin facing to bodice 13:37
Stitch facing to bodice 14:11
Grade and clip facing 14:29
Understitch facing 16:00
Step 9: Sewing the casing and inserting elastic
Sewing the casing 16:22
Insert the elastic 17:11
TOOLS USED WITH THIS PATTERN (affiliate links)
✂️ Thread snips
✂️ Bodkin
✂️ Simflex expanding sewing gauge
✂️ Tube turner
In this video, I’m using a rayon (aka viscose) challis fabric that I bought as a remnant in Helsinki. I love this asymmetrical print and the pattern shows it off well. (By the way, you can check out my Helsinki fabric shopping guide here.)
If you are sewing the crop top (View A of the pattern), you are pretty much done. All you have left to do are hem the bottom and thread the lacing through the loops. If you’re making the peplum top or dress, tune back in for part 4 of the sewalong to finish your garment.
Catch up with the previous sewalong posts here:
Introduction to the Eva Tops and Sundress
Day 2: Preparing to Sew the Eva Pattern
And check out the Eva Sewalong Page for more sewing skills and tutorials related to this pattern.
About the Sew DIY Eva pattern:
These semi-fitted tops and sundress feature a square neckline, side bust darts and are fitted at the back with a combination of narrow elastic and criss-crossed lacing. View A is a crop top that ends at the waistline. View B has a ruffled peplum and ends at the high hip. View C is a dress with a calf-length skirt and ruffle at the hem.
The pattern is a hybrid of a traditional pattern that you need to print and a zero-waste style pattern. You will need to print (or project) the front bodice and front facing pattern pieces. The remaining pattern pieces are rectangles that you can draw directly on your fabric (or paper) and then cut out, saving you paper and fabric.
Pin the image below to save this post for later. Happy sewing!


