

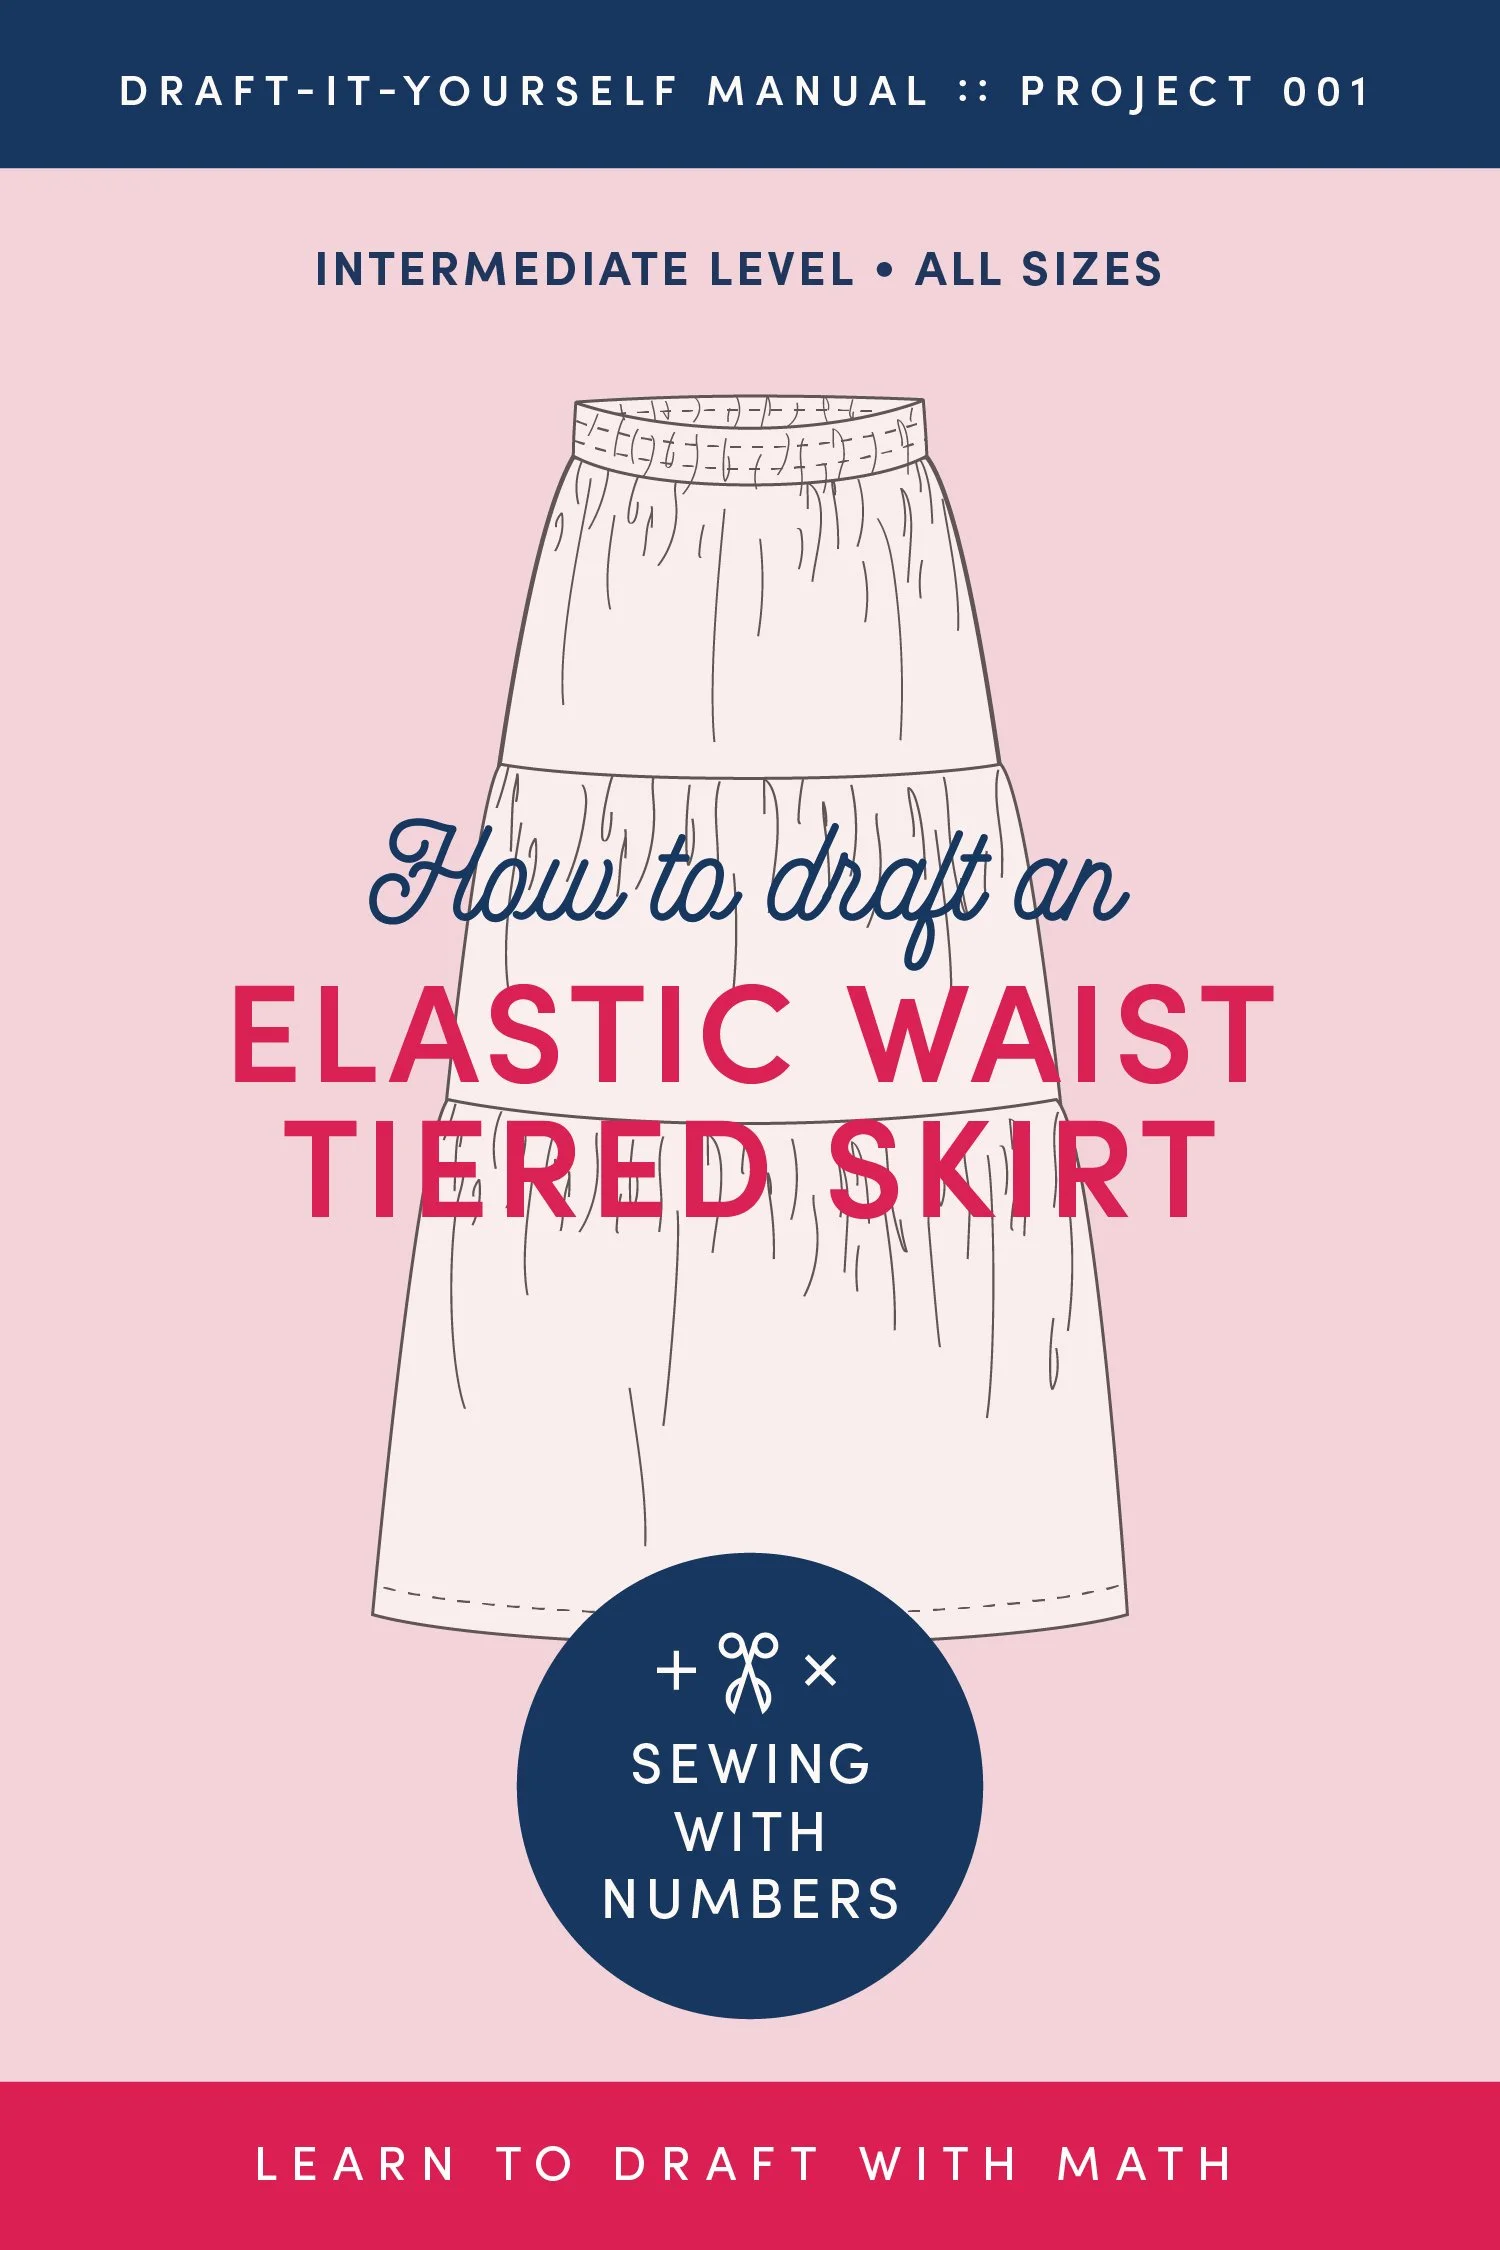
Today’s post is one that I wrote for my Substack Sewing With Numbers which I started in April of 2024. If you’re not familiar with it, Sewing With Numbers is a newsletter about sewing, math, design and how to draft your own sewing patterns. Through simple pattern drafting exercises, I show how fun, useful and empowering math can be. ✂️ Every 8 to 10 weeks, I feature a different drafting project, with each lesson building upon the learnings from previous ones. Posts older than 3 months are archived for paid subscribers. But is subscriptions aren’t your thing, I also have PDF Booklets for older projects are also available for purchase here in my shop. You can browse through the booklets currently available below.
Now that we have that background info out of the way, let’s dive in to today’s tutorial!

This tutorial is for how to draft and sew a tote bag with boxed corners using the width, height and depth measurements of your choosing. If you’re not familiar, a boxed corner will take a bag that is just two flat rectangles and give it a squared-off shape at the bottom.
To sew the boxed corner, the bottom of the bag is folded so that the side seam and bottom seam are aligned. Then you stitch across the corner at a 45 degree angle to create a “boxed corner”. In the past, I’ve cut rectangles for the tote and then sewn a rather arbitrary corner to create shaping. But, I’ve been wanting to play around with the dimensions and figure out a formula for drafting a boxed corner tote.
There are two pattern pieces for this tote—the handle and the body. The tote handle is folded in half lengthwise so that it is two layers of fabric thick and the raw edges are enclosed inside the tube. The tote body is made up of two rectangles with seams at the center of the side panel, center of the bottom and at the bottom corners. The exterior side and bottom edges are folds, not seams. These are shown with a red dashed line in the graphic above.
Note, I’ve designed this to be a lined tote but you could also make a facing to finish the top edge.
There are four parts to today’s tutorial. First we’ll gather information, then draft the tote body. In part 3 we’ll draft and sew the tote handles. And in part 4, I’ll show you how to sew the tote.
Part 1: Collect Information
As usual, I’ve assigned a representative letter to each number we’ll need. I use these letters to write the drafting formulas. When drafting your tote, you’ll replace the letters with your own numbers.

All of these measurements are the designer’s choice (that means you!). In the graphic above, the tote bag has rigid sides and clear width and depth. When sewn up in fabric however, the side will not have as much structure as shown here. But, if you a box or something rigid inside the tote, it will fill out to fit the dimensions. Note measurements A through E are the FINISHED measurements.
A Tote Height This is how tall you want the finished tote to be from the bottom fold to the top of the body of the bag.
B Tote Width This is how wide you want the finished bag to be.
C Tote Depth This is the side measurement of the tote and also how wide the boxed corner is.
D Handle Length The finished length of the handle. This is the length of the entire upside down U shape in the graphic. (Not the “drop” from the top of the handle to the top of the body of the bag.)
E Handle Width The finished width of the handle/strap. (This is NOT the space between the handles.)
F Seam Allowance Designer’s choice.
Part 2: Draft the Tote Body
I could just give you the formulas but I think it’s helpful (and interesting!) to understand how the formulas work and how I arrived at them. So, let’s start by reverse engineering the pattern. In math, when we’re solving problems or writing proofs, we often start by writing down everything that we know to be true and then draw conclusions from there. We’ll do the same here.
We know the basic shape of the pattern is a rectangle with squares cut from the bottom corners. I started by drawing the pattern and assigning all of the known values. See the graphic below. One measurement I don’t know is the width/length of the square that is cut from the bottom of the pattern corners. I’m calling this dimension “X”. The pieces that are “X” long are marked with a red line in the graphic below.

In the upper right of the graphic above, I’ve labeled the sections that are the finished measurements A and B on the left and bottom sides. The total length of the pattern piece will be the sum of the Tote Height A plus the length of the square “X”, which is A+X. The total width of the pattern piece is the sum of the Tote Width B and 2 times the length of the square “X”, which is B+2X.
Next, let’s see if we can solve for “X”. From the schematic of the tote bag (see zoomed in section above), we can see that each side panel of the tote is made up of two side sections sewn together, meaning that the C Tote Depth equals 2 times “X”. When we solve for “X” we find that X=C/2.
One method to draft the pattern piece is to draw the rectangle, remove the corner squares and add a seam allowance. You can do this as follows.
Method One Drafting a Boxed Corner Tote Bag
STEP 1: Draw a rectangle that is B+C wide and A+C/2 tall.
To find these formulas, we replace “X” with “C/2”. The width of the rectangle is B+2X= B+2(C/2)=B+C. The length of the rectangle is A+X = A +C/2.
STEP 2: Remove a square from the two bottom corners that is C/2 by C/2.
STEP 3: Add a Seam Allowance F to all sides.

Method Two Drafting a Boxed Corner Tote Bag
Alternately, you can draft the tote body pattern piece with the seam allowance added in from the beginning.
STEP 1: Draw a rectangle that is B+C+2F wide and A+C/2+2F long. The width is the Tote Width B plus the Tote Depth C plus 2 times the Seam Allowance F. The length of the rectangle is the Tote Height A plus half the Tote Depth C plus 2 times the Seam Allowance F.
STEP 2: Remove a square from the two bottom corners that is C/2 by C/2.
Part 3 Drafting and Sewing the Tote Handles
You can use pre-made webbing for the tote handles, or sew your own. These tote handles are two layers of fabric. You’ll need one piece of fabric cut for each handle, for a total of 2.

STEP 1: Draw a rectangle that is D+2F long and 2E+2F tall. The width of the rectangle is Handle Length D plus 2 times the Seam Allowance F. The length of the rectangle is 2 times the Handle Width E plus 2 times the Seam Allowance F. Cut 2.
STEP 2: To sew the handles, fold one handle in half lengthwise with right sides together. Stitch along one long edge.
STEP 3: Turn right side out and press. Topstitch if desired.
Part 4 Sewing the Tote
The only tricky thing about sewing this tote is the boxed corners. But I think it’s still a very approachable project for a beginner sewist. To assemble this tote, you will stitch an exterior and a lining. Then baste on the straps and sew all the layers together at the top edge. Finally, you’ll turn the tote right side out through an opening in the bottom of the lining.

STEP 1: Cut 2 for the exterior tote body and 2 for the lining. Place the two exterior pieces right sides together and stitch the sides and bottom seams. Repeat for the lining but leave an opening in the bottom to turn the tote right side out.
STEP 2: Fold the bottom corners so the side seam and bottom seam are aligned. Stitch the boxed corners by stitching at a 45 degree angle to the bottom and side seam. The cut edge will be your seam allowance guide.

STEP 3: On the right side of the tote exterior, position the handles pointing down with raw edges aligned. Check that the handles are centered on the body of the tote and not twisted. Baste in place.
STEP 4: With right sides together, place the tote exterior inside the tote lining. Stitch the top edge seam of the tote and the lining. This seam finishes the top edge and holds the handles in place.
STEP 5: Turn the tote right side out through the opening in the lining. Stitch the opening in lining closed by hand or by machine (with an edgestitch).
I hope that you enjoyed this tutorial and found it useful. If you haven’t already, you can click here to subscribe to Sewing With Numbers. With a paid subscription you’ll have access to the entire archive of posts. But if subscriptions aren’t your thing, there are Sewing With Numbers Drafting Manuals available for purchase in the shop. You can also support this content by visiting one of the links below or saving these images to Pinterest.


